![]()
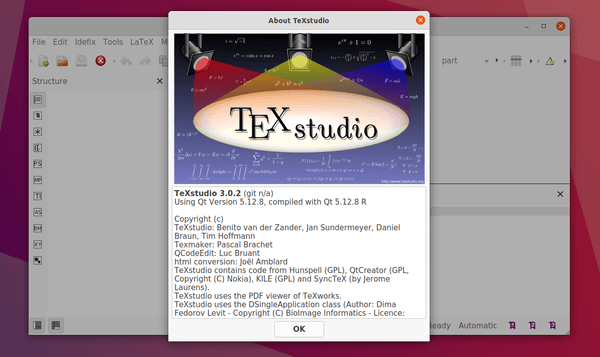
TeXstudio, an open-source fully featured LaTeX editor, released version 3.0.2 a few hours ago. Here’s how to install it in Ubuntu, Linux Mint.
Though it’s a bug-fix version, TeXstudio 3.0.2 was released after two beta test releases. It features:
- Add large number of default dictionaries.
- Handle \tabularnewline correctly
- Fix text insertion on selected text
- Change behavior for cut buffer and Ctrl+e (insert env).
- Add texdoc as selectable command
- Windows build now uses 64 bit and can handle larger documents
How to Install TeXstudio 3.0.2 in Ubuntu:
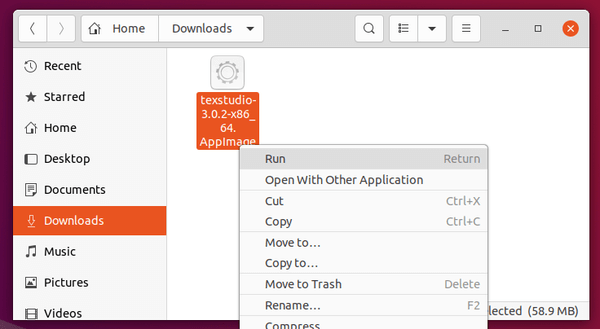
Non-install Appimage:
The editor offers official Appimage package, available to download at the link below:
Just grab the .appimage package, add “allow executing as program” in file’s Properties -> Permissions dialog, and finally run it to launch TeXstudio.
Install the LaTeX editor via PPA:
The official TeXstudio PPA maintains the software packages for Ubuntu 16.04, Ubuntu 18.04, Ubuntu 20.04, Ubuntu 20.10.
While the PPA is not updated for the new release at the moment, you may grab the .deb binary from OBS repository (official).
Once the PPA is updated with the new release packages, you can do following steps one by one to install it:
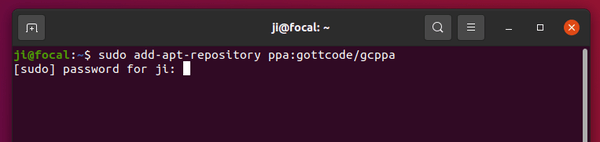
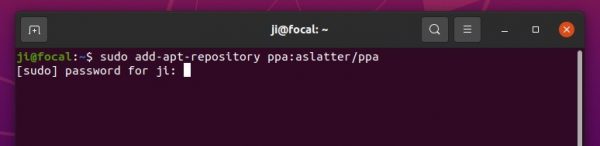
1. Open terminal either by pressing Ctrl+Alt+T on keyboard or by searching for ‘terminal’ from software launcher. When it opens, run command:
sudo add-apt-repository ppa:sunderme/texstudio
Type user password (no asterisk feedback) when it asks and hit Enter to add the PPA.

2. If the stock version in Ubuntu main repository was installed, remove the texstudio-doc, texstudio-l10n (if any) package before upgrading the software:
sudo apt-get remove texstudio-doc texstudio-l10n
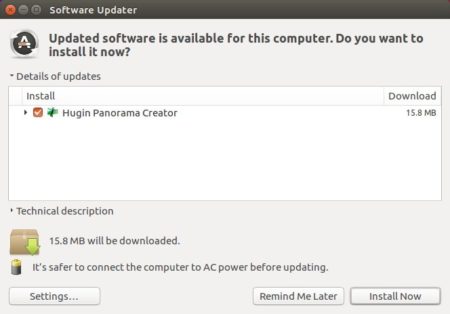
3. After adding the PPA, you can either upgrade it via Software Updater:
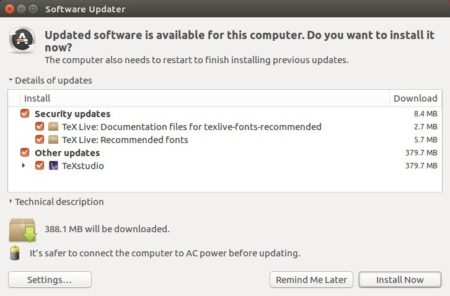
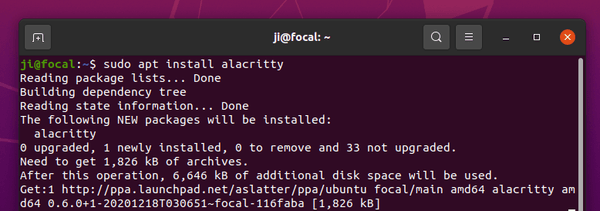
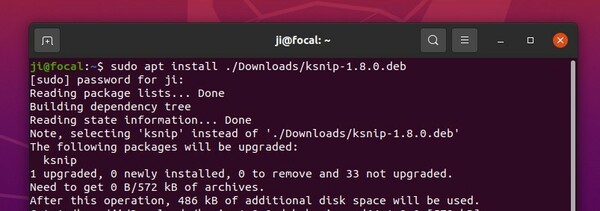
or run commands in terminal to install or upgrade the software:
sudo apt-get update && sudo apt-get install texstudio
Uninstall:
To remove the LaTeX editor, run command in terminal:
sudo apt-get remove --autoremove texstudio
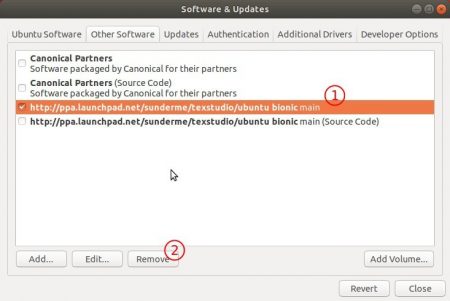
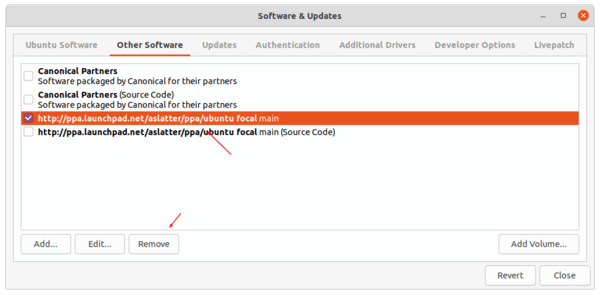
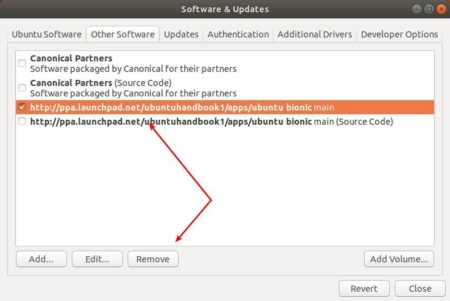
And go to Software & Updates -> Other Software to remove PPA repositories.