qBittorrent Bittorrent client 4.1.7 was released yesterday. Here’s how to install in Ubuntu 16.04, Ubuntu 18.04, Ubuntu 19.04, and derivatives.
qBittorrent 4.1.7 features:
- Add 12 hour and 24 hour speed graphs
- Change “Add new torrent” dialog to horizontal layout
- Avoid race conditions when adding torrent
- Fix torrent checking issues
- Fix torrent properties not saved for paused torrents
- Some improvements on qtsingleapplication code
- Remove limits of “Disk cache expiry interval” setting
- Remove upper limit of “Disk cache” setting
- Don’t turn window blank when closed to system tray
- Fix WebUI encoding of special characters
- Change the speed unit of WebUI from Bytes/s to KiB/s for the rate limiter
- Ignore RSS articles with non-unique identifiers
- And various other bug-fixes. See news page for details.
How to Install qBittorrent 4.1.7 in Ubuntu:
The official qBittorrent PPA contains the latest packages for Ubuntu 16.04, Ubuntu 18.04, and Ubuntu 19.04.
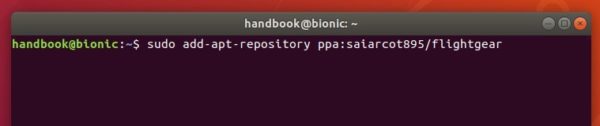
1. To add the PPA, open terminal either via Ctrl+Alt+T keyboard shortcut or by searching “Terminal” from app launcher. When it opens, run:
sudo add-apt-repository ppa:qbittorrent-team/qbittorrent-stable
Type user password (no asterisk feedback while typing due to security reason) when it prompts and hit Enter to continue.

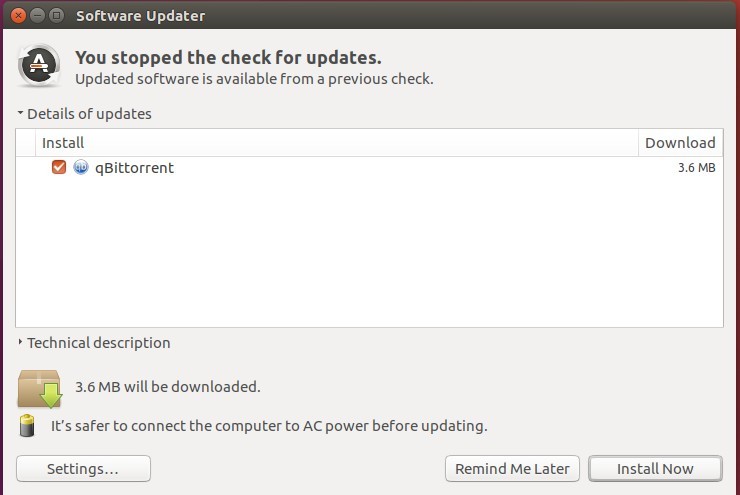
2. To upgrade from a previous release, launch Software Updater and you’ll see qBittorrent available for upgrade after checking for updates.
Or run commands below to install /upgrade it from terminal:
sudo apt update && sudo apt install qbittorrent
Uninstall:
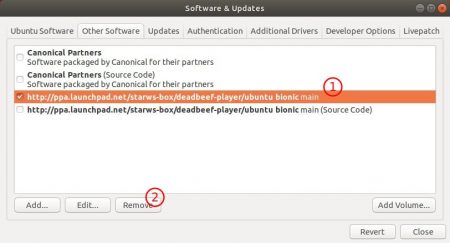
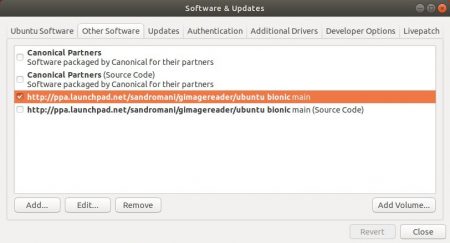
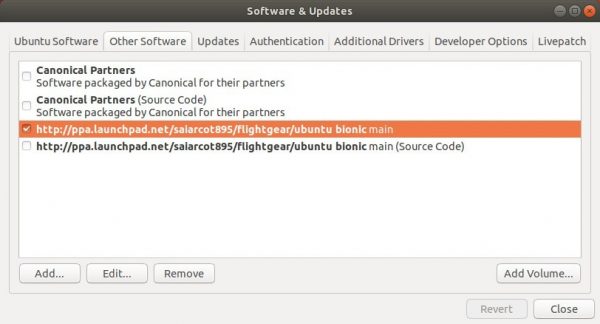
To remove qBittorrent PPA, go to Software & Updates -> Other Software, or run command in terminal:
sudo add-apt-repository --remove ppa:qbittorrent-team/qbittorrent-stable
To remove the bittorrent client, either use your system package manager or run command:
sudo apt-get remove --autoremove qbittorrent