Archives For November 30, 1999

gnome shell

Ubuntu 18.10 was released with great new desktop theme ‘Yaru’. However, there are always some people prefer old Ubuntu desktop look.

And it’s easy to restore the old desktop theme in Ubuntu 18.10 via following steps.

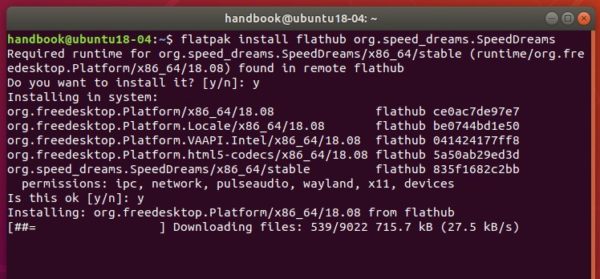
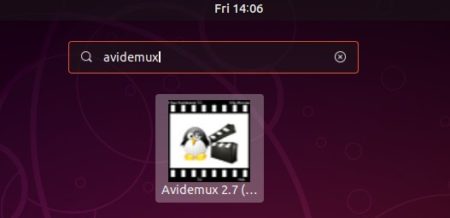
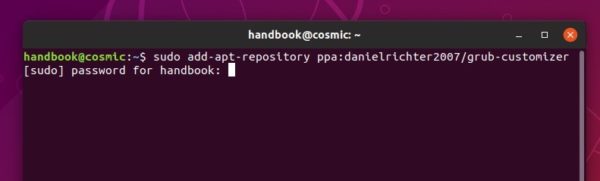
1. Open terminal either via Ctrl+Alt+T keyboard shortcut or by searching for ‘terminal’ from software launcher. When it opens, run command to install light-themes:

sudo apt install light-themes

Type user password (no asterisks feedback) for sudo prompts and hit Enter.

2. Install Gnome Tweaks if you don’t have it:

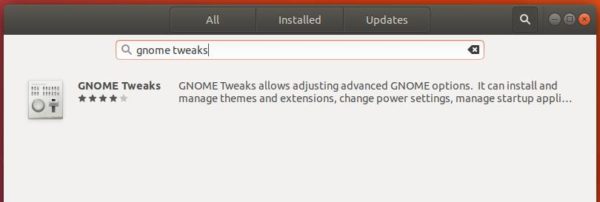
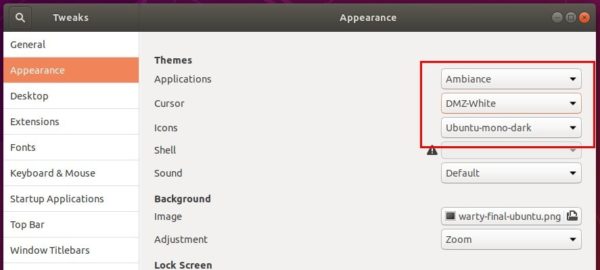
3. Finally launch Gnome Tweaks and navigate to Appearance tab.

There set themes to:

  • Applications -> Ambiance
  • Cursor -> DMZ-White
  • Icons -> Ubuntu-mono-dark

That’s it. To revert the changes, simply set those values back to Yaru in step 3.

How to Install MyPaint in Ubuntu 18.10 Cosmic

Last updated: January 29, 2019

Due to conflict between their dependencies, digital painter MyPaint can’t be installed if GIMP is already exist in Ubuntu 18.10.

In Ubuntu 18.10 universe repository, the GIMP package requires libmypaint-common library for mypaint brush, that conflicts with mypaint-data package required by MyPaint digital painting software.

For those who need both GIMP and MyPaint, install GIMP from otto06217’s PPA will solve the dependency conflict.

1. Open terminal (Ctrl+Alt+T) and run command to add the PPA:

sudo add-apt-repository ppa:otto-kesselgulasch/gimp

Type your user password (no asterisks feedback) for sudo prompts and hit Enter to continue.

2. Then either upgrade GIMP via Software Updater:

Or run command in terminal to install GIMP from the PPA:

sudo apt install gimp libmypaint

3. Finally install MyPaint via command:

sudo apt install mypaint mypaint-data

That’s it. Enjoy!

Speed Dreams, open source motorsport simulation and racing game, now can be installed in Ubuntu 18.04, Ubuntu 18.10, and also Ubuntu 16.04 easily via Flatpak package.

Speed Dreams is a fork of the open racing car simulator Torcs, aiming to implement exciting new features, cars, tracks and AI opponents to make a more enjoyable game for the player, as well as constantly improving visual and physics realism.

The official Speed Dreams PPA was abandoned for years. Thanks to Flatpak (containerized software package), now you can install the game in Ubuntu via following steps.

1. Open terminal (Ctrl+Alt+T), run command to install Flatpak framework if not exist (For Ubuntu 16.04, add the PPA first):

sudo apt-get install flatpak

2. Then add the flathub repository:

flatpak remote-add --if-not-exists flathub https://flathub.org/repo/flathub.flatpakrepo

3. Finally install Speed Dreams:

flatpak install flathub org.speed_dreams.SpeedDreams

Once successfully installed, open the game from application launcher and enjoy!

Uninstall:

To remove the Flatpak package, simply run command in terminal:

flatpak uninstall org.speed_dreams.SpeedDreams

shutter screenshot

Shutter, the popular Linux screenshot tool, is finally removed from the final release of Ubuntu 18.10 repository.

For those who want to install Shutter in Ubuntu 18.10. This unofficial PPA offers the latest packages that include:

  • Shutter 0.94.2 released a month ago with Gyazo uploads and some bug-fixes.
  • libgoo-canvas-perl and its dependencies to make ‘Edit’ option work.
  • libgtk2-appindicator-perl for system tray app indicator working.
UPATE: PPA abandoned since another PPA maintained the latest Shutter packages. For Ubuntu 19.04, read this howto tutorial.

Install Shutter in Ubuntu 18.10:

1. Open terminal either via Ctrl+Alt+T keyboard shortcut or by searching for ‘terminal’ from application menu. When it opens, run command:

sudo add-apt-repository ppa:ubuntuhandbook1/shutter

Type your user password (no asterisks feedback) when it prompts and hit Enter to add the PPA.

2. Then install shutter via command:

sudo apt install --install-recommends shutter

--install-recommends is required for application indicator. And you can add --install-suggests flag in the command for more functions.

Once installed, open shutter from software launcher and enjoy!

Uninstall:

To remove shutter screenshot tool, run command in terminal:

sudo apt remove --autoremove shutter

And go to Software & Updates -> Other Software to remove third-party PPA repositories.

Avidemux video editor

The latest Avidemux video editor 2.7.1 now can be installed in Ubuntu 18.10 easily via PPA (unofficial) repository.

The new package name has been renamed to avidemux2.7, thanks to Thanh Tung Nguyen. Unfortunately, I can’t build the VapourSynth plugin at the moment due to lack of time (I’m new to computer languages, and one small issue can take me a few hours to solve).

1. For Ubuntu 18.04 and Ubuntu 16.04 with avidemux2.6 installed, open terminal (Ctrl+Alt+T) and remove it first via command:

sudo apt remove --autoremove avidemux2.6-qt avidemux2.6-plugins-qt

2. Add the PPA repository by running command in terminal:

sudo add-apt-repository ppa:ubuntuhandbook1/avidemux

Type user password (no asterisks feedback) when it prompts and hit Enter to continue.

3. Finally install Avidemux 2.7.1 via command:

sudo apt install avidemux2.7-qt5

For Ubuntu 16.04, run sudo apt update to refresh cache first.

Uninstall:

To remove the software package, run command in terminal:

sudo apt remove --autoremove avidemux2.7-qt5

To remove the PPA, launch Software & Updates and navigate to Other Software tab.

Ubuntu 18.04

Ubuntu 18.10 Cosmic Cuttlefish was finally released today. Here’s how to upgrade from Ubuntu 18.04 to Ubuntu 18.10.

Ubuntu 18.10 is a short-term release with 9 months support. It features Linux 4.18 kernel, X.Org Server 1.20.1, Mesa 18.2.2, and new default desktop theme ‘Yaru’.

Preparation:

Before getting started, you need to do some preparations:

  1. Backup your bookmarks, documents, and other important data.
  2. It’s recommended to remove proprietary drivers and use the open-source drivers instead.
  3. Purge or remove third-party PPA repositories (Software & Updates -> Other Software)

To upgrade to Ubuntu 18.10:

1. Open Software & Updates and navigate to Updates tab.

Then select “For any version” from the drop-down menu of ‘Notify me of a new Ubuntu version’

2. Install all available system updates by running commands in terminal (Ctrl+Alt+T):

sudo apt-get update && sudo apt-get dist-upgrade

Type your user password (no asterisks feedback) when it prompts and hit Enter to continue.

3. Start Update Manager and you’ll see Ubuntu 18.10 available for upgrade (Restart first if required):

sudo update-manager -c

4. Click the Upgrade button and confirm in the next release note dialog:

The upgrading process starts and it may take a few hours depends on your device and internet speed.

Grub Customizer, the graphical tool for configuring Grub boot-loader, got a new release a few days ago. The PPA adds support for Ubuntu 18.10 Cosmic Cuttlefish.

Grub Customizer is a simple tool that features:

  • add, remove, edit boot-loader menu entries.
  • Set default OS entry, kernel parameters, etc.
  • Change background image, text font, resolution, etc.
  • Reinstallation of the bootloader to Windows MBR

The most recent 5.1.0 release features:

  • New app icon
  • command option -v to display version info.
  • Traslation updates and some internal changes

How to Install Grub Customizer 5.1.0 in Ubuntu:

For Ubuntu 18.10, and current 3 Ubuntu LTS releases (14.04, 16.04, 18.04), install the new release packages via following steps:

1. Open terminal either from App Launcher or via Ctrl+Alt+T keyboard shortcut. When it opens, paste below command and run to add the official PPA:

sudo add-apt-repository ppa:danielrichter2007/grub-customizer

Type user password (no asterisks feedback due to security reason) when it asks and hit Enter to continue.

2. Then update package lists and install the software:

sudo apt-get update

sudo apt-get install grub-customizer

You can skip sudo apt-get update in Ubuntu 18.04 and higher, since step 1 adding PPA do it automatically.

Once installed, launch it from application menu and enjoy!

Uninstall:

To remove the software, run command in terminal:

sudo apt-get remove --autoremove grub-customizer

And open Software & Updates and navigate to Other Software tab to remove third party PPA repositories.