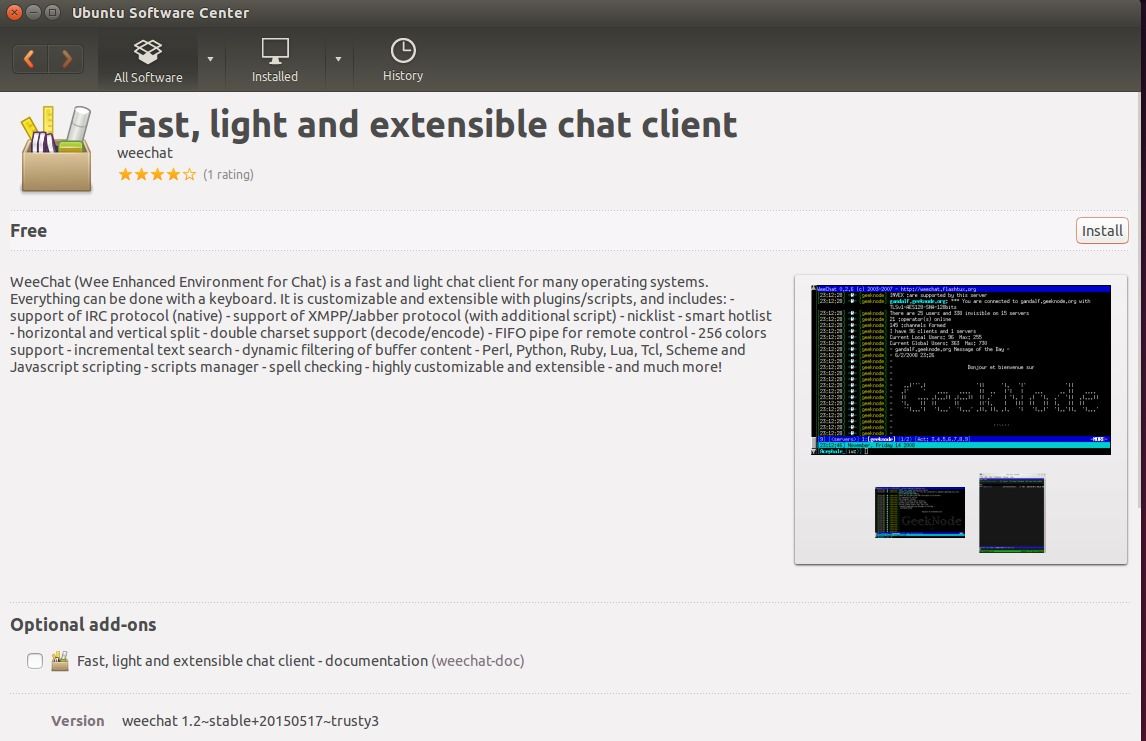
![]() WeeChat, Wee Enhanced Environment for Chat, is a free and open-source IRC client designed to be light and fast.
WeeChat, Wee Enhanced Environment for Chat, is a free and open-source IRC client designed to be light and fast.
The client uses a curses frontend, and there are remote interfaces for Web, Qt, Android and Emacs. It can be used and navigated using a keyboard alone but also supports mouse input. The client can be heavily customized via configuration files and using various plugins and scripts.
WeeChat’s features include:
- IPv6
- SSL
- Proxy connections
- The screen can be split up to display multiple windows at the same time.
- Incremental text search
- Aspell support for spell checking
- Scripting support for many languages (Perl, Python, Ruby, Lua, Tcl, Scheme with GNU Guile)
- FIFO pipes for remote control
- Support for multiple character encodings
- User-defined aliases and shortkeys
WeeChat works on most platforms and operating systems, including Linux, Mac OS X, BSD, Solaris, Windows. While Ubuntu repositories provide an old version, you can install the latest packages and receive future updates of WeeChat by following below steps.
Install/Upgrade WeeChat in Ubuntu:
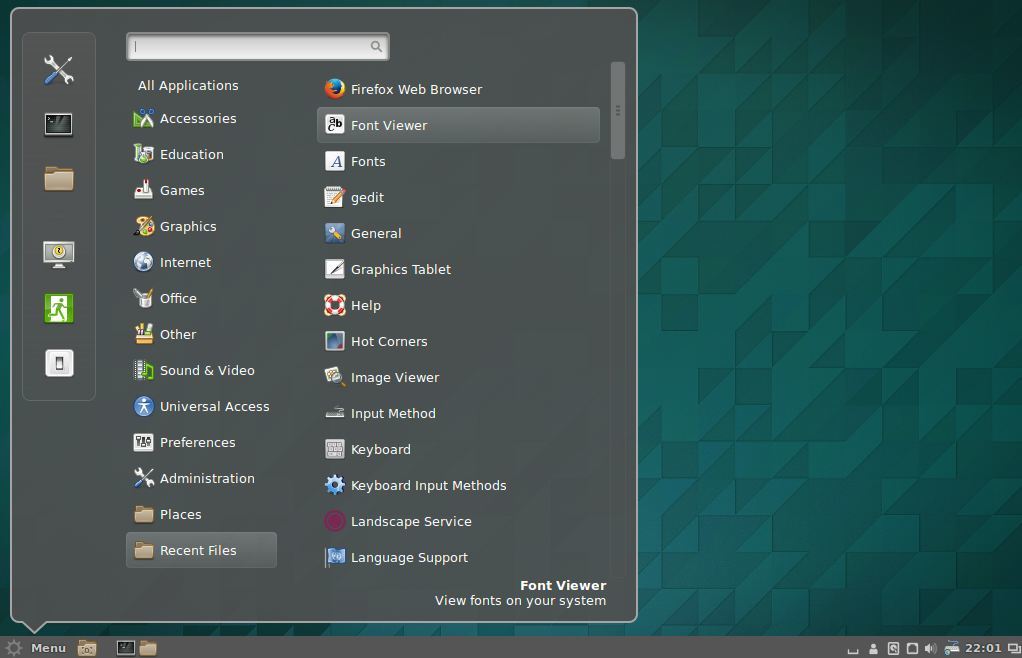
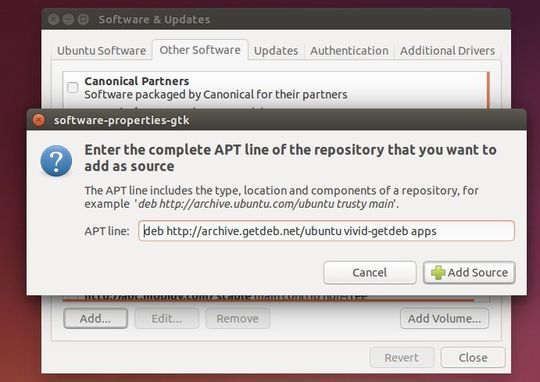
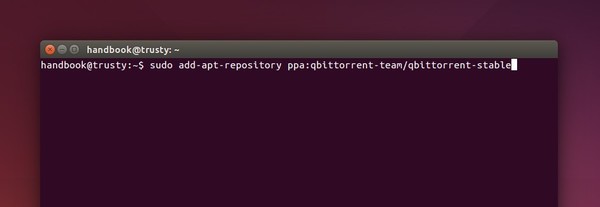
1. Open terminal from the Dash/Menu, or by pressing Ctrl+Alt+T on keyboard. When it opens, run command to add WeeChat official PPA:
sudo add-apt-repository -y ppa:nesthib/weechat-stable

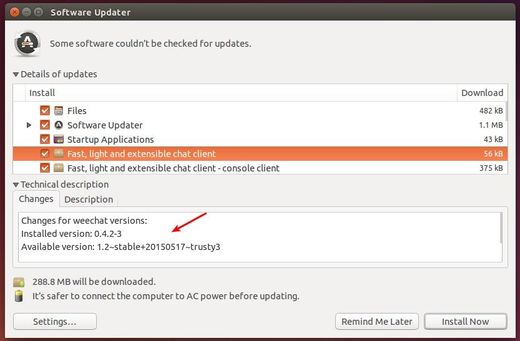
2. After adding the PPA, launch Software Updater utility. After checking for updates (automatically), you can upgrade WeeChat by installing available updates:
3. If you don’t have a previous version installed, search for and install WeeChat from Ubuntu Software Center after checking for updates (via Software Updater, or sudo apt-get update command.)