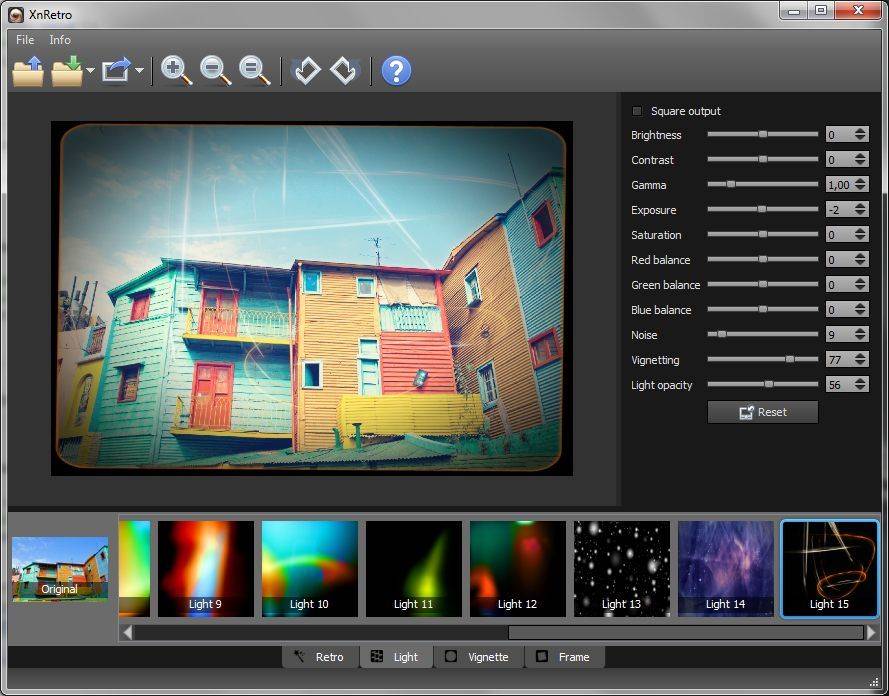
XnRetro is a small tool that allows you to create stunning images with vintage or instant effect on your Desktop. It allows to share the result to Flickr, Picasa, Facebook and more.
Features:
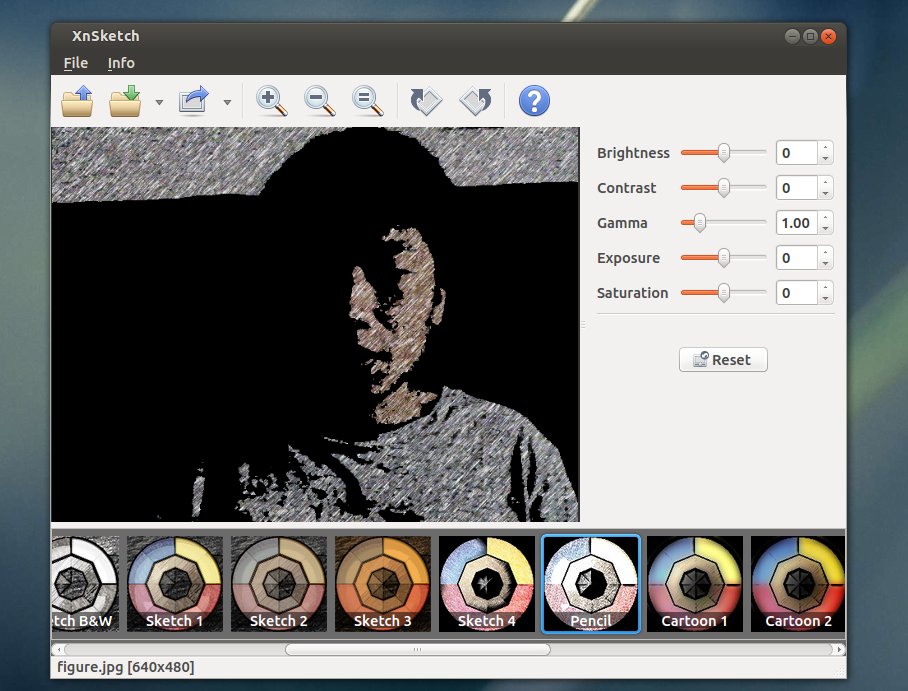
- 20 color effects
- 15 light effects such as bokeh, leak
- 28 frame borders
- Adjustement like contrast, gamma, saturation, …
- Vignetting
- Noise
- Save or share the result to Flickr, Picasa, Facebook, Imgur, Thmblr, ImageShack, Yfrog, GlowFoto, TwitPic, and Email.
Install XnRetro:
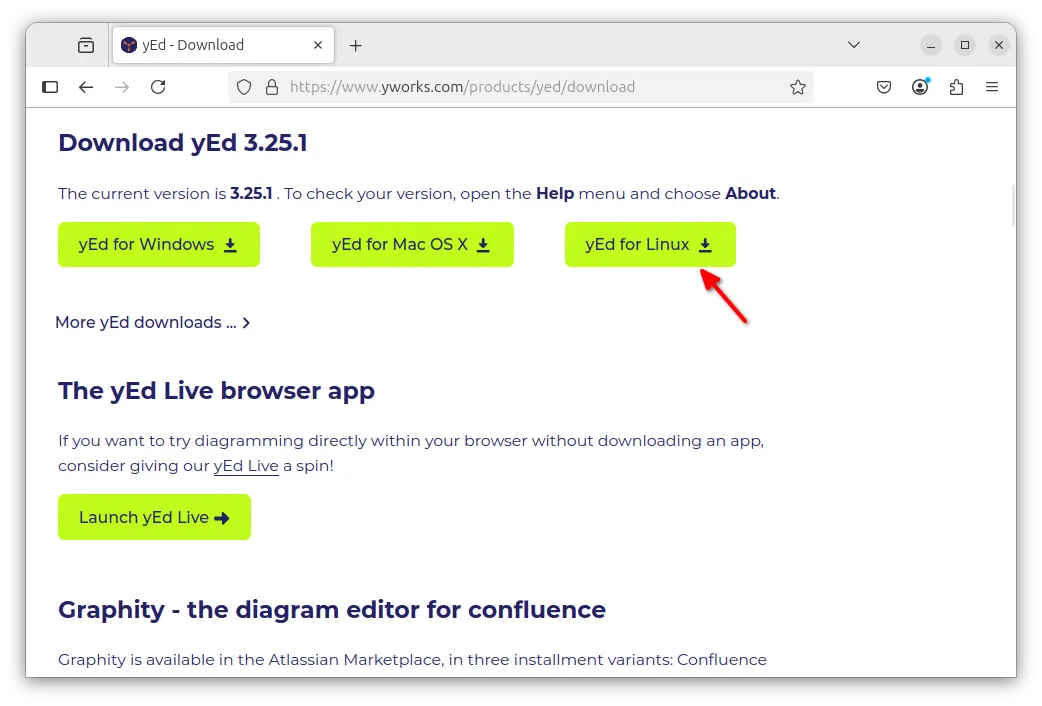
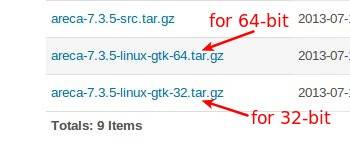
First download the app:
XnRetro for Windows 32-bit |Windows 64-bit
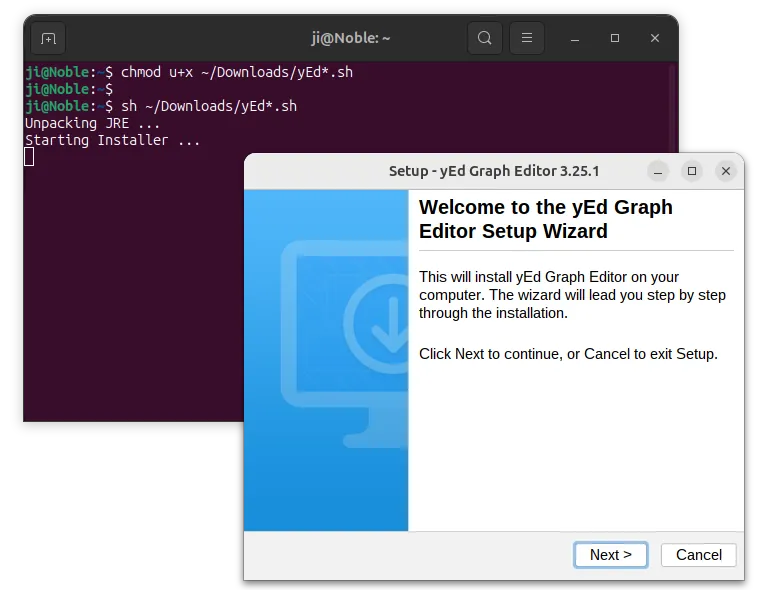
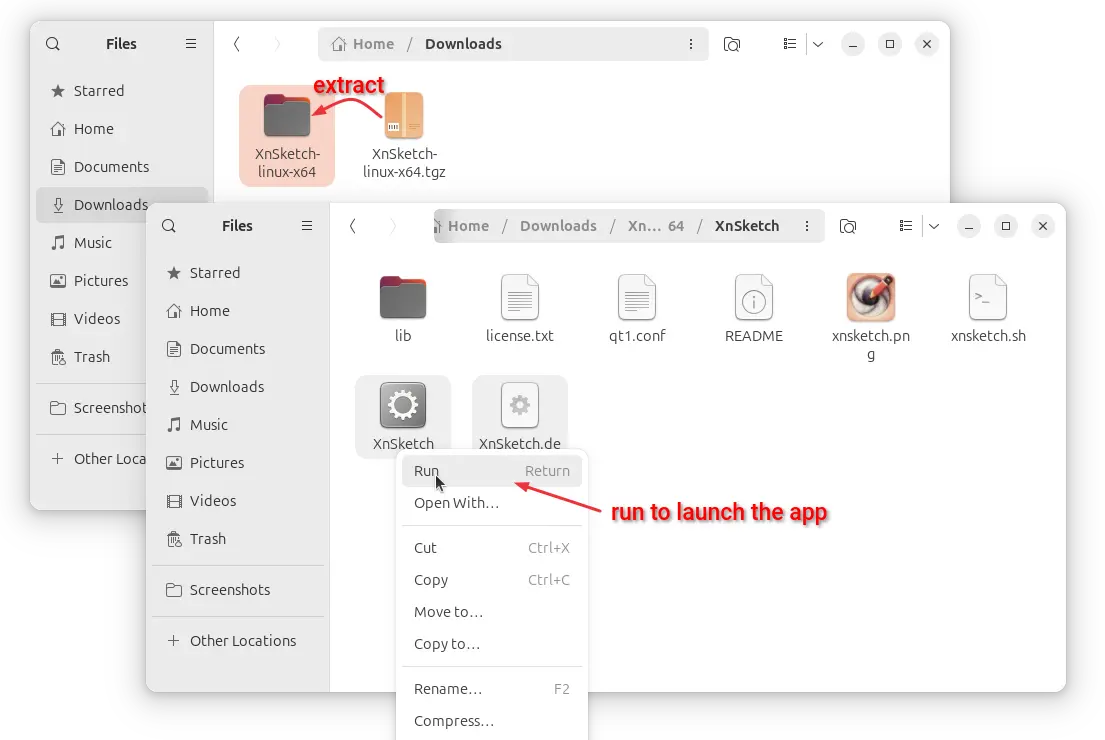
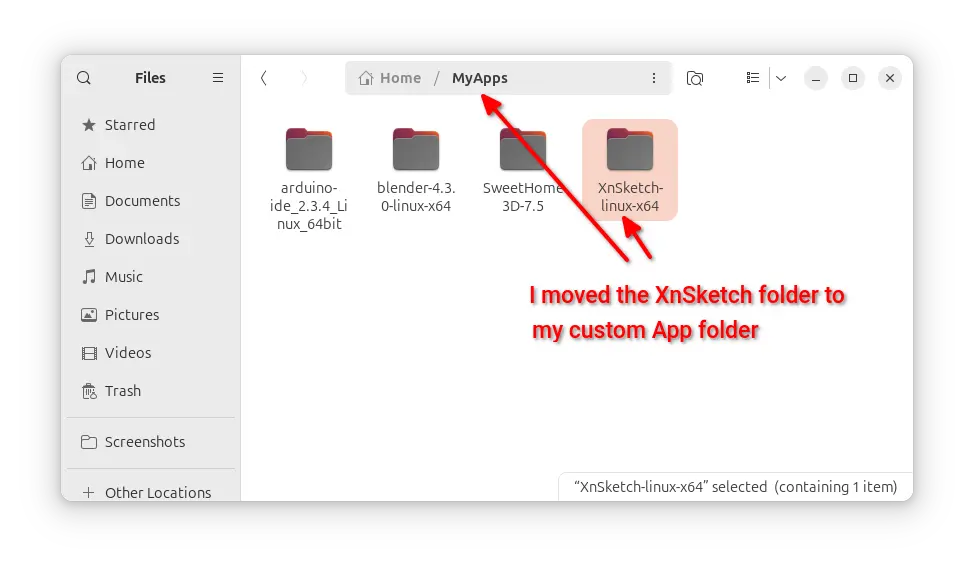
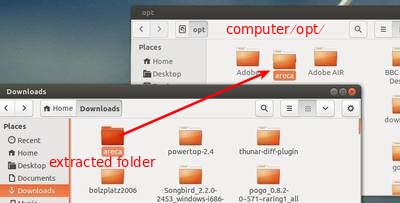
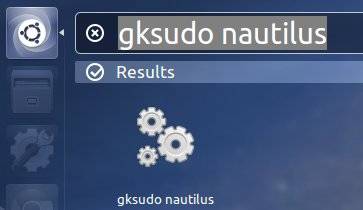
For Ubuntu users, decompress the package and copy and paste the result folder into /opt/ folder. To do so, press Alt+F2 on your keyboard and type in gksudo nautilus to open file browser with root privilege.
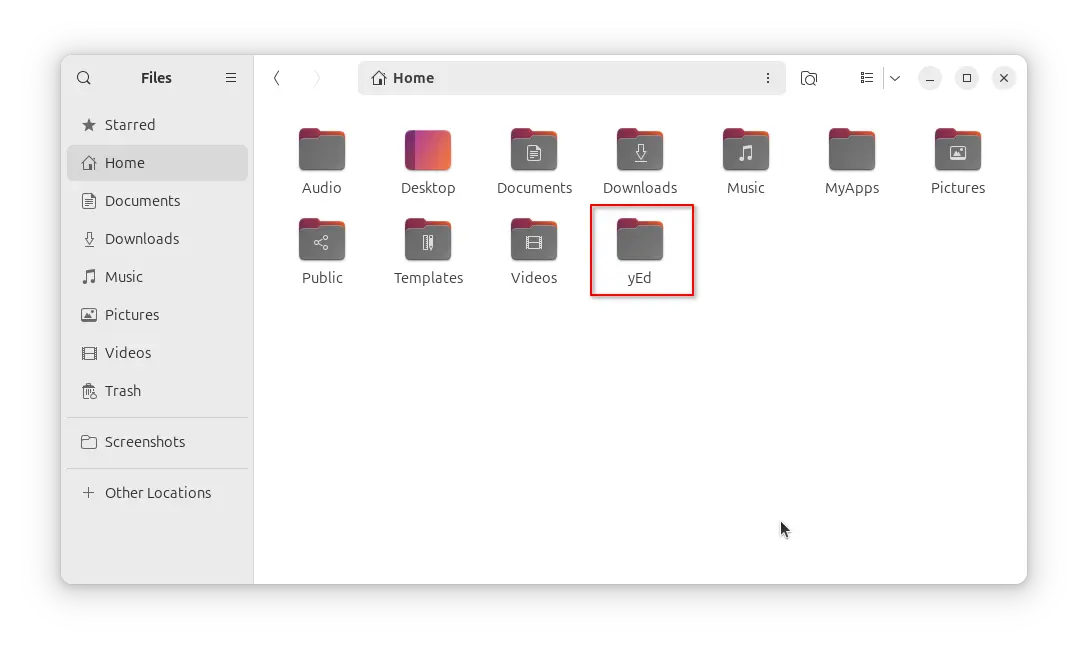
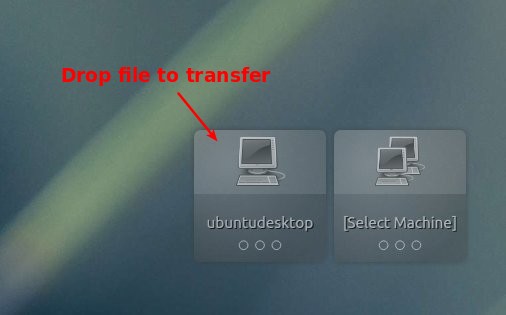
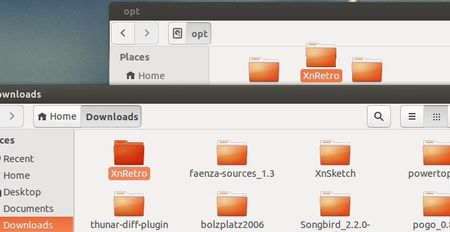
Then drag and drop the extract folder from your ~/Downloads folder to /opt/:
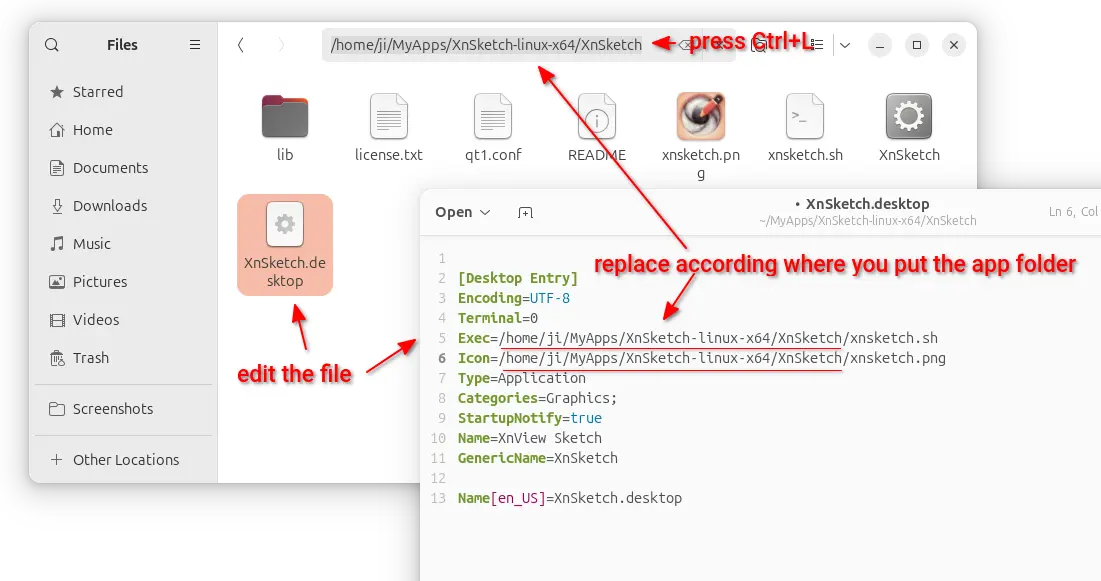
Finally follow below steps to create a launcher for this tool:
1.) Press Ctrl+Alt+T on your keyboard to open terminal. When it opens, run below commands to install required package:
sudo apt-get install gnome-panel --no-install-recommends
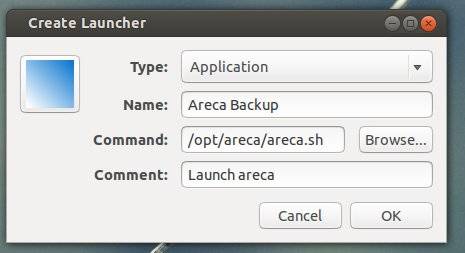
2.) Run command to bring up Create Launcher dialog.
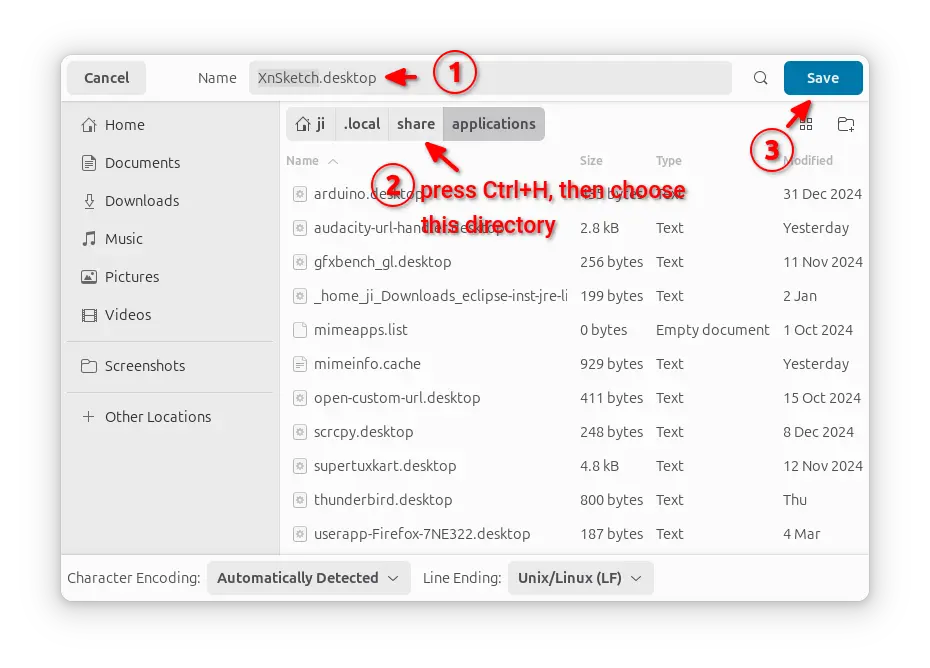
sudo gnome-desktop-item-edit /usr/share/applications/ --create-new
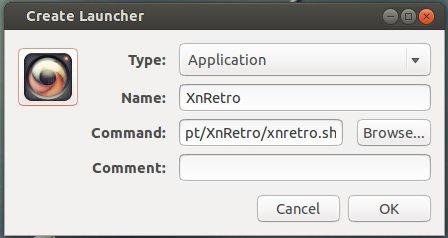
In next window type following:
name = XnRetro
command = /opt/XnRetro/xnretro.sh
select an icon from /opt/XnRetro/xnretro.png
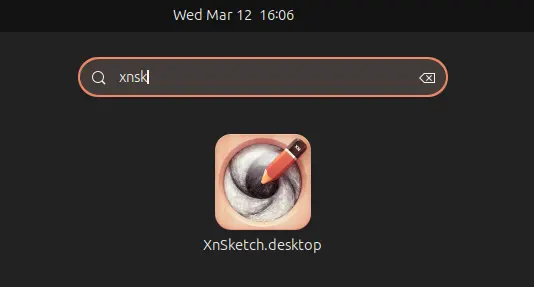
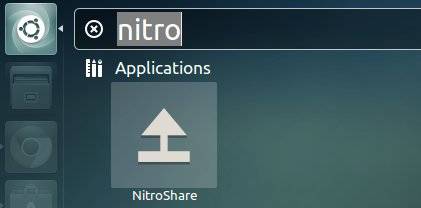
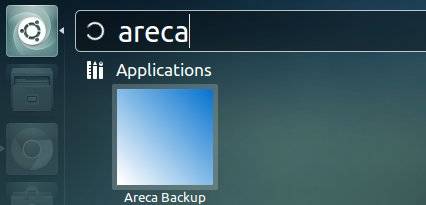
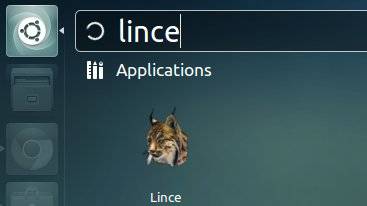
Once done, click Ok and you’ll see the XnRetro icon from the Unity Dash home.