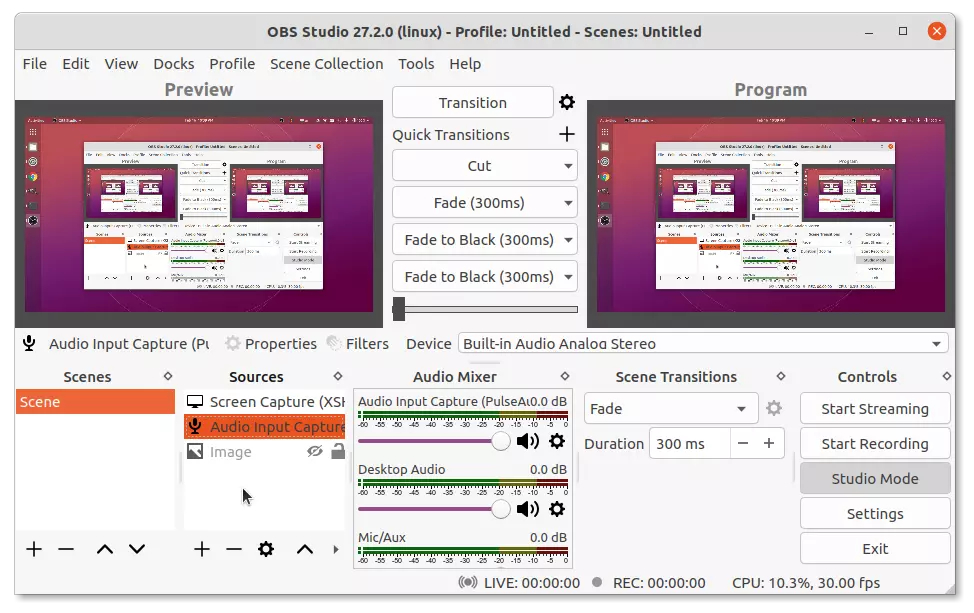
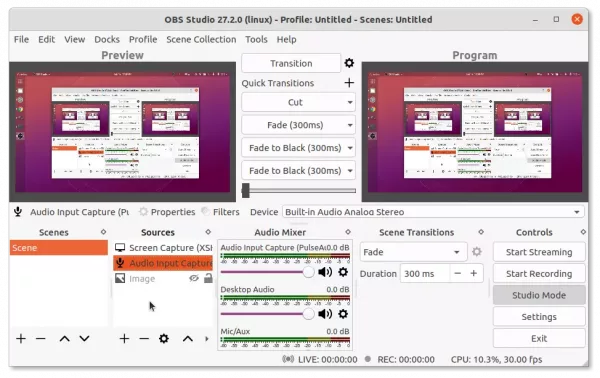
The popular open-source live streaming app OBS Studio released v27.2 with exciting new features! Here’s how to install it in Ubuntu via different ways.
What’s New in OBS Studio 27.2:
Release highlights in OBS Studio 27.2 include:
- Add AJA source for AJA devices
- Add AJA output to tools menu for AJA devices
- AOM AV1 and SVT-AV1 encoding support.
- Hotkey filter search
- Hotkey duplicate detection
- Support for the RIST protocol
- Official Flatpak support for Linux
- Many other changes and bug-fixes.
Install OBS Studio 27.2 in Ubuntu:
The software package is available in Ubuntu default repositories, but old. For the most recent version, there are official Ubuntu PPA, Official Flatpak package, and community maintained Snap package.
Option 1: Install OBS Studio via Ubuntu PPA:
The official PPA may be the most favorite method, since it installs the app as the classic .deb. So far, the PPA contains 64-bit package for Ubuntu 18.04, Ubuntu 20.04, and Ubuntu 21.10.
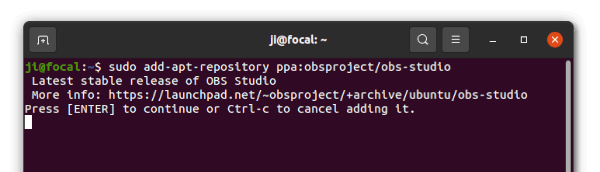
1.) Press Ctrl+Alt+T on keyboard to open terminal. Next, paste the command below and hit Enter to add the PPA:
sudo add-apt-repository ppa:obsproject/obs-studio
Type user password (no asterisk feedback) when it asks and hit Enter to continue.
2.) After adding the PPA, Ubuntu 18.04 user need to manually refresh system package cache via command:
sudo apt update
3.) Finally, either install the app via command:
sudo apt install obs-studio
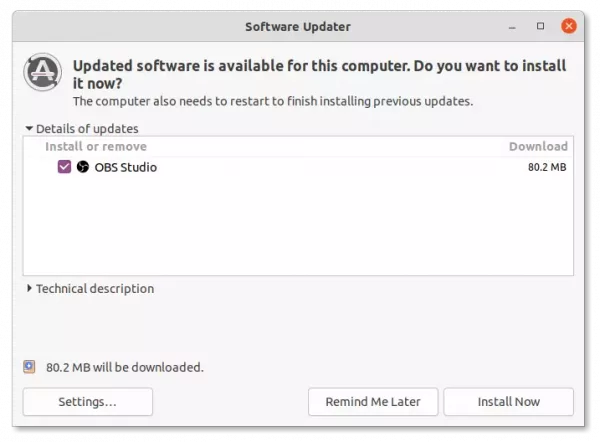
Or update the software package using ‘Software Updater’ utility:
Option 2: Install OBS Studio via Flatpak:
The Fluthub repository offers the official 64-bit and 32-bit packages available to install in most Linux systems.
The Flatpak package updates automatically and use the latest dependency libraries for best performance. However, it takes hundreds more megabytes disk space!
1.) Firstly, press Ctrl+Alt+T on keyboard to open terminal and run command to install Flatpak daemon:
sudo apt install flatpak
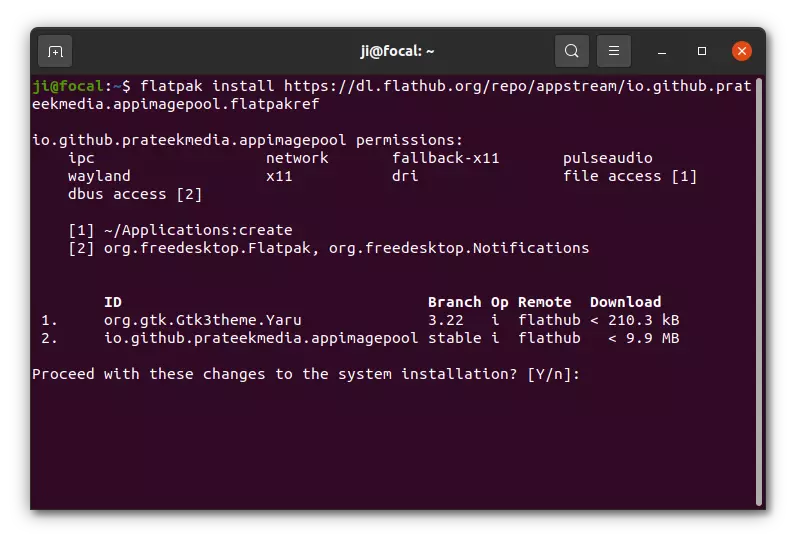
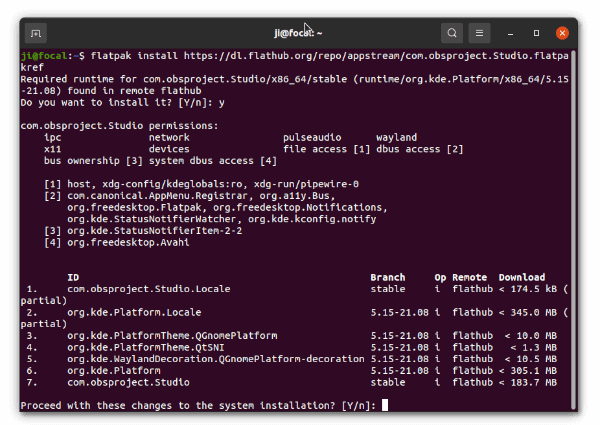
2.) Next, install OBS Studio as Flatpak using command:
flatpak install https://dl.flathub.org/repo/appstream/com.obsproject.Studio.flatpakref
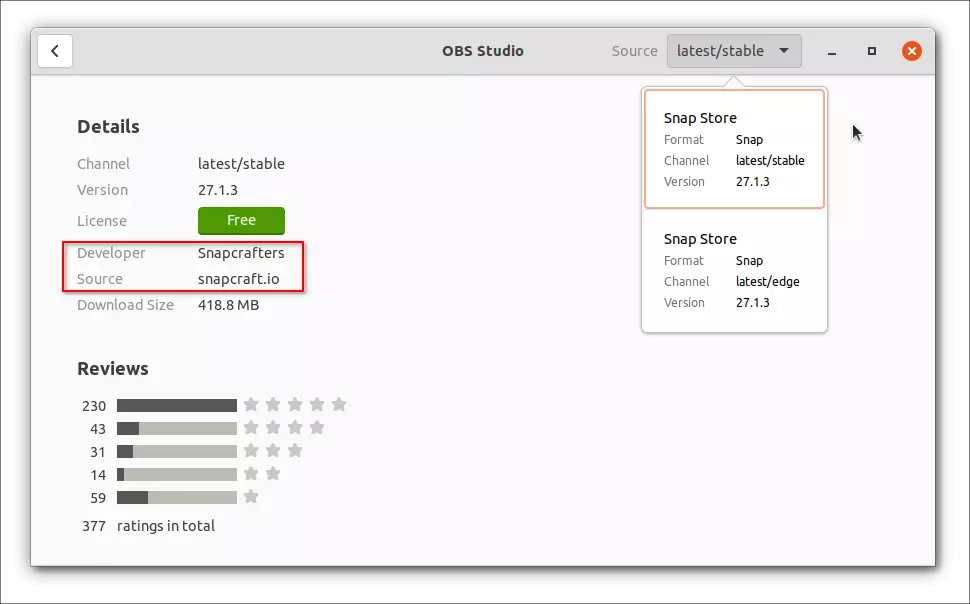
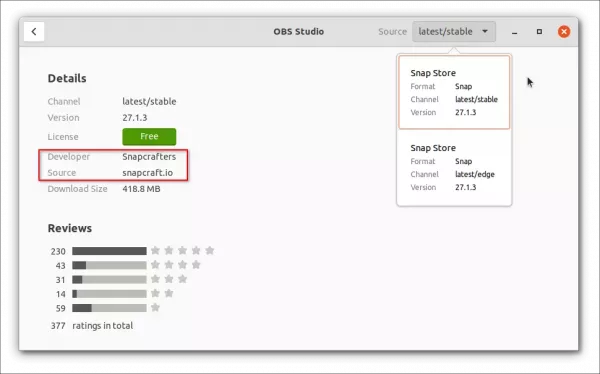
Option 3: Install OBS Studio via Snap:
Snap is another universal package format runs in most Linux. It’s developed by Canonical, the company behind Ubuntu. It updates automatically and takes more disk space too. However, OBS Studio as Snap is NOT official package so far.
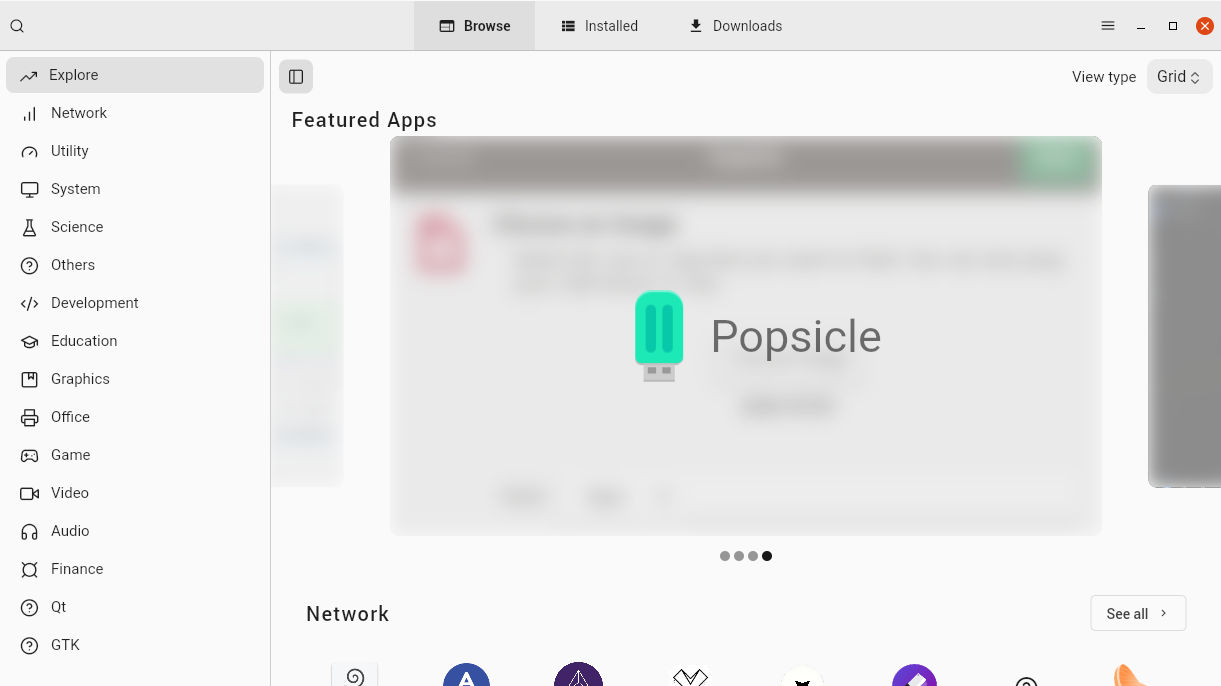
Ubuntu user may install the Snap package easily from Ubuntu Software. Though, it’s v27.1.3 at the moment.
NOTE: Snap, Flatpak, and Deb packages can be installed alongside with each other. So you may have duplicated app icons if more than one installed.
Uninstall OBS Studio:
To remove the Ubuntu PPA, open terminal and run command:
sudo add-apt-repository --remove ppa:obsproject/obs-studio
And remove the live streaming app .deb package using command:
sudo apt remove --autoremove obs-studio
To remove the Flatpak package, run command in terminal:
flatpak uninstall --delete-data com.obsproject.Studio
And clean up disk space via flatpak uninstall --unused.
For the Snap package, simply use Ubuntu Software.