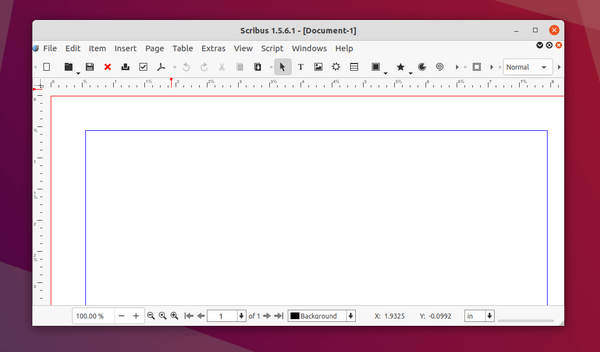
For those prefer installing applications via apt method, the desktop publishing software Scribus 1.5.6 is finally made into PPA available for Ubuntu 20.04, Ubuntu 20.10, and Linux Mint 20.
Scribus 1.5.6 was released a few months ago as the latest development release for the next major version 1.6.0. It features:
- Introduce a context-sensitive Content Palette
- A new PDF-based output preview
- Improved dark UI themes support.
- Support for PDF 1.6 export, including embedded OpenType fonts.
- And much more.
How to Install Scribus 1.5.6.1 via PPA:
Besides non-install Appimage and community maintained flatpak package, the official PPA now contains the packages for Ubuntu 20.04, Ubuntu 20.10.
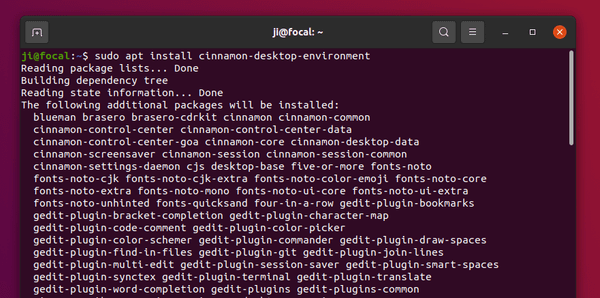
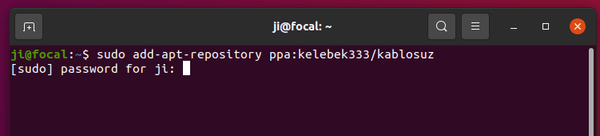
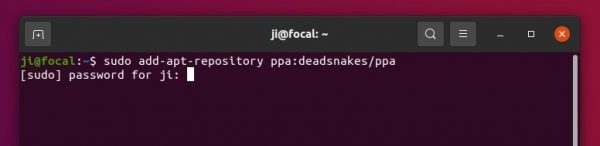
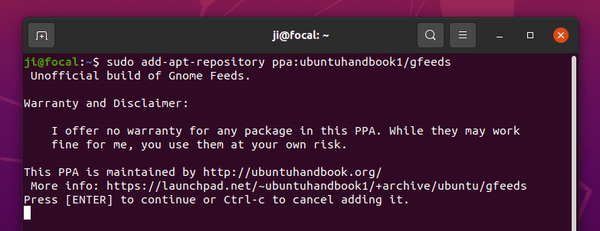
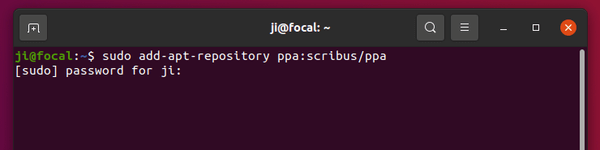
1.) Open terminal from system application launcher. When it opens, run command to add the PPA:
sudo add-apt-repository ppa:scribus/ppa
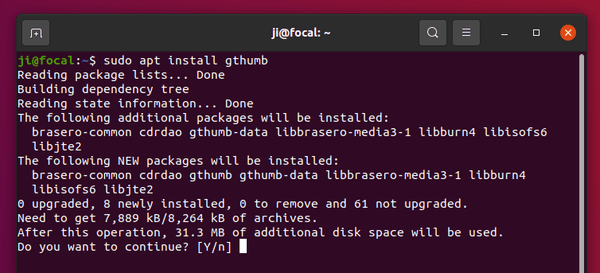
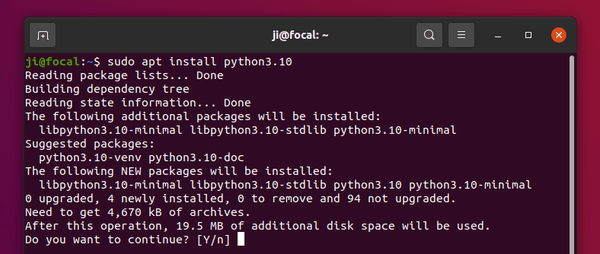
2.) Then run command to install the software package:
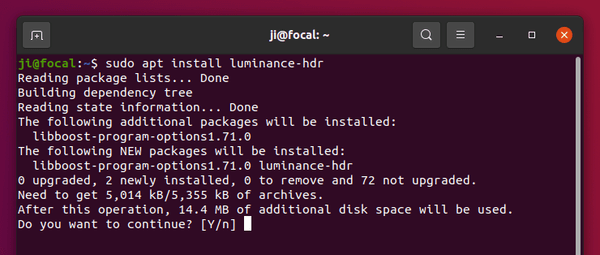
sudo apt install scribus-ng

Uninstall Scribus:
To remove the scribus package, simply run command in terminal:
sudo apt remove --autoremove scribus-ng
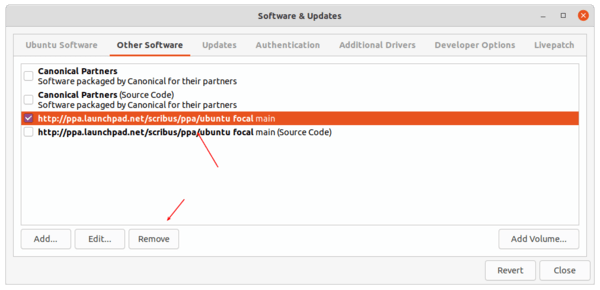
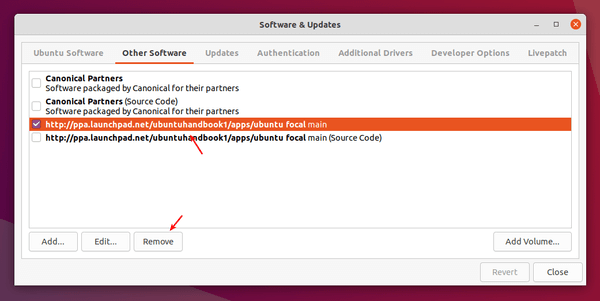
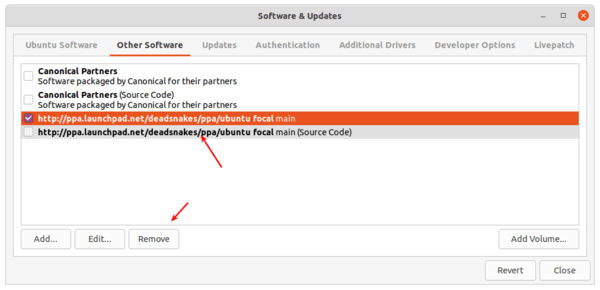
To remove the Ubuntu PPA, either run command in step 1.) with --remove flag, or open Software & Updates and remove relevant line under Other Software tab.