It’s been more than 8 years since the last 1.3.1 stable. Clementine, the old popular music player and library organizer, finally got a new stable release!
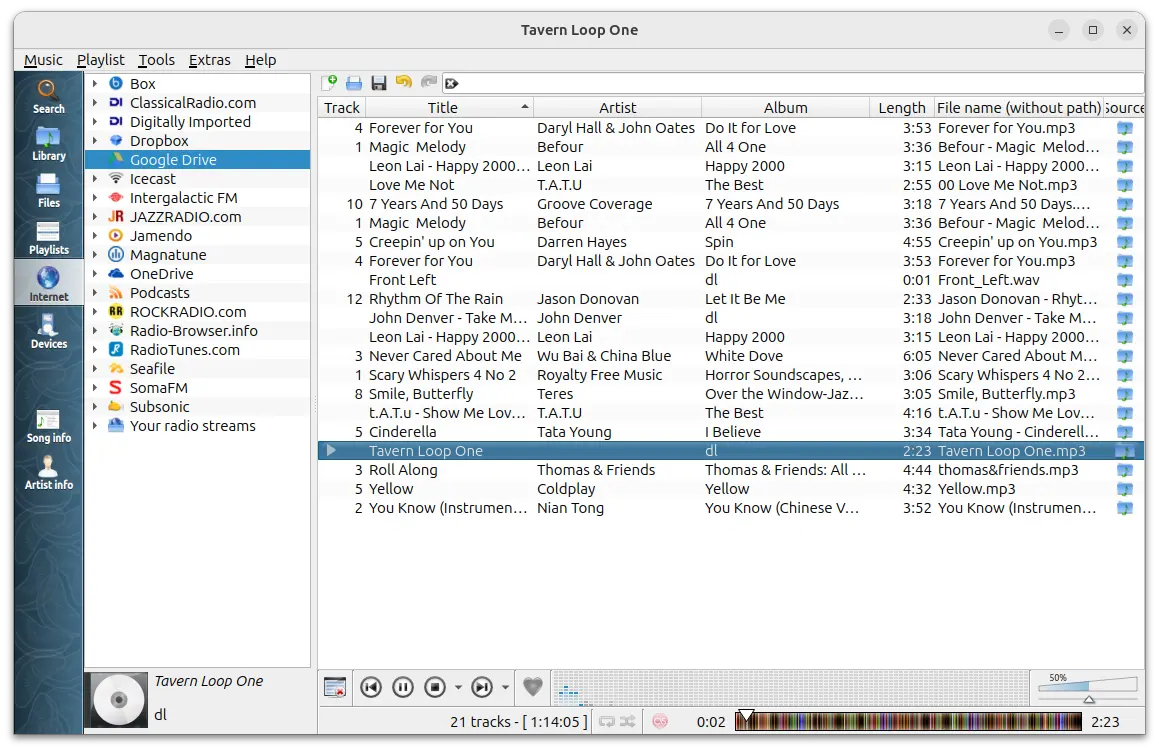
Clementine is a free open-source music player inspired by Amarok 1.4. It provides an easy to use Qt5 user interface to play and manage large music collections, while keeping fast and lightweight.
Besides local music playback, the player also supports internet radios, such as last.fm, radio-browser.info, Subsonic. And, it can search and play you music from cloud, including Google Drive, Dropbox, OneDrive, and more.
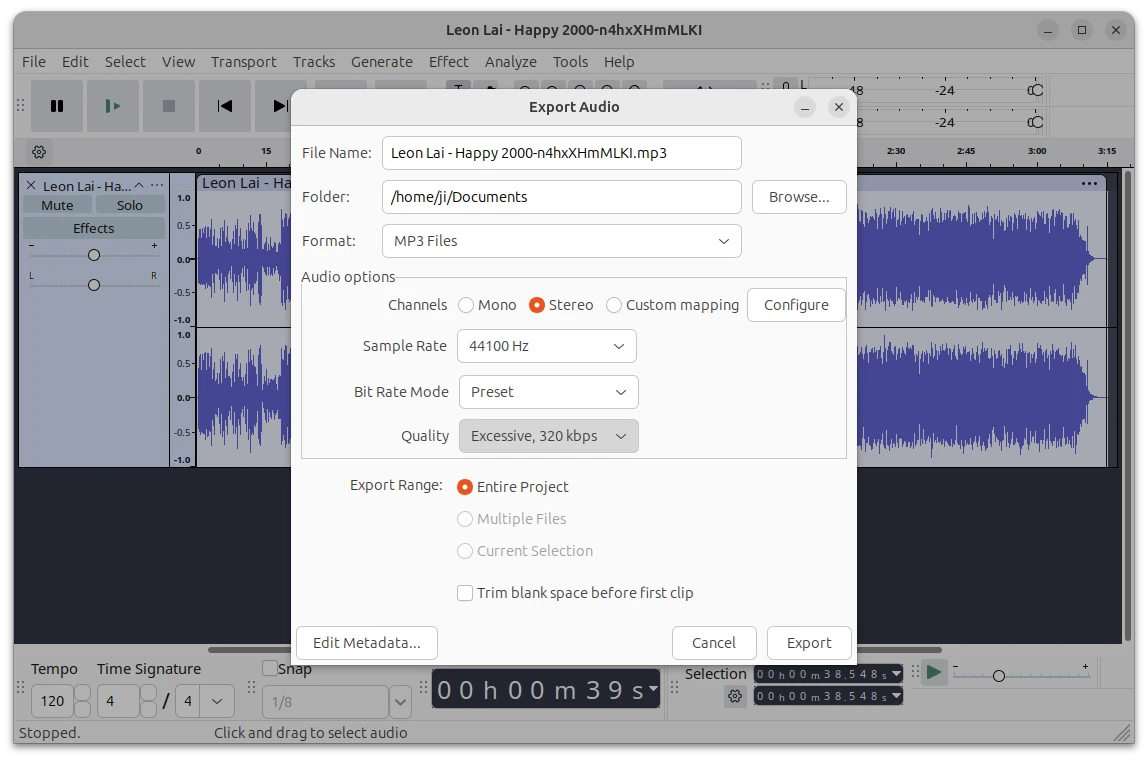
Moreover, it provides handy tools to transcode music, open and rip audio CD. See Clementine website for more about it.
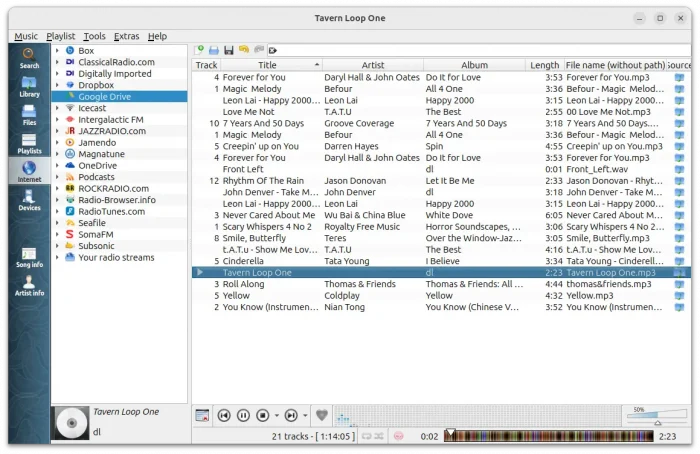
Clementine Music Player
Continue Reading…