![]()
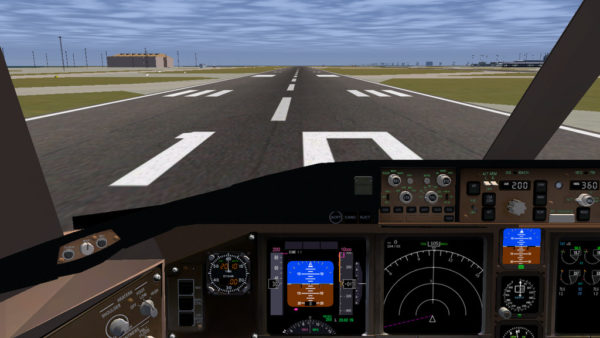
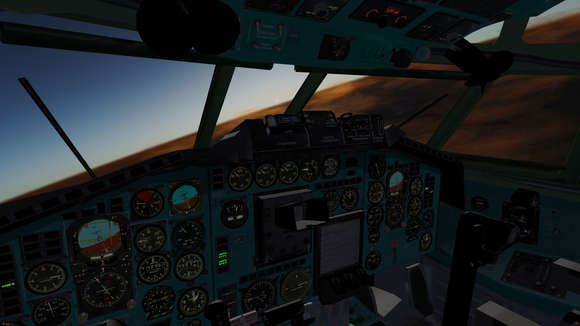
Free open-source multi-platform flight simulator FlightGear 2019.1 was finally released today. Here’s how to install it in Ubuntu 18.04 and higher.
FlightGear 2019.1 release highlights:
- METAR interpretation: Change CAVOK visibility to 9999.0 metres
- Add the ability to control the turbine engines spin down factor
- Add the ability to set up the starter and acceleration times of a turbine
- Yasim ground friction (stiction) changes
- fgcommands “add-aiobject” and “remove-aiobject” for adding/removing objects to the AI subsystem.
- Support for DDS Texture Cache
- New experimental Compositor rendering framework
- Some Boeing 777 update, and other more.

How to Install FlightGear in Ubuntu:
FlightGear is available in Ubuntu Software by default, but always old. To get the most recent version, you can:
- either install or upgrade FlightGear via PPA repository.
- or install the Flatpak package (runs in sandbox).
NOTE: Both PPA repository and Flatpak package are not updated at the moment. The new release packages will be available in a few days.
1. To add the PPA, open terminal (Ctrl+Alt+T) and run command:
sudo add-apt-repository ppa:saiarcot895/flightgear

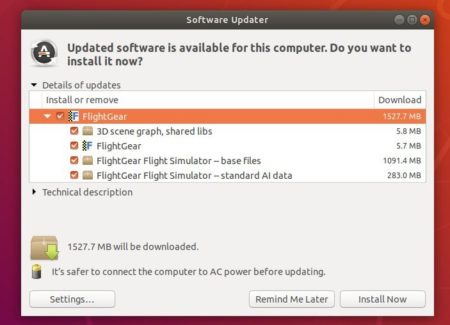
Then you’ll be able to either upgrade FlightGear through Software Updater,
or install the simulator via command:
sudo apt update && sudo apt install flightgear
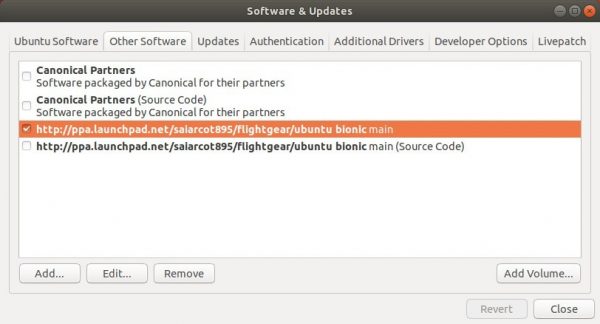
(Optional) You can remove the PPA either via the first step command with --remove added in the end, or by going to “Software & Updates -> Other Software” tab.

2. FlightGear Flatpak package is available in Flathub repository, where also contains how to install instructions.


