


![]()
For those sticking to the OpenJDK Java 8, you may found it’s missing from the default repositories of Ubuntu 19.04.
To install OpenJDK 8 in Ubuntu 19.04, you can either download and install the package from Ubuntu 18.10 repository, or use OpenJDK builds (all archs) PPA.
Install OpenJDK 8 via Ubuntu 18.10 packages:
1. Click download following 4 packages (for the default 64-bit OS, click HERE for 32-bit packages.) from Ubuntu server.
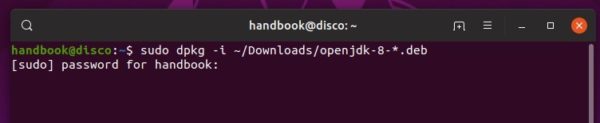
2. Then open terminal (Ctrl+Alt+T) and install them via command:
sudo dpkg -i ~/Downloads/openjdk-8-*.deb
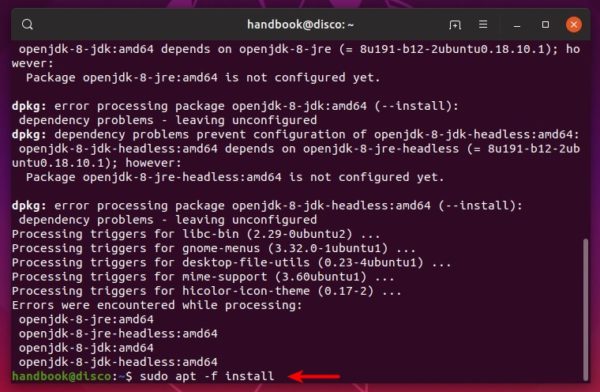
3. The installation will fail due to dependency issue, simply run following command to fix it:
sudo apt -f install
That’s it.
Install OpenJDK 8 via PPA:
There’s also an OpenJDK PPA that contains the packages for Ubuntu 19.04. Open terminal either from application menu or by pressing Ctrl+Alt+T on keyboard and then run following commands one by one.
1. Add the PPA repository by running command:
sudo add-apt-repository ppa:openjdk-r/ppa
Type user password (no asterisk feedback) when it prompts and hit Enter to continue.

2. Then install OpenJDK 8 after checking for updates (it’s done automatically).
sudo apt install openjdk-8-jdk openjdk-8-jre

3. (Optional) Finally remove the PPA either via Software & Updates -> Other Software, or by running command:
sudo add-apt-repository --remove ppa:openjdk-r/ppa


