This simple tutorial shows how to do stress test on your CPU in Ubuntu or Debian Linux, either Desktop or Server.
Got a new CPU /CPU cooler, or changed your computer environment? You can perform a stress test to find out if it’s working good! And, here’s how to do the trick in Debian, Ubuntu, and their based systems.
Step 1: Install stress/stress-ng & s-tui
In all current Ubuntu (20.04, 22.04, 24.04) and Debian releases, there are few command line and TUI tools to do the job.
First, open terminal either from start/application menu or by pressing Ctrl+Alt+T on keyboard.
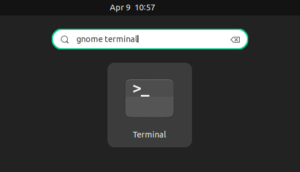
When it opens, run command:
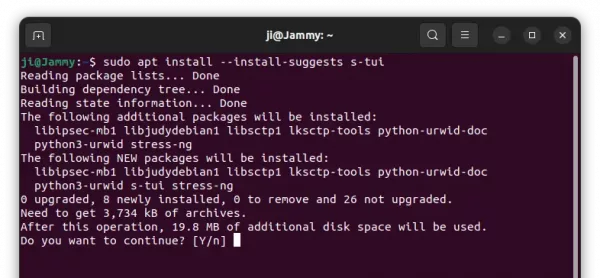
sudo apt install --install-suggests s-tui
Type user password (no asterisk feedback) for sudo authentication and hit Enter.
The command will install s-tui, with TUI interface to start, stop, configure stress test, and monitor your CPU status in terminal.
With --install-suggests option, it also installs the stress or stress-ng package as the backend for the testing.
Step 2: Perform Stress Test
After installing the tool, simply run the command below in terminal to start s-tui:
s-tui
Then, you’ll see something look like the screenshot below shows you.
In left, it shows some options, as well as summaries of core temperatures, and frequencies. In right, it shows information about the temperature, utilization rate,etc in graphs.
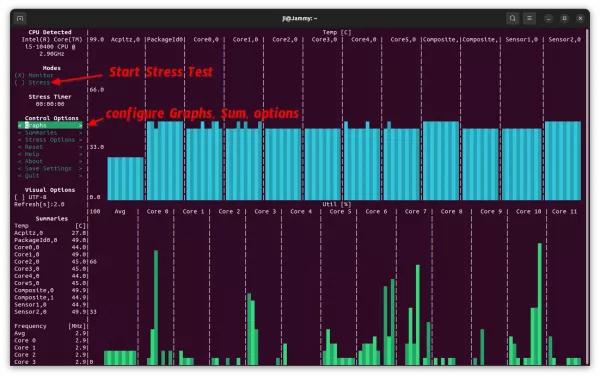
To start stress test, just left click on ( )Stress in the top-left corner of terminal, or use arrow key to highlight it and hit Enter. To stop it, just click to switch back ( )Monitor.
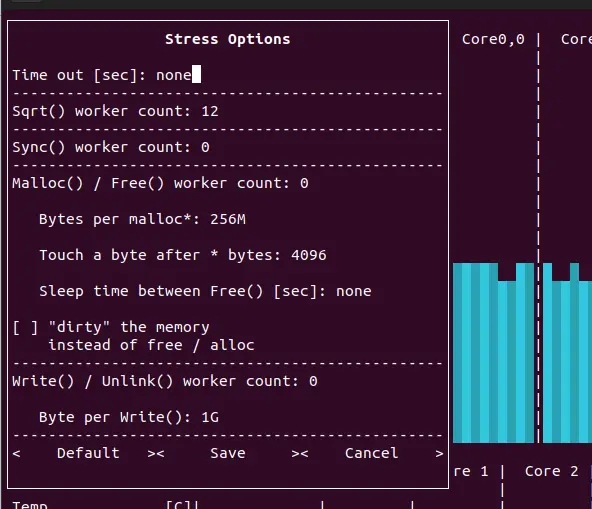
By clicking Stress Options in left, it will show you option to set a timeout to automatically stop stress testing in given seconds. You can also change Sqrt() worker count and Sync() worker count to specify how many cores to run for stress test.
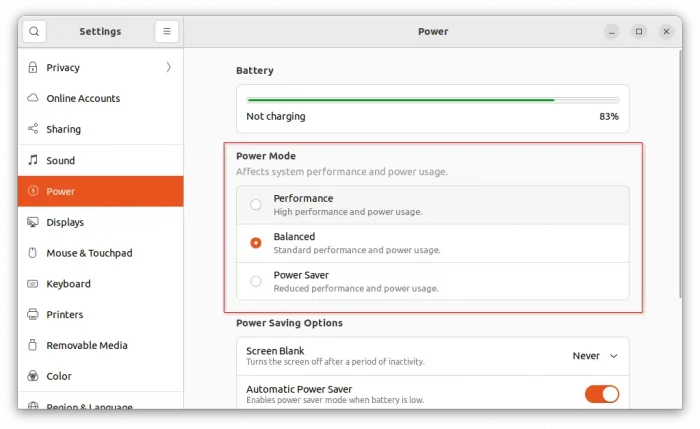
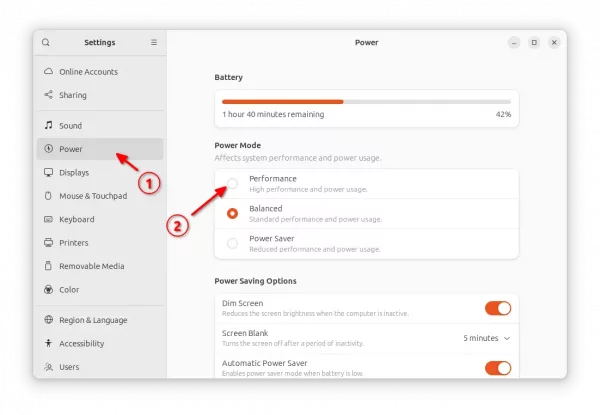
Tips 1 : For GNOME, Ubuntu’s default desktop environment, open “Power” settings and change CPU power mode to ‘Performance’ before performing stress test, or your CPU may not run in full speed.
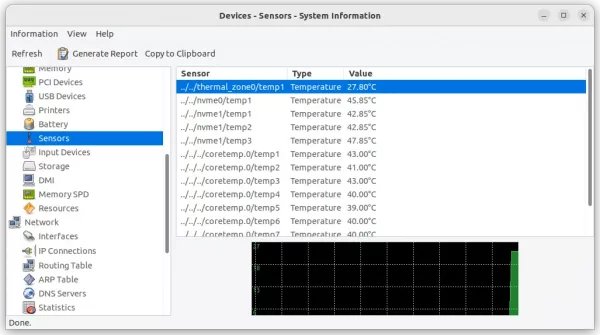
Tips 2: While stress testing, you may also monitor the temperature of other devices (e.g., SSD) in your machine. To do so, you may install ‘hardinfo’ by running command in terminal:
sudo apt install hardinfo
Then open it and navigate to ‘sensors’ tab in left.
That’s all. Enjoy!


