![]()
Openshot video editor announced the new major 3.0.0 release this weekend. Here’s the new features and how to install guide for Ubuntu 18.04, Ubuntu 20.04, Ubuntu 22.04, and Ubuntu 22.10.
Openshot 3.0.0 added ability to export multiple video clips into their own video files, in their original profile / format, though I didn’t find out how to do this trick in the Linux build 😄.
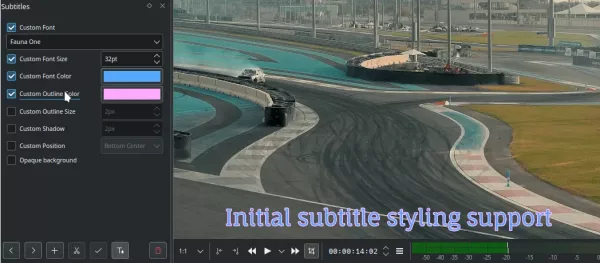
The new release fixed many stability issues, reduced memory footprint, and improved video preview to have smoother video preview and fewer freezes and pauses during previewing. Also, it improved the icons, cursors, logos, as well as the maths to add fully supports high DPI displays and monitors, such as 4K monitors. User guide has been improved with updated screenshots and PDF output support.
Other changes in the release include:
- Blender 3.3 support.
- Display for real-time performance metrics
- Export Animated GIF, MP3 (audio only)
- New YouTube 2K, YouTube 4K, MKV (h.264) presets
- And various other changes, see here for details.
How to Install OpenShot 3.0.0 in Ubuntu Linux
The video editor now provides official packages for Linux with both AppImage and PPA repository.
1. AppImage
AppImage is a non-install portable package that works in most Linux. It’s available to download at the link below:
Once you got the package, right-click and add executable permission in file ‘Properties’ dialog. Finally, click run AppImage to start the video editor.

NOTE: Ubuntu 22.04+ does not support AppImage out-of-the-box. Run sudo apt install libfuse2 command in terminal (Ctrl+Alt+T) to enable it.
2. Ubuntu PPA
For those who prefer the native .deb package, Openshot official PPA now builds the latest package for Ubuntu 18.04, Ubuntu 20.04, Ubuntu 22.04, Ubuntu 22.10, and even next Ubuntu 23.04 and their derivatives.
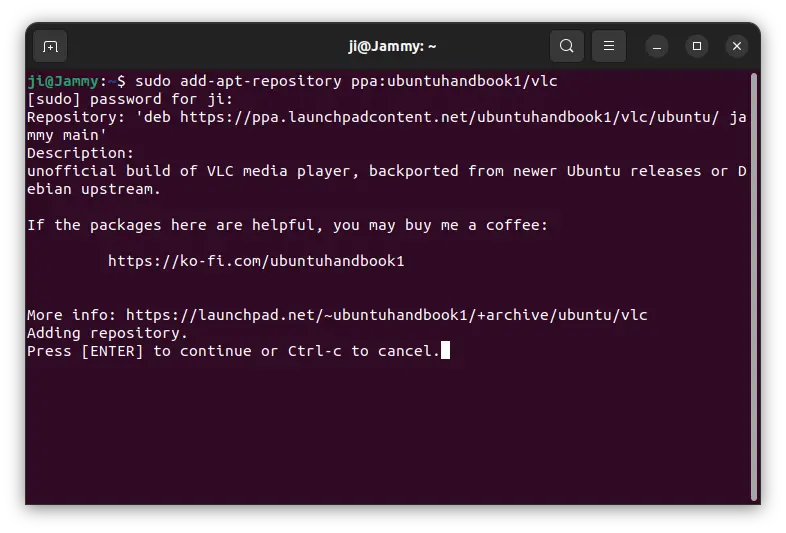
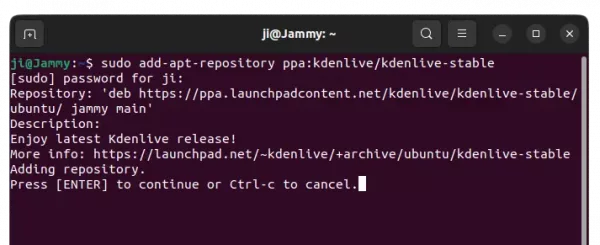
1. First, press Ctrl+Alt+T on keyboard to open terminal. When it opens, run the command below to add the PPA:
sudo add-apt-repository ppa:openshot.developers/ppa
Type user password (no asterisk feedback) when it asks and hit Enter to continue.

2. Then run command to refresh package cache (done automatically in Ubuntu 20.04+):
sudo apt update
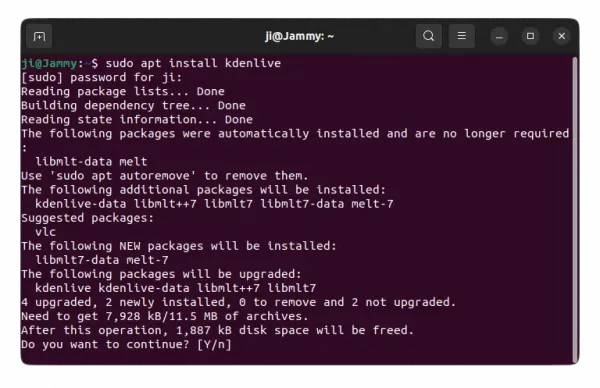
3. Finally, either run command to install openshot:
sudo apt install openshot-qt python3-openshot
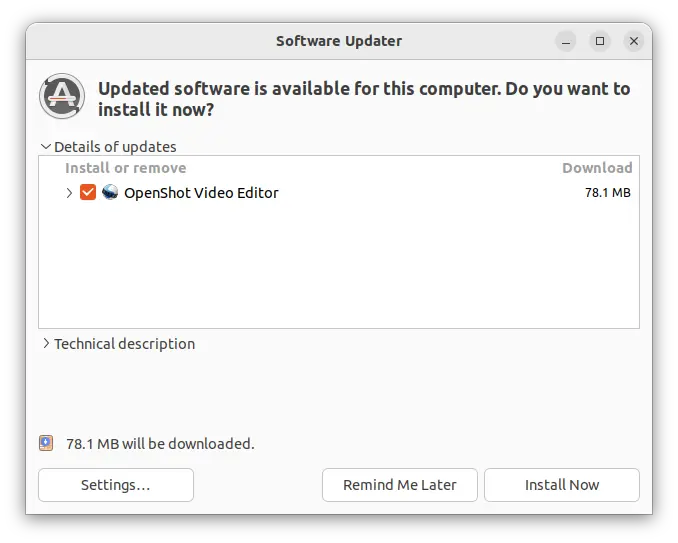
Or, launch ‘Software Updater’ and install the package updates if an old version was installed.
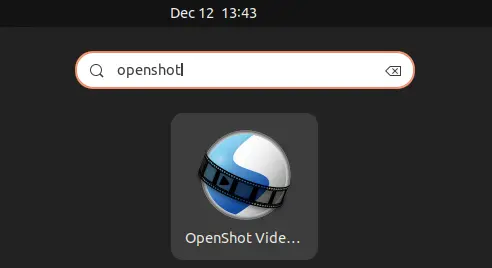
After installed the app, search for and launch it either from ‘Activities’ overview or system start menu depends on desktop environment, and enjoy!
Uninstall Openshot:
To remove the video editor from Ubuntu based system, open terminal (Ctrl+Alt+T) and run command:
sudo apt remove --autoremove openshot-qt python3-openshot
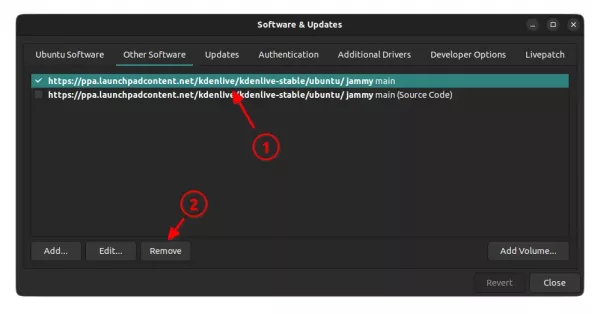
And remove the Ubuntu PPA, either via command:
sudo add-apt-repository --remove ppa:openshot.developers/ppa
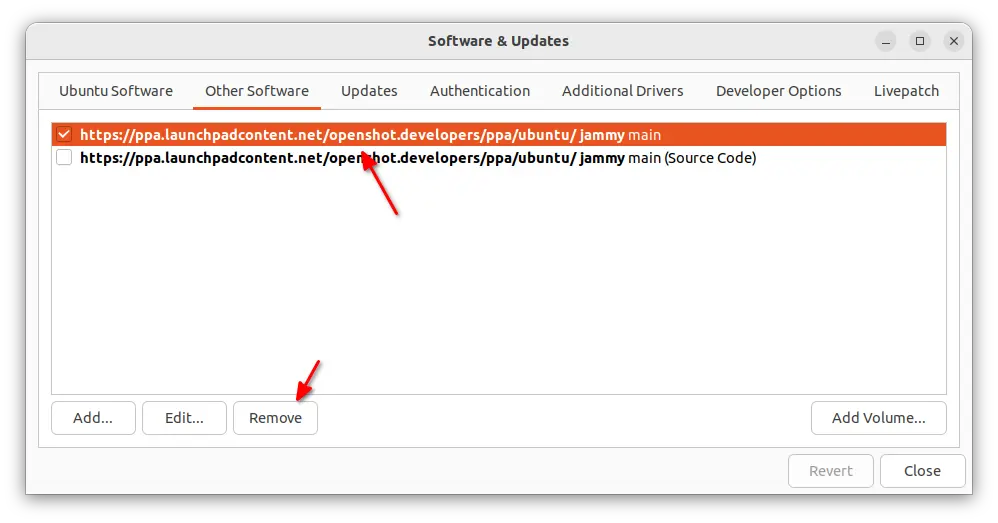
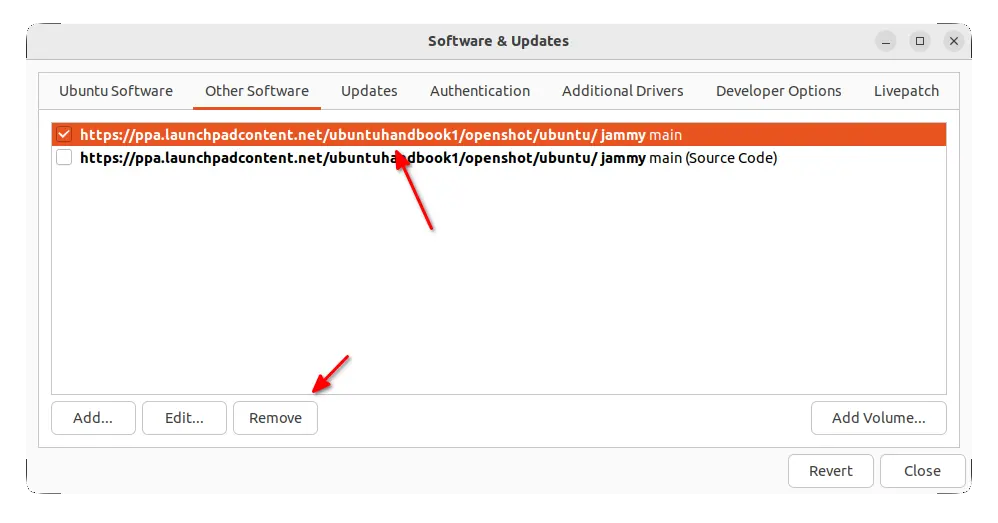
Or by removing the source line via ‘Software & Updates’ utility under Other Software tab.