For HandBrake users who prefer the classic .deb package, there’s now new PPA for all current, Ubuntu 22.04, Ubuntu 24.04, Ubuntu 23.10, and their based systems, such as Linux Mint 20/21, Pop! OS, Zorin OS 17.
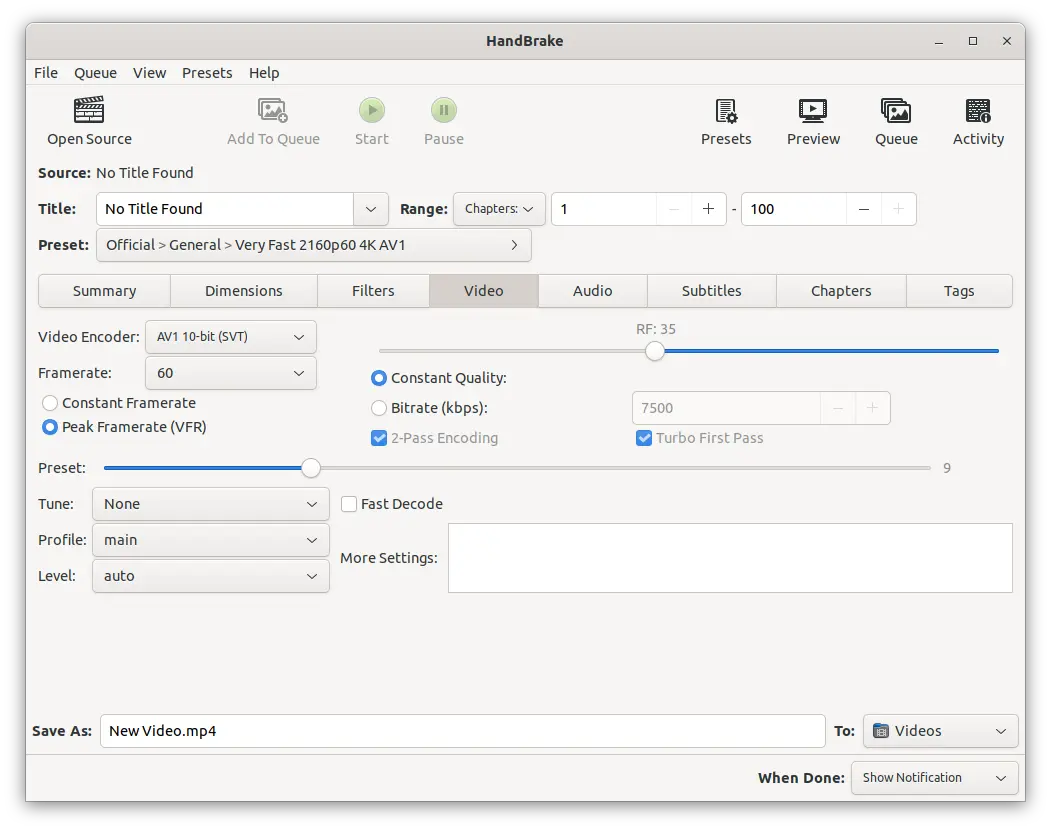
HandBrake announced the new major 1.7.0 release a few days ago. The release features new AMD VCN AV1 encoder, NVIDIA NVENC AV1 encoder, SVT-AV1 multi-pass ABR mode, Apple VideoToolbox hardware presets, improved QSV support, drag and drop support for video scanning, and various other changes. See the github releases page for details.
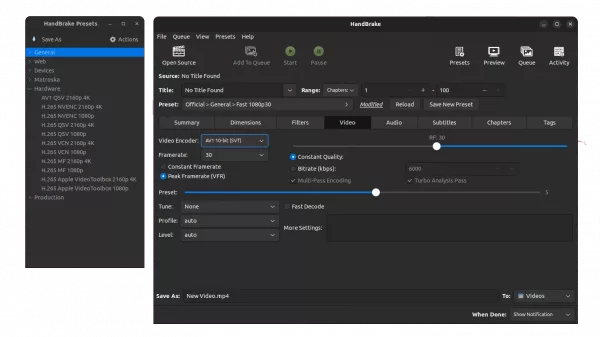
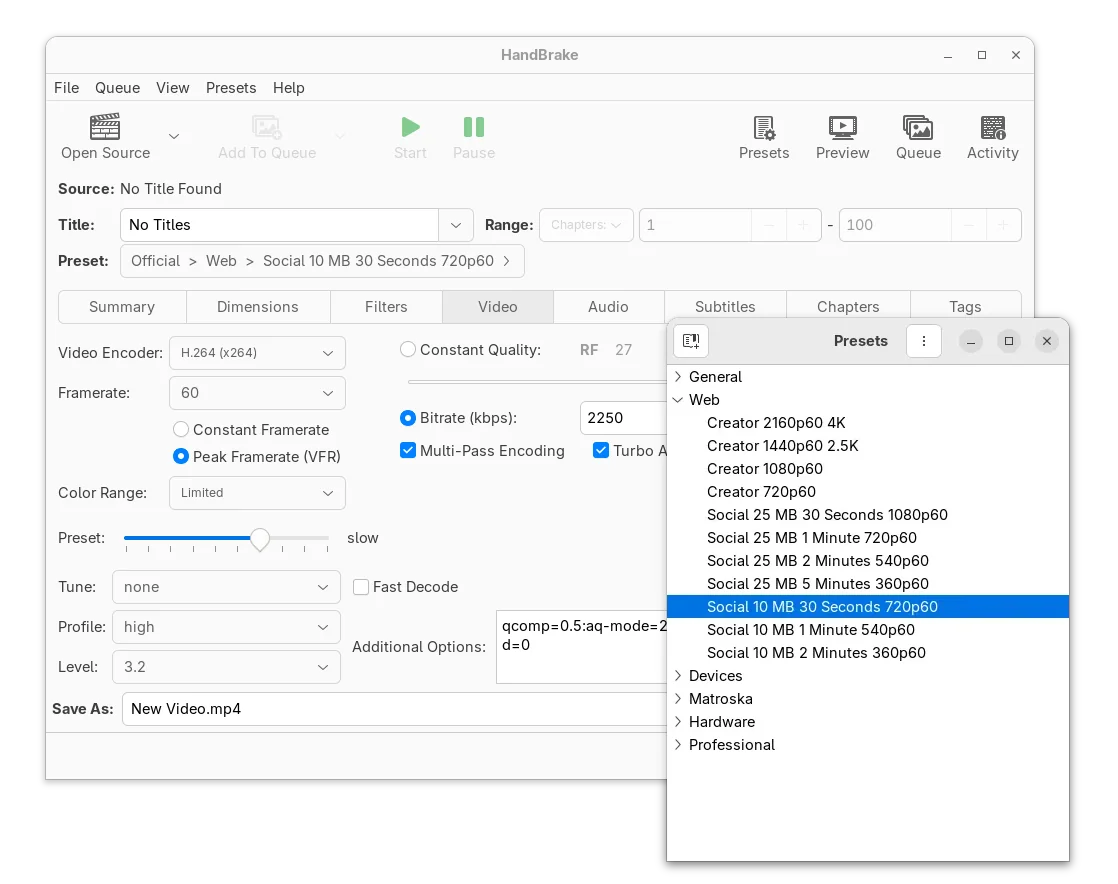
HandBrake 1.7.0 Dark Mode
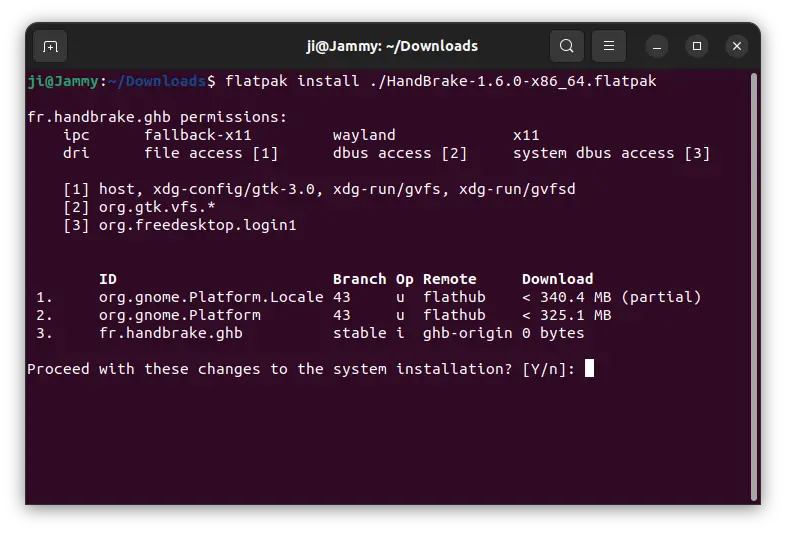
HandBrake provides official Linux package through .flatpak package (see link above). It’s can be installed in most Linux, however, run in sandbox.
Install HandBrake (1.8.0 Updated) in Ubuntu via PPA
For those prefer Ubuntu PPA, I’ve uploaded the new release package into this unofficial PPA with all current Ubuntu releases, on amd64 (Intel/AMD) and arm64 (Apple Silicon, Raspberry Pi) CPUs support.
Thanks to the official guide, the new package in PPA is built with the latest run-time libraries (e.g., FFmpeg 7.0, libdvdnav & libdvdread, SVT-AV1 1.7.0) into single bundle. Meaning, it can be installed on old Ubuntu releases (22.04), without worrying about dependencies mis-match. Though, the .deb package size increased to be around 10 MiB.
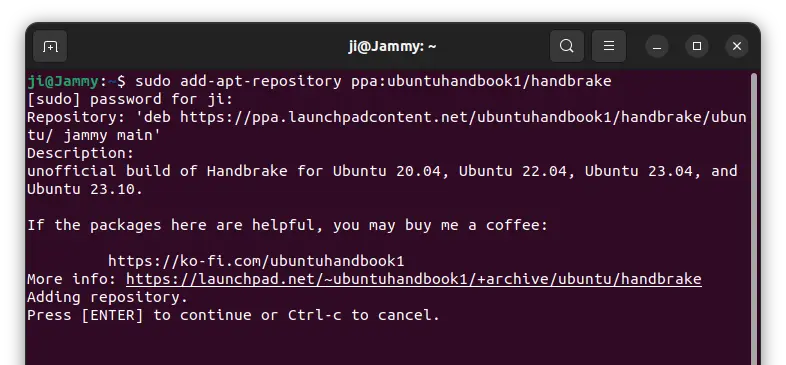
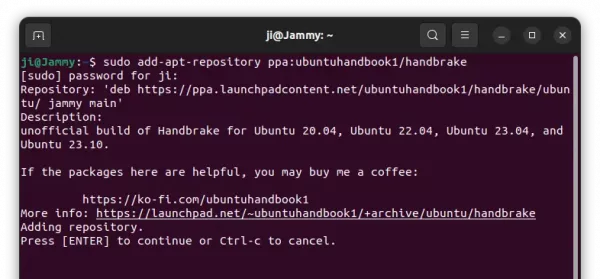
1. First, press Ctrl+Alt+T on keyboard to open terminal. When it opens, run command to add the PPA:
sudo add-apt-repository ppa:ubuntuhandbook1/handbrake
Type user password (no asterisk feedback) when it asks and hit Enter to continue.
2. Linux Mint users need to manually update the system package cache, after adding PPA, by running command:
sudo apt update
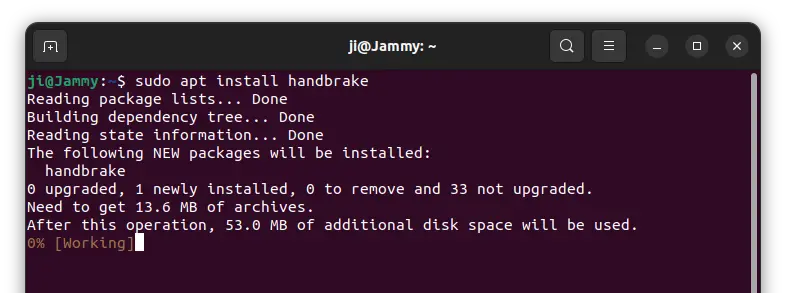
3. Finally, install the new HandBrake package via command:
sudo apt install handbrake
For choice, you may also run sudo apt install handbrake-cli to install the command line tool

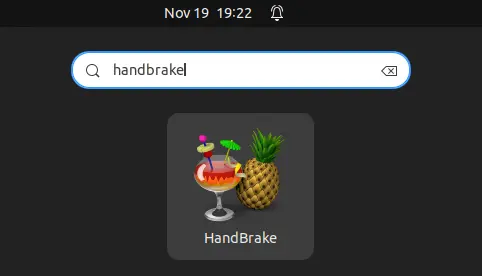
When installation done, search for and launch the video transcoder from either start/application menu or ‘Activities’ overview depends on your desktop environment.
Uninstall:
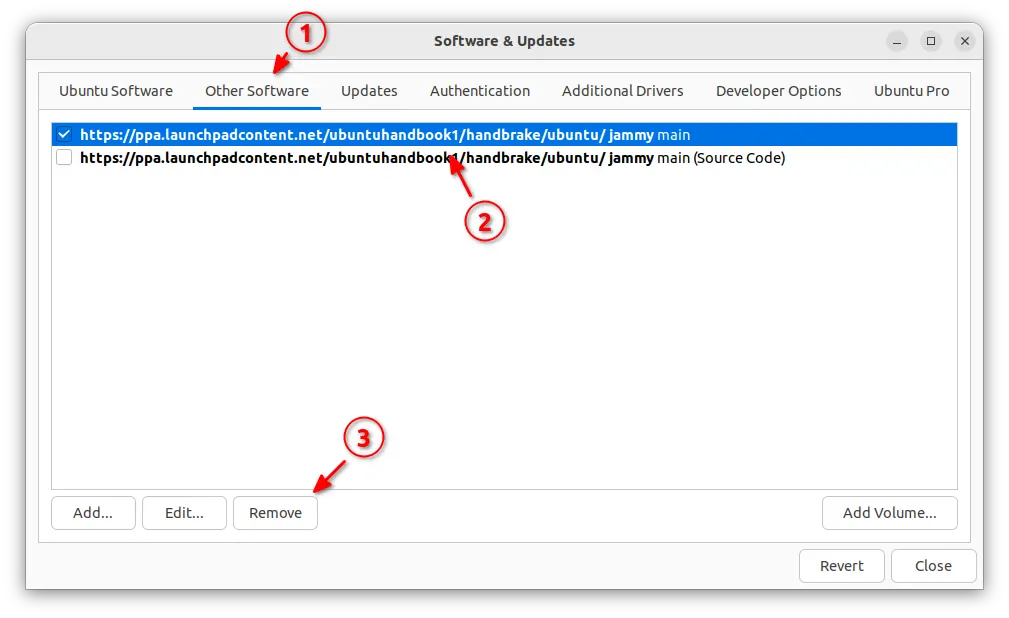
To uninstall the Ubuntu PPA, either open terminal (Ctrl+Alt+T) and run command:
sudo add-apt-repository --remove ppa:ubuntuhandbook1/handbrake
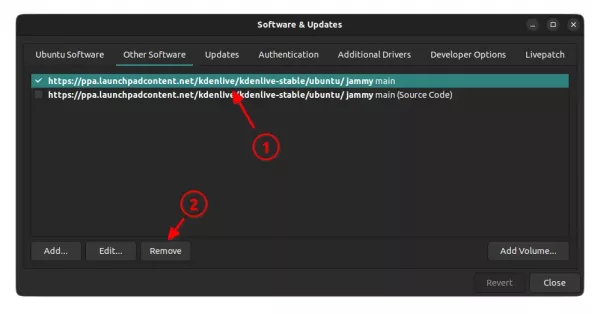
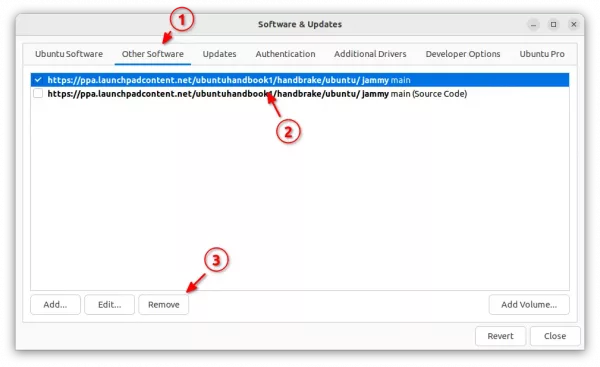
or, just remove the source line using ‘Software & Updates’ tool under “Other Software” tab.
To remove the HandBrake video transcoder, use command:
sudo apt remove --autoremove handbrake handbrake-cli
That’s all. Enjoy!