


![]()
digiKam, the popular KDE photo management software, released new major 8.0.0 version! Here are the new features and how to install guide for Ubuntu users.
digiKam 8.0.0 is a big release after two year of development. It features new online documentation that is well written with plenty of screenshots and screencasts. An EPUB is also available for offline use.
Image support has been greatly improved in this release. It added support for 16-bit float (half float) images in the TIFF Loader, and JPEG-XL, WEBP, and AVIF export settings everywhere.
Other changes include new OCR over scanned text via Tesseract engine, and:
- Port to Qt6, and still compatible with Qt 5.15 LTS.
- Spell-checking in the captions/information/properties edit-text widgets
- Add convert to lossless JPEG-XL, WEBP, and AVIF while importing from camera.
- Add JPEG-XL, WEBP, and AVIF converters in Batch Queue Manager.
- Database search by the number of face regions or without face regions.
- New option to write metadata to files with ExifTool backend.
- Add support for SQLite WAL (Write-Ahead-Logging) mode.
- Update G’MIC-Qt tool to last version 3.2.2.
- Phase One/Leaf IIQ-S v2 support Canon CR3 filmrolls/RawBurst Canon CRM (movie) files Tiled bit-packed (and 16-bit unpacked) DNGs (non-standard) Deflate-compressed integer DNG files are allowed Canon EOS R3, R7 and R10 Fujifilm X-H2S, X-T30 II OM System OM-1 Leica M11 Sony A7-IV (ILCE-7M4) DJI Mavic 3

How to Install digiKam 8.2.0 in Ubuntu & other Linux
The new digiKam release is available to install via both Flatpak and AppImage. Choose either one that you prefer.
Option 1: digiKam Flatpak
1. For digiKam Flatpak package, first press Ctrl+Alt+T on keyboard to open terminal. When it opens, run command to enable Flatpak support.
sudo apt install flatpak

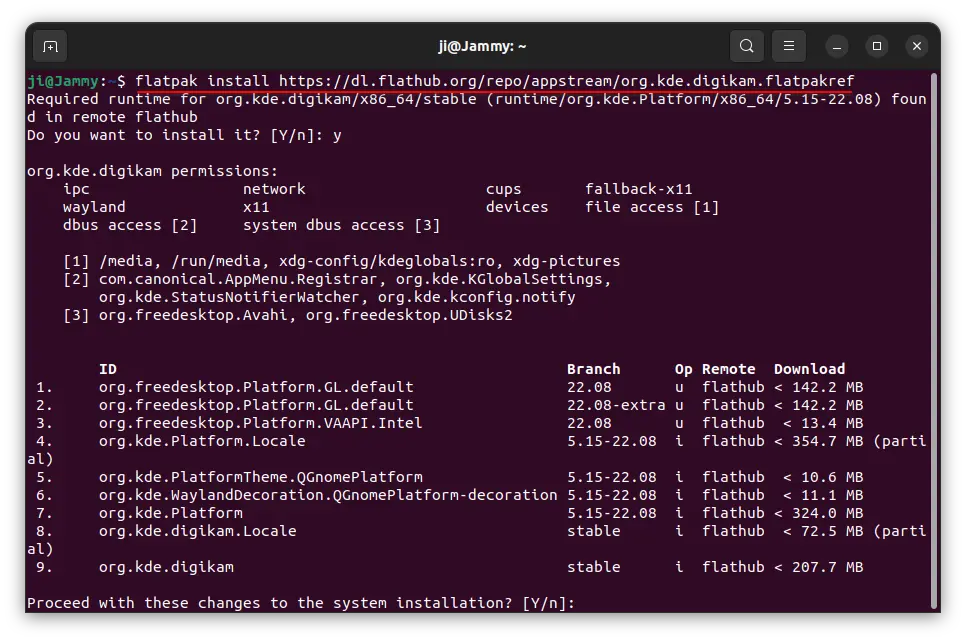
2. Then, run command to install digiKam as flatpak package:
flatpak install https://dl.flathub.org/repo/appstream/org.kde.digikam.flatpakref
As you see in the screenshot below, the flatpak package however will do many downloads for the run-time libraries.
Option 2: digiKam AppImage
Some users do NOT like Flatpak, because it take much more disk spaces. In the case, you can choose to use the non-install AppImage package.
1.) First, select download the latest AppImage package from the link below:
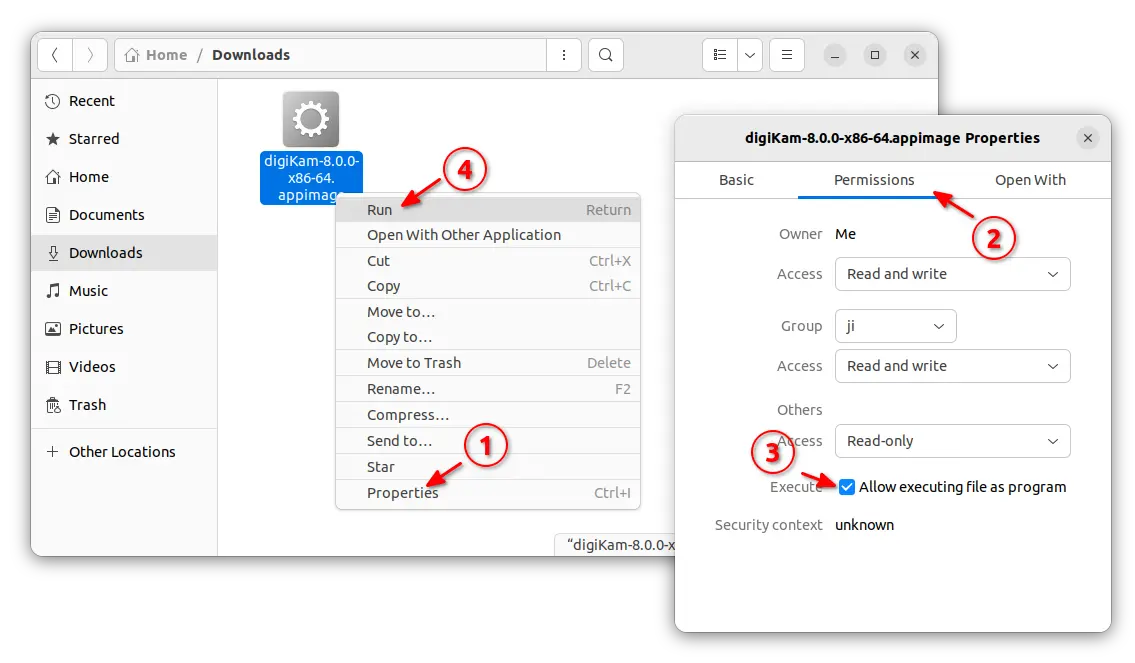
2.) Then, open the Downloads folder in your file manager. And, do following steps to launch digiKam:
- Right-click on the AppImage package, and click open “Properties”.
- Navigate to “Permissions” tab, and enable “Allow executing file as program”.
- Close the “Properties” dialog.
- Finally, right-click on AppImage, and click “Run” to launch digiKam.
Create shortcut for the digiKam AppImage
Click run the AppImage launches the digiKam software directly. If you want to add a shortcut into app launcher (search results in ‘Show Applications’ and/or ‘Activities’ overview), do following steps one by one.
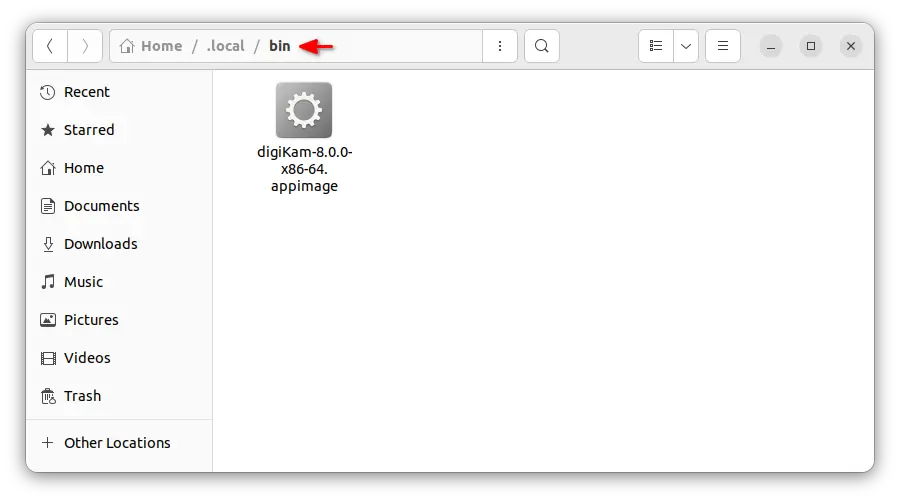
1. First, it’s recommended to put the AppImage package into a certain folder for long time use. Here I chose the “.local/bin” directory.
Just, press Ctrl+H in Files, and navigate to .local -> bin (create bin folder if not exist). Then, copy or move the digiKam AppImage into this folder.
2. Then, download the logo icon from web. Just, go to its website, right-click on the logo in top-left and select “Save image as” to download the file.
Finally, rename the file to digikam.svg, and store in “.local/share/icons” (also, create the ‘icons’ sub-folder if not exist).
![]()
3. Finally, open terminal (Ctrl+Alt+T) and run command to create the shortcut config file:
gedit ~/.local/share/applications/org.kde.digikam.desktop
Replace gedit with gnome-text-editor for Ubuntu 23.10+, or use nano instead.
When file opens in text editor (or terminal for nano), paste follow lines and save it. For nano, press Ctrl+X, type y and hit Enter to save file.
[Desktop Entry]
Name=digiKam
Comment=digiKam photo management tool
Exec=digiKam-8.0.0-x86-64.appimage
Icon=digikam
Categories=Graphics;
Type=Application
Terminal=false
NOTE: if the bin folder under .local was previously not exist. You need to log out and back in to make it in your PATH.
4. After that, you should be able to search for and launch digiKam from app launcher.
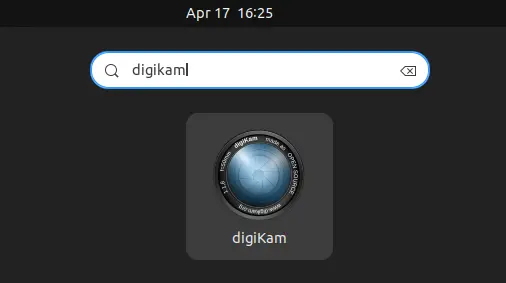
That’s all. Enjoy!

