Darktable, the free open-source raw image processing software, released new 4.8.0 version this Friday!
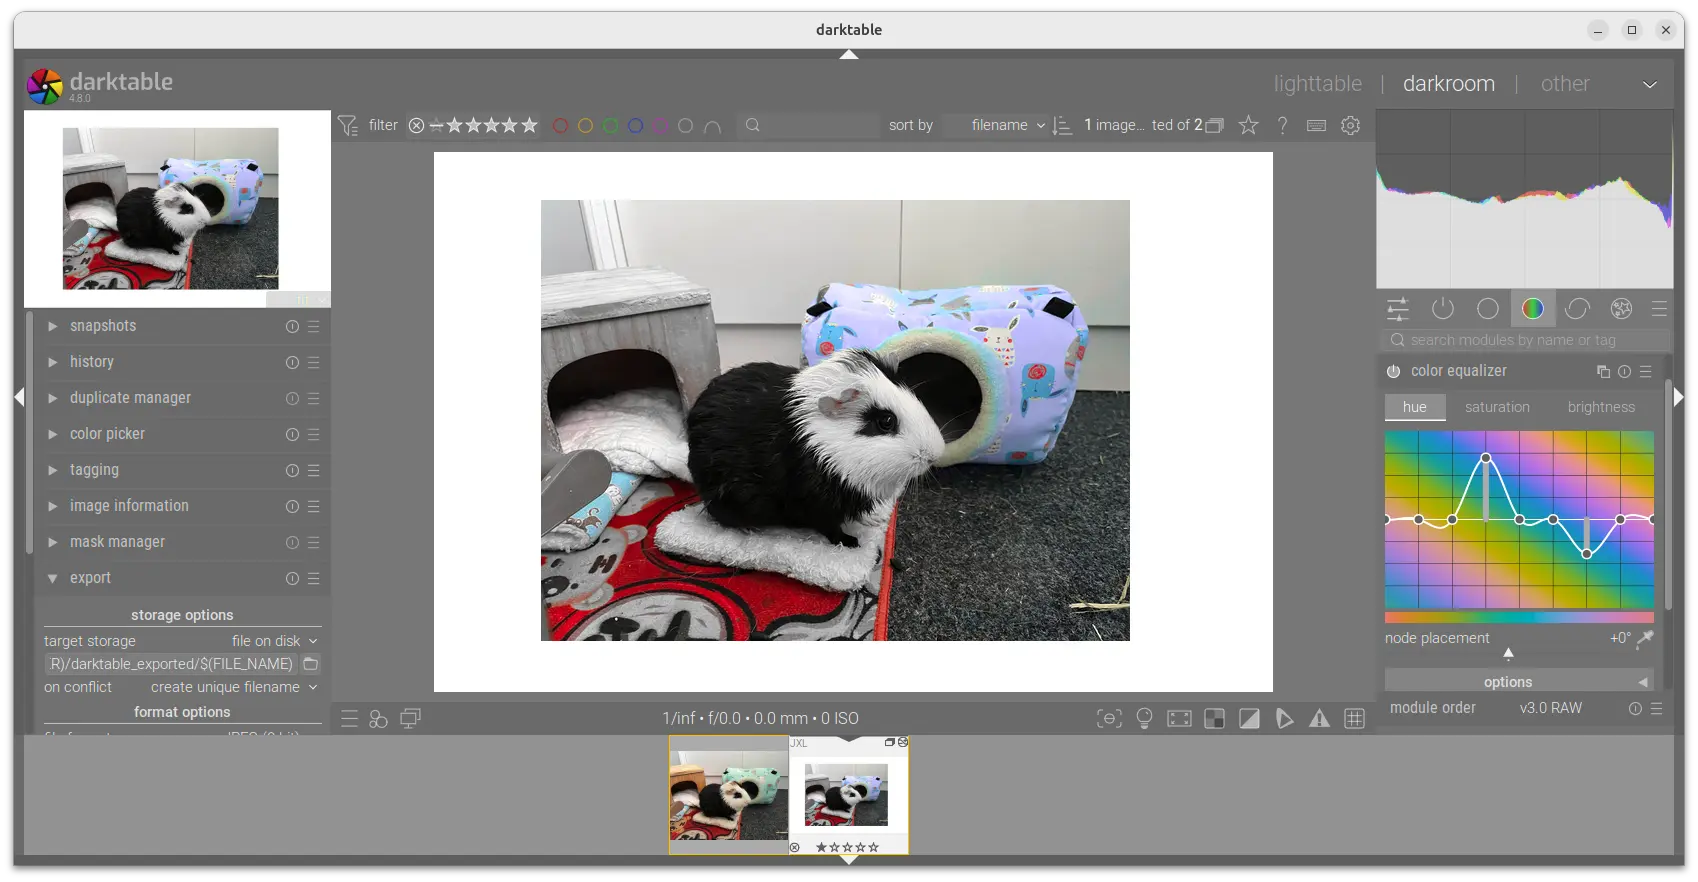
Darktable 4.8.0 introduced a few new modules. They include the color equalizer module, allowing to control hue, lightness, and/or saturation based on colors.
There are as well new Enlarge Canvas module, allowing to add areas on top, bottom, left, and/or right of the image, and fill with different colors, or some other part of the image by using Retouch module.
By drag-and-dropping from the filmstrip to the new Overlay module, it can now add overlay on top of current image. And, the overlay can be scaled, rotated and shifted horizontally or vertically.

Darktable 4.8.0 Enlarge Canvas and Color Equalizer
Continue Reading…