


![]()
Kodi media center 18.4 was released today as another bug-fix release for Kodi 18 “Leia”. Here’s how to install it in Ubuntu 18.04, Ubuntu 16.04, Ubuntu 19.04.
Kodi 18.4 release highlights:
- FFmpeg: Bump to 4.0.4-Leia-18.4
- Load program from stream property without using streaminfo (video)
- Fix initialization of AVD3D11VAContext structure (video, Windows)
- Fix TS resume point, related to PR16314 (video)
- Fixed memory leak, fixed segfault (video, Linux)
- Fix PAPlayer to handle passthrough for TrueHD (audio)
- Fix file times for vfs addons
- And many interface and general fixes.

How to Install Kodi 18.4 in Ubuntu:
The Kodi stable PPA has made the new release packages for Ubuntu 16.04, Ubuntu 18.04, Ubuntu 19.04, and their derivatives.
1. Open terminal either via Ctrl+Alt+T keyboard shortcut or from application menu. When it opens, paste below command and hit run:
sudo add-apt-repository ppa:team-xbmc/ppa
Type user password (no asterisk feedback) when it prompts and hit Enter to continue.

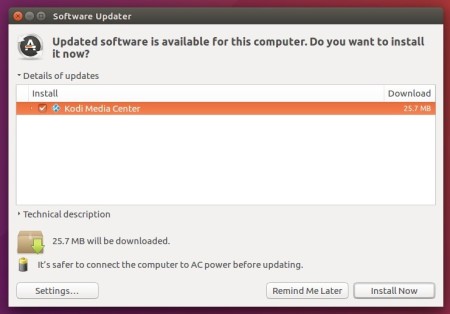
2. Then either upgrading Kodi from an existing version via Software Updater:
or refresh system package cache and install Kodi 18.4 via commands:
sudo apt update

sudo apt install kodi
For Ubuntu 18.04 and higher, you can skip the apt update command as it’s done automatically in step 1.

Uninstall:
To remove the Kodi PPA repository, simply open Software & Updates -> Other Software.

To remove Kodi, run command:
sudo apt remove --autoremove kodi kodi-data kodi-bin


