Archives For September 30, 2018

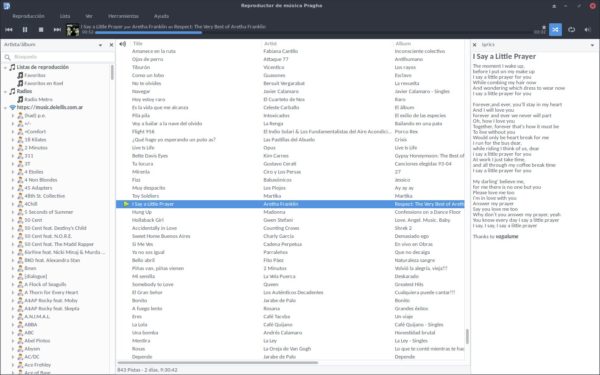
Pragha 1.4 Release Candidate, a lightweight continuation of the Consonance music player, was released a few days ago with new features, performance improvements and some fixes.

After 4 beta releases, Pragha 1.4 RC (1.3.99) may be the last before the 1.4 stable release. The new 1.4 RC features:

  • First implementation of Favorites as a playlist.
  • Sync favorites with Koel and Last.Fm.
  • New Visualizer plugin.
  • Use Alt+Return shortcut to edit the selected song.
  • Add progress indicator to the search entry while it works.
  • Remember last pane used on song info plugin.
  • Allows to customize the styles to the distro packagers.

How to Install Pragha RC in Ubuntu:

There’s an unofficial PPA that contains the latest Pragha packages for Ubuntu 16.04, Ubuntu 18.04, Ubuntu 18.10, and Linux Mint 18.x/19.

1. Open terminal either via Ctrl+Alt+T or by searching for “terminal” from app launcher. When it opens, run command to add the PPA:

sudo add-apt-repository ppa:ubuntuhandbook1/pragha

Type your user password (no asterisks feedback while typing due to security reason) when it prompts and hit Enter.

2. Then install the music player either via Synaptic Package Manager or by running commands:

sudo apt-get update

sudo apt-get install pragha

Uninstall Pragha:

To remove the music player, either use Synaptic Package Manager or run command in terminal:

sudo apt-get remove --autoremove pragha

And you can remove the PPA via Software & Updates utility under ‘Other Software’ tab.

To do a fresh Ubuntu install, I’m always first burning the ISO image into USB drive, and then boot up with the USB drive and install Ubuntu into hard disk.

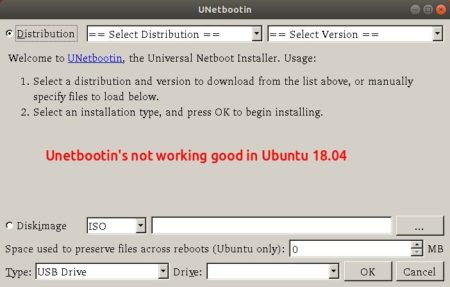
I used to use Unetbootin to create the startup USB drive. However, it has been dropped from Ubuntu repositories since Ubuntu 18.04 LTS. And Unetbootin .bin package is not well burning the ISO image in my case.

In this quick tutorial, I’m going to tell you that the default Gnome USB Creator can do the job easier and more straightforward:

1. First download Ubuntu iso from releases.ubuntu.com, and plug-in your USB drive.

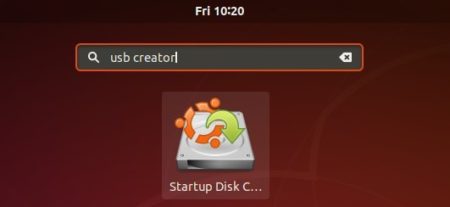
2. Search for and launch usb creator (Start Disk Creator) in application menu:

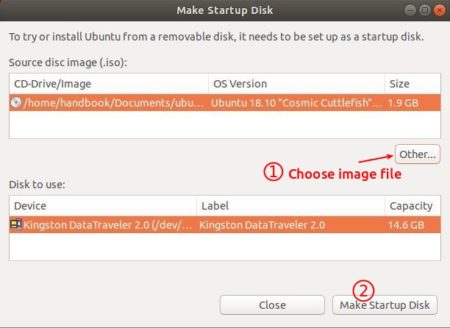
3. When it opens, click the Other button and choose the downloaded ISO image.

Finally click the Make Startup Disk button to start burning the ISO into selected USB drive.

That’s it! When everything’s done, boot the USB drive in your machine and try or install Ubuntu.

MuPDF Ubuntu 16.04

MuPDF 1.14.0, a lightweight PDF, XPS, and E-book viewer, was released today with new features, UI improvements and other changes.

Changes in MuPDF 1.14.0 include:

  • Added “Source Han Serif” CJK fallback font.
  • Added more scripts to the Noto fallback fonts.
  • Multi-page PNM support.
  • “mutool show” now supports a path syntax for selecting objects to show.
  • New annotation editing mode in mupdf-gl.
  • Can create, edit, and delete most annotation types.
  • Can create appearance streams for most annotation types, Tx form fields, Ch form fields.
  • And UI improvements, API changes, and other more.

How to Install MuPDF 1.14.0 in Ubuntu:

The unofficial PPA contains the most recent MuPDF packages for Ubuntu 16.04, Ubuntu 18.04, Linux Mint 18/19 so far.

MuPDF 1.14.0 package is delayed due to a building issue. I’ll update the PPA once a patch for the issue published.

UPDATE: The new release package now is ready to install via following steps in Ubuntu 16.04, Ubuntu 18.04, Ubuntu 18.10, and their derivatives.

1. Open terminal by pressing Ctrl+Alt+T or searching for “Terminal” from start menu. When it opens, run command to add the PPA:

sudo add-apt-repository ppa:ubuntuhandbook1/apps

Type in password (no asterisks feedback due to security reason) when it asks and hit Enter.

2. Then install mupdf and mupdf-tools packages either via Synaptic Package Manager or by running following commands in terminal:

sudo apt-get update

sudo apt-get install mupdf mupdf-tools

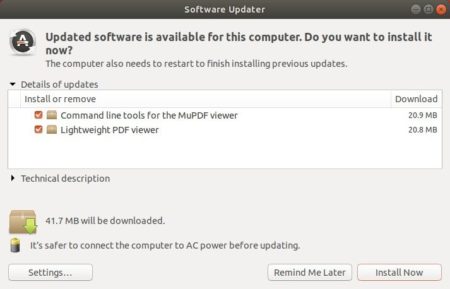
If you have a previous release installed, simply launch Software Updater to upgrade the tool after checking for updates.

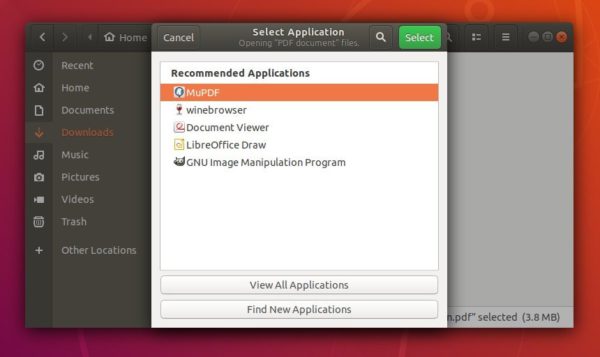
To use the PDF/XPS viewer, right-click on your file and select open with MuPDF. You can also set MuPDF as default in the Properties window.

Uninstall:

To restore MuPDF to the stock version available in your Ubuntu’s main archive, run command in terminal to purge the PPA:

sudo apt-get install ppa-purge && sudo ppa-purge ppa:ubuntuhandbook1/apps

gnome shell

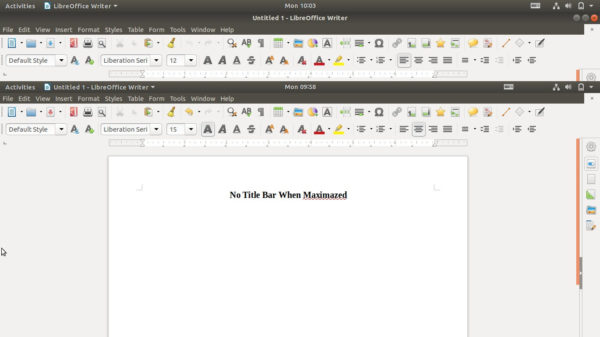
For Ubuntu 18.04 default Gnome desktop, this quick tutorial is going to show you how to integrates maximized application window with the top panel, by removing the title bar, and moving the title and buttons to the top panel.

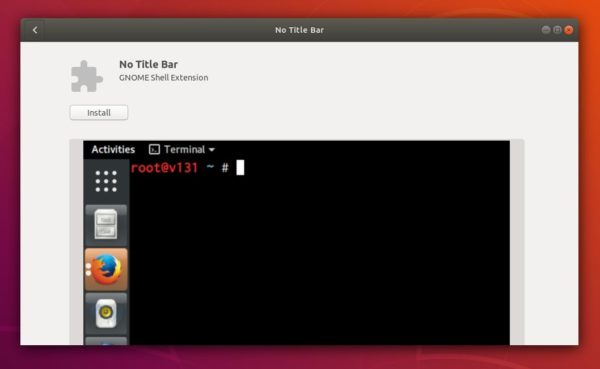
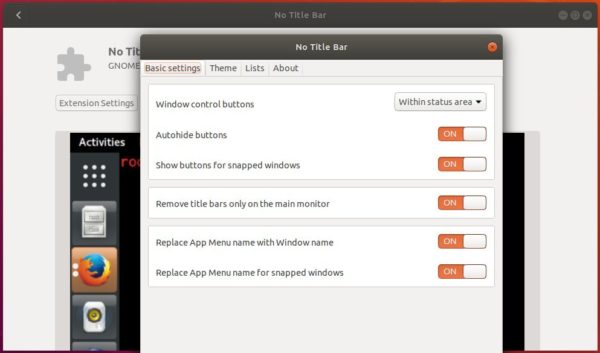
All the work can be done via Gnome Shell extension called No Title Bar.

1. Open Ubuntu Software, search for and install No Title Bar extension.

2. The extension takes effect once you installed it. To tweak the appearance, click Extension Settings in Ubuntu Software.

The extension does not work for Gnome 3.30 at the moment, Ubuntu 18.10 users can build it from the source code.