


For those don’t like the Snap package, this is a step by step guide shows how to install latest Blender via its official Linux tarball in Ubuntu.
The latest Blender is quite easy to install in Ubuntu since it’s available in Ubuntu Software. However, it’s Snap package!
For choice, the Blender foundation provides the portable Linux tarball, but it lacks app shortcut for launching from system start menu. So, I’m writing this how to tutorial to deal with it.
NOTE: This tutorial should work on most Linux (e.g., Debian, Fedora, Linux Mint) that support .desktop file, though the title said for Ubuntu.
Install Blender via Linux Tarball:
1. Download Linux Tarball
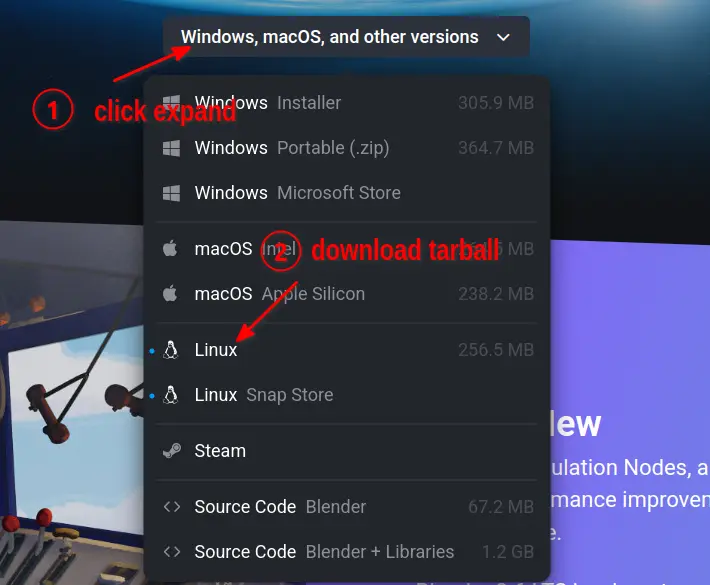
First, go to the official download page. Click download Blender for Linux. It’s a 64-bit tarball ‘blender-x.x.x-linux-x64.tar.xz‘ for modern PC/laptop:
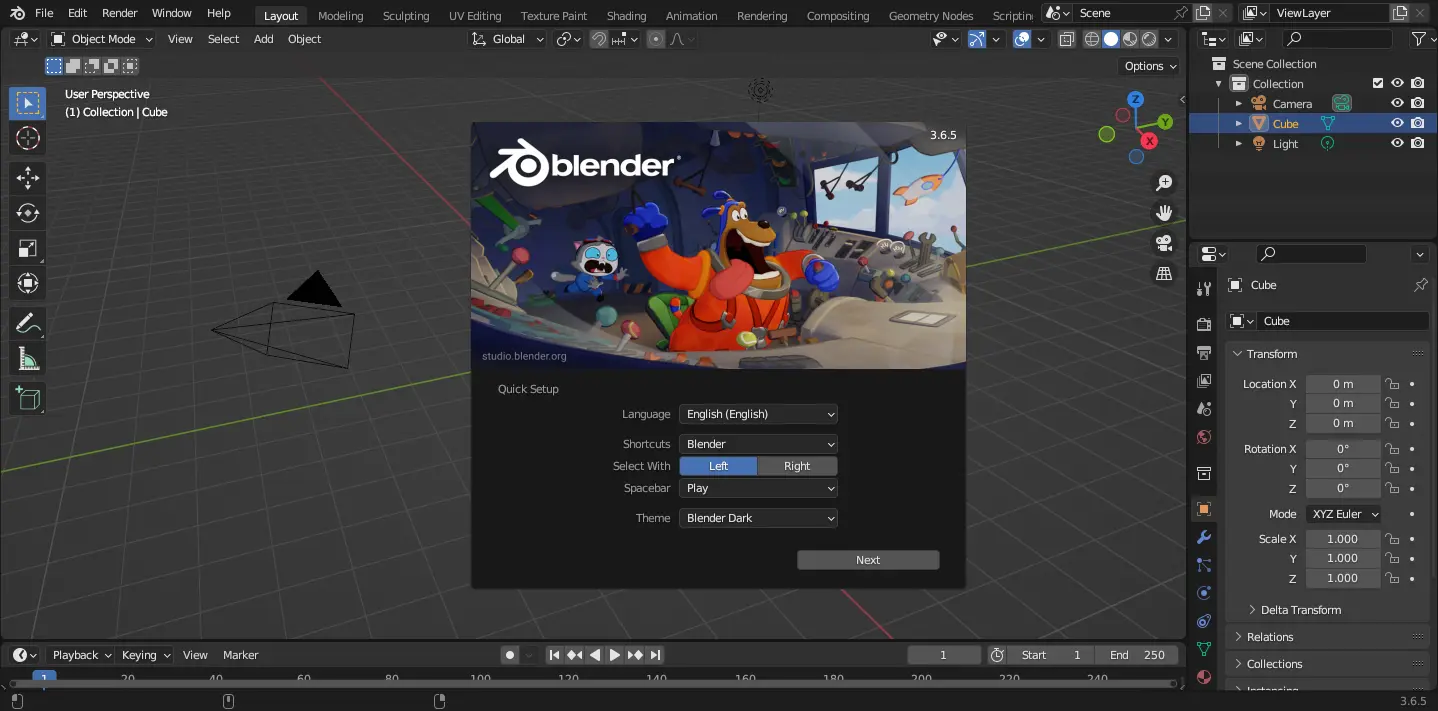
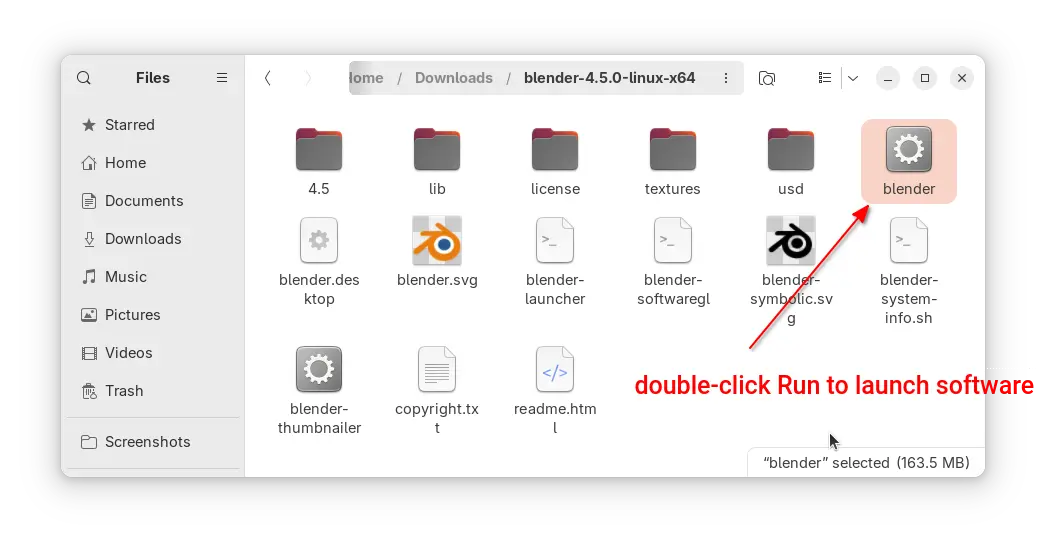
After downloading the package, extract, and finally click run the executable file from extracted folder will launch the 3D creation software.
If you want to make it show in system start menu (Activities overview search results), you need to do following more steps.
2. Extract Tarball to /opt for global use:
Here I’m going to extract the tarball to /opt directory and create app shortcut for Blender.
1.) Press Ctrl+Alt+T on keyboard to open terminal. When it opens, run command to backup old blender folder under ‘/opt’ if any:
sudo mv /opt/blender /opt/blender.back
Ignore ‘No such file or directory’ output. It means you don’t have old file to backup.
2.) Create new blender folder under /opt:
sudo mkdir -p /opt/blender
3.) Extract Blender tarball from Downloads folder to the new created folder:
sudo tar -Jxf ~/Downloads/blender-*-linux-x64.tar.xz --strip-components=1 -C /opt/blender
NOTE: Instead of running the commands above in terminal, user may decompress the tarball in file manager and move source folder to the desired location. However, moving to /opt needs root permission. So, open file manager via sudo nautilus ~/Downloads command is required

3. Verify if the Blender executable works:
After extracting the Linux tarball into /opt/blender. User may run command to list that directory to verify:
ls /opt/blender
And, run this command should launch the software:
/opt/blender/blender
Sometimes, app may refuse to launch due to missing shared library. If so, copy the library name and search in packages.ubuntu.com under ‘Search the contents of packages’ to find out the required package and install it.
4. Create app shortcut for Blender:
The Linux tarball includes the shortcut file by default, though it won’t work since PATH to executable varies depend where you put the folder. Run command in terminal to open the file via gedit text editor:
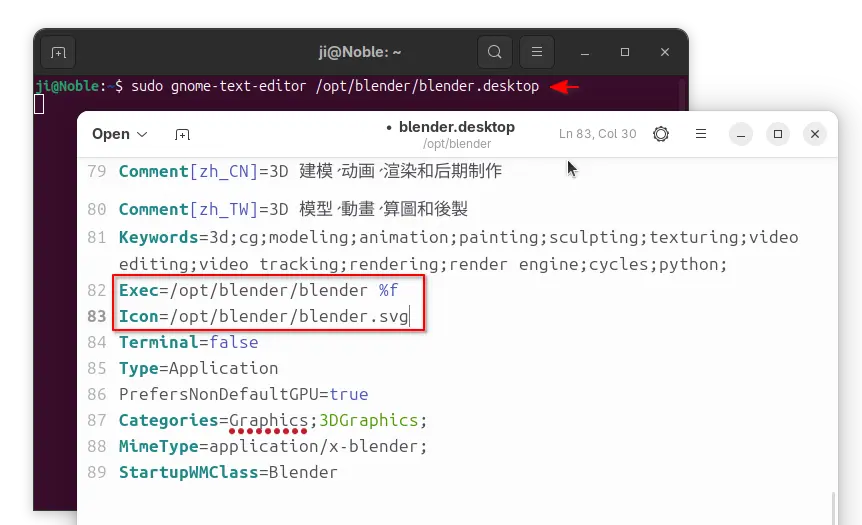
sudo gnome-text-editor /opt/blender/blender.desktop
For Ubuntu 22.04 and earlier, replace gnome-text-editor with gedit in command. For non-GNOME desktop, use mousepad for XFCE, xed for cinnamon, or nano command line editor works for most cases.
When it opens, change the ‘Exec’ and ‘Icon’ lines into:
Exec=/opt/blender/blender %f
Icon=/opt/blender/blender.svg
Then, save the file. For nano text editor, press ctrl+x, hit y and then Enter to save it.
Finally, copy the file to either ‘.local/share/applications’ for single user use, or ‘/usr/share/applications’ for global use:
sudo cp /opt/blender/blender.desktop ~/.local/share/applications/
Here I copied the app shortcut file to local folder for single user use. And, the app icon shows in ‘Activities’ overview search result few moments later. Though, it’s better to change the ownership to yourself.
sudo chown $USER:$USER ~/.local/share/applications/blender.desktop
NOTE: If you still have old Blender package in system, there may be duplicated app icons.
Remove Blender:
To uninstall Blender installed via previous steps, simply remove the folder under /opt directory via command:
sudo rm -R /opt/blender
And remove the app shortcut file via:
rm ~/.local/share/applications/blender.desktop
In case you didn’t change the ownership, add sudo at the beginning to get pass permission issue.


TQ. Nice tut
very helpful. I’m a Windows user who is just trying to get graphics applications to run under Windows subsystem for Linux Ubuntu. sudo apt was only getting me old versions of Blender. snap is not yet working reliably on WSL2 because of daemon issues (I think). You are teaching me good command line basics.
Blender starts, but because WSL2 is still not running gnome, I’ve been stuck typing the whole path /opt/blender/blender until I learn how to add a command line alias to start from bash. Any insights?
ln -s /opt/blender/blender ~/bin
This should create a symbolic link to the blender binary and put it in ~/bin (which is probably in your default PATH)
thank you so much your ubuntu hand book is ALWAYS very usefull
Oh my god after sifting through broken bs tutorials for like an hour this tutorial saved me so much headache thank you so much
Thank you so much it was very helpful
I didn’t realize that thomas ppa is unactive. Thank you for detail explanatoin about how to install from the tarbal
you are so real for this tutorial
Thanks for the instructions – simple and to the point with out the gibberish to show how smart you that so many think is required
thanks! blender installed via pack on my ubuntu (22.04), and the same on the ubuntu 24 version, has not been working accent keys, but like “á, ã, â, common in my language. in addition, many shortcuts, such as “/’ also do not work. i will try via tar… but it’s the kind of thing that discourages me. all the software I’ve tried to install on ubuntu, such as Krita, Opera, etc. has shown problems. even a simple firewall needs command lines to be installed. as a new Linux user, I’ve been very discouraged by the complexity of running simple programs.