The free open-source 3D creation software Blender 3.2.0 was released! Finally, it adds support for AMD GPU rendering for Linux!
Blender 3.2.0 introduced a new type of Cycles render pass that contains only the lighting from a subset of light sources. It’s ‘Light Groups’ which can be used to modify the color and/or intensity of light sources in the compositor without re-rendering.
Cycles now supports selective rendering of caustics in shadows of refractive objects. Paint is now available in Sculpt mode. New paint brush comes with a bunch of new settings like tip shape, wet mixing, flow and density.
And there are many other changes including:
- Using the voxel remesher all color attributes will be preserved.
- Masking, auto-masking and face sets are fully supported with color attribute painting.
- Duplicate Elements Node that can duplicate points, edges, faces, instances, and curves
- Asset collections (no longer experimental)
- Curve pen tool to quickly add, delete, and tweak control points
- New Envelope modifier.
- Manage video sequencer channels by giving channels a name, as well as mute and lock options
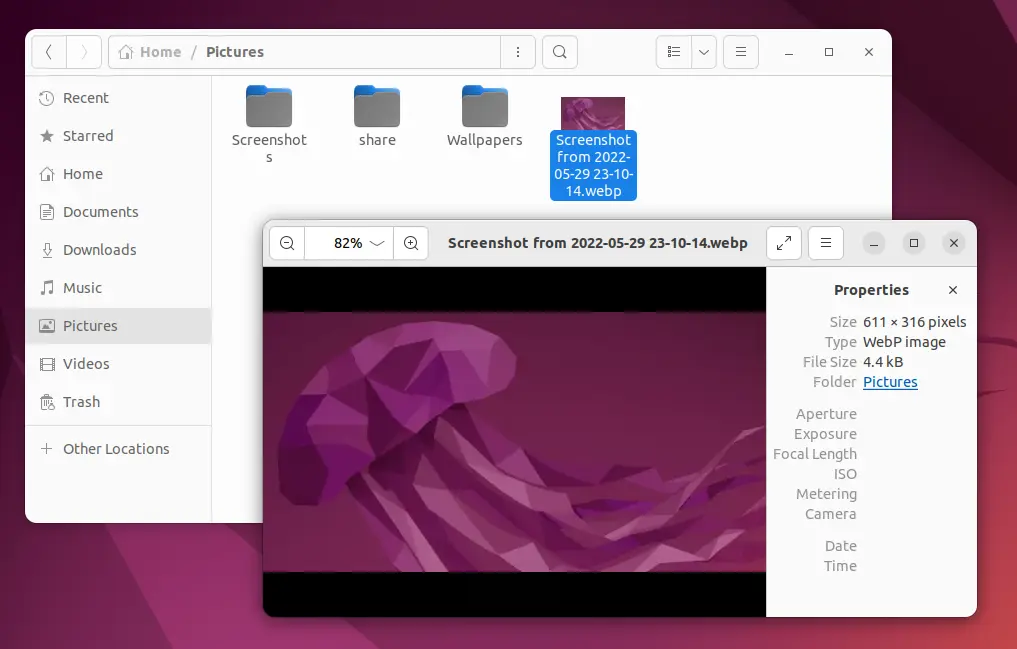
- Webp image import/export support.
- OpenColorIO color space aliases support
- And much more.
How to Install Blender 3.2.0 in Ubuntu
It’s quite easy to install Blender in Ubuntu, since the official Snap package is available in Ubuntu Software. You just need to keep an eye on the source info in the header bar, and make sure it’s from Snap Store.

Don’t like the sandbox applications? Blender website also provides 64-bit Linux tarball for downloading:
Just extract, and run the executable file from extracted folder will launch the software. Or, you may follow this guide to create app shortcut for it.