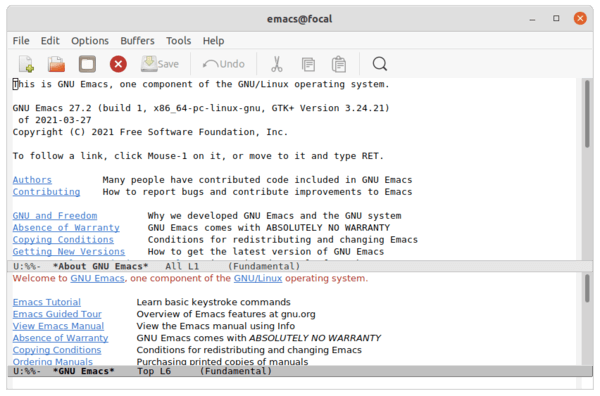
GNU Emacs text editor 27.2 was released as a new maintenance release.
Emacs 27.2 is a bug-fix release with no new features. According to the changelog, it changed the behavior of the user option ‘resize-mini-frames‘. If set to a non-nil value which isn’t a function, resize the mini frame using the new function ‘fit-mini-frame-to-buffer’ which won’t skip leading or trailing empty lines of the buffer.
Emacs now ignores modifier keys when IME input is used. By default, pressing Ctrl, Shift, and Alt keys while using IME input will no longer apply the modifiers to the produced characters, as there are IMEs which use keys with modifiers to input some characters. Customize the variable ‘w32-ignore-modifiers-on-IME-input’ to nil to get back the old behavior.
And the user option ‘tramp-completion-reread-directory-timeout’ is now obsolete.
How to Install Gnu Emacs in Ubuntu:
For those prefer the classic apt repository, keep an eye on the Kevin Kelley’s PPA, though it’s not been updated at the moment of writing.
For those do not like Flatpak and Snap packages, here’s also a step by step guide building Emacs from source tarball.
Emacs is also available as the containerized Snap package, which is however at version 27.1 at the moment.
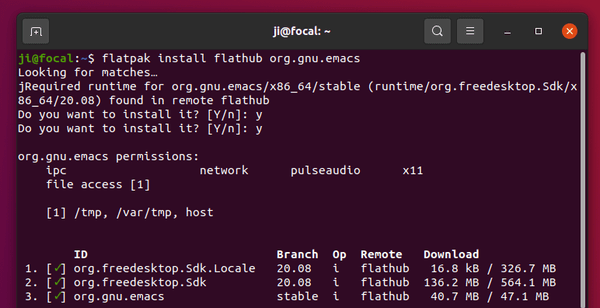
The community maintained Flatpak package has built Emacs 27.2 for Linux users. Ubuntu 20.04 and higher users can open terminal and run following commands one by one to install it:
- Install flatpak framework if you don’t have it:
sudo apt install flatpak

- Add flathub repository which hosts the flatpak packages:
flatpak remote-add --if-not-exists flathub https://flathub.org/repo/flathub.flatpakrepo

- Finally install Emacs flatpak package:
flatpak install flathub org.gnu.emacs
(Optional) To remove the flatpak package, simply run command in terminal:
flatpak uninstall org.gnu.emacs