Halfway through the year, many new apps released and many abandoned. Here are 6 weather apps that are still useful in 2021.
Without searching in web browser or watching an app on mobile, there are quite a few weather apps for Linux that display weather conditions and forecast either on desktop or via system tray applet.
And here are top ones still in active development and well working in all current Ubuntu releases.
1. Gnome Weather
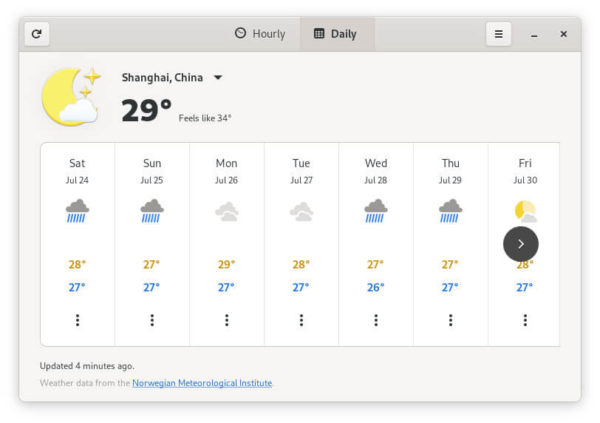
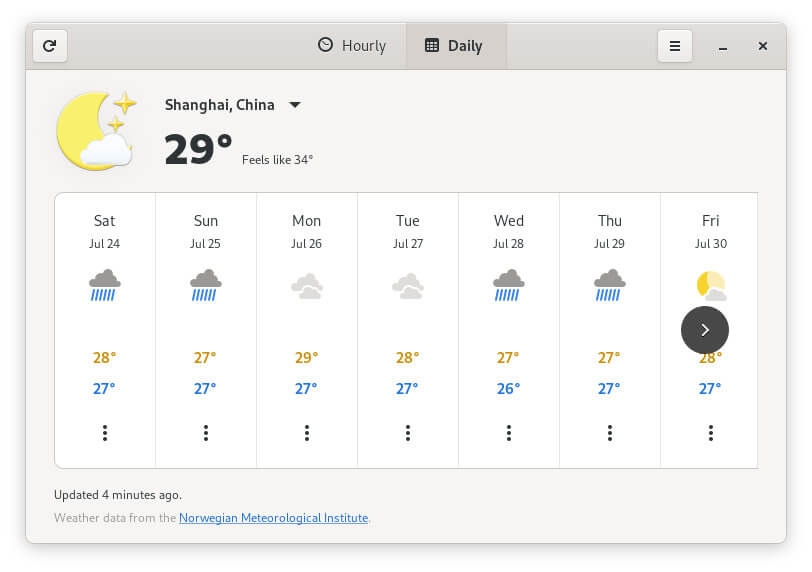
The Gnome Weather app is always the first one you should try, since it’s well designed and integrated with Ubuntu Gnome Desktop.
It shows weather conditions via a desktop window and integrates forecast into the Clock (date & time) menu. Sadly forecast does not work in Ubuntu 20.04 due to bug.
Version 40 displays the current temperature, feel like temperature, as well as cloudy/sunny/rainy icon for current weather. And it shows forecast both hourly and daily (2 weeks). As indicates, it collects weather data from Norwegian Meteorological Institute.
To install the app, open terminal (Ctrl+Alt+T) and run command:
sudo apt install gnome-weather
For Ubuntu 20.04, forecast is not available due to libgweather bug. To workaround it:
- either install Gnome Weather flatpak package which runs in sandbox.
- or install patched version of libgweather from my personal PPA and restart Gnome Shell.
2. My Weather Indicator.
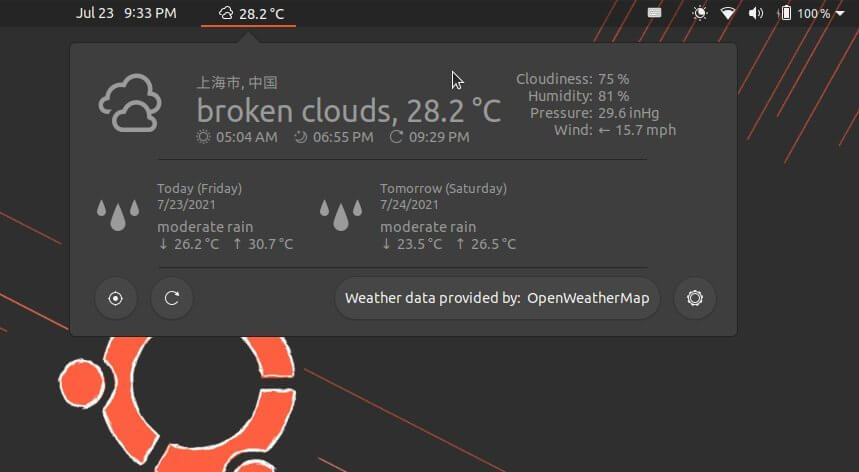
This is my favorite weather app from a Spain software developer. And it’s more than 10 years old that is still being maintained.
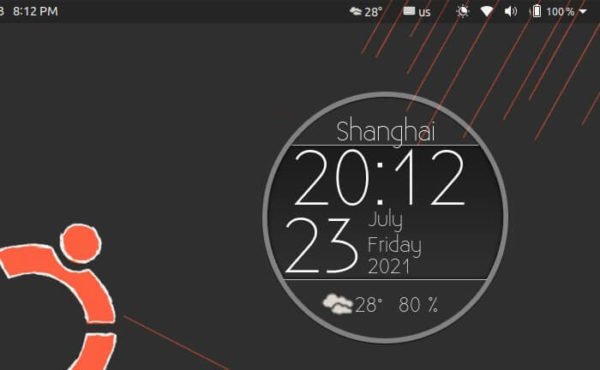
The app displays weather via both panel indicator and desktop widget. You can add 2 locations and choose weather services between OpenWeatherMap, Yahoo Weather, Wunderground.com, and WORLD WEATHER ONLINE.
It shows weather conditions including temperature, feels like, pressure, humidity, dew point, wind, and cloudiness. As well, it indicates the time of sunrise, sunset, and dawn/dusk.
The panel indicator offers forecast options for next hours and week days and forecast map. As well, a Moon Phase calendar is available for Waning Gibbous.
To install it, open terminal (Ctrl+Alt+T) and run commands one by one to get it from the developer’s PPA.
sudo add-apt-repository ppa:atareao/atareao
sudo apt update
sudo apt install my-weather-indicator
3. Meteo

Meteo is a forecast application using OpenWeatherMap API. It comes with an indicator that shows weather information including temperature, pressure, wind speed and direction, sunrise & sunset.
It also provide app window with current weather and forecast for next 18 hours and next 5 days. With it, you can also check information about temperature, pressure, wind speed, clouds, and precipitation in map mode.
The software has an Ubuntu PPA. So you can open terminal (Ctrl+Alt+T) and run following commands one by one to install it.
sudo add-apt-repository ppa:bitseater/ppa
sudo apt update
sudo apt install com.gitlab.bitseater.meteo
4. KWeather

This is a KDE weather app designed for plasma mobile. It however works good on Linux desktop even without KDE.
It shows the basic weather conditions as well as 10 days forecast in an adaptive app window. Which makes it different is the Dynamic mode that displays raining, shining, or snowing animation.
KWeather is available as flatpak package in flathub.org. To install it, first follow the setup guide and run bottom command in the link page.
5. OpenWeather Extension

This is an extension for Gnome that will work on Ubuntu, Fedora, and other Linux with Gnome Desktop.
It collects weather conditions from either OpenWeatherMap or darksky.net. And display basic info on top bar. By drop-down menu, you can see more details including:
- sunrise / sunset time.
- cloudiness, humidity, pressure, wind speed.
- forecast (2 ~ 10 days).
The indicator position, icons, units, Geolocation provider etc are configurable via extension settings.
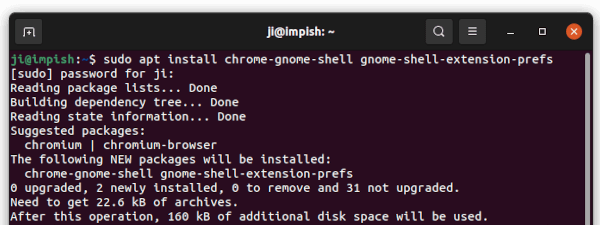
To install OpenWeather extension, firstly make sure chrome-gnome-shell is installed via command:
sudo apt install chrome-gnome-shell
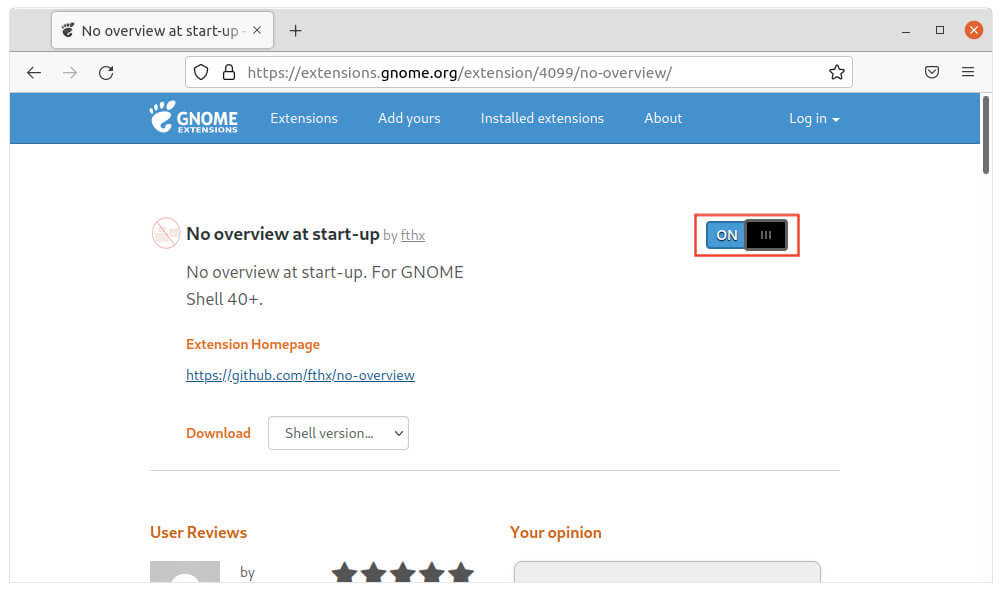
Then get it from extensions.gnome.org/…/openweather/
6. wttr.in
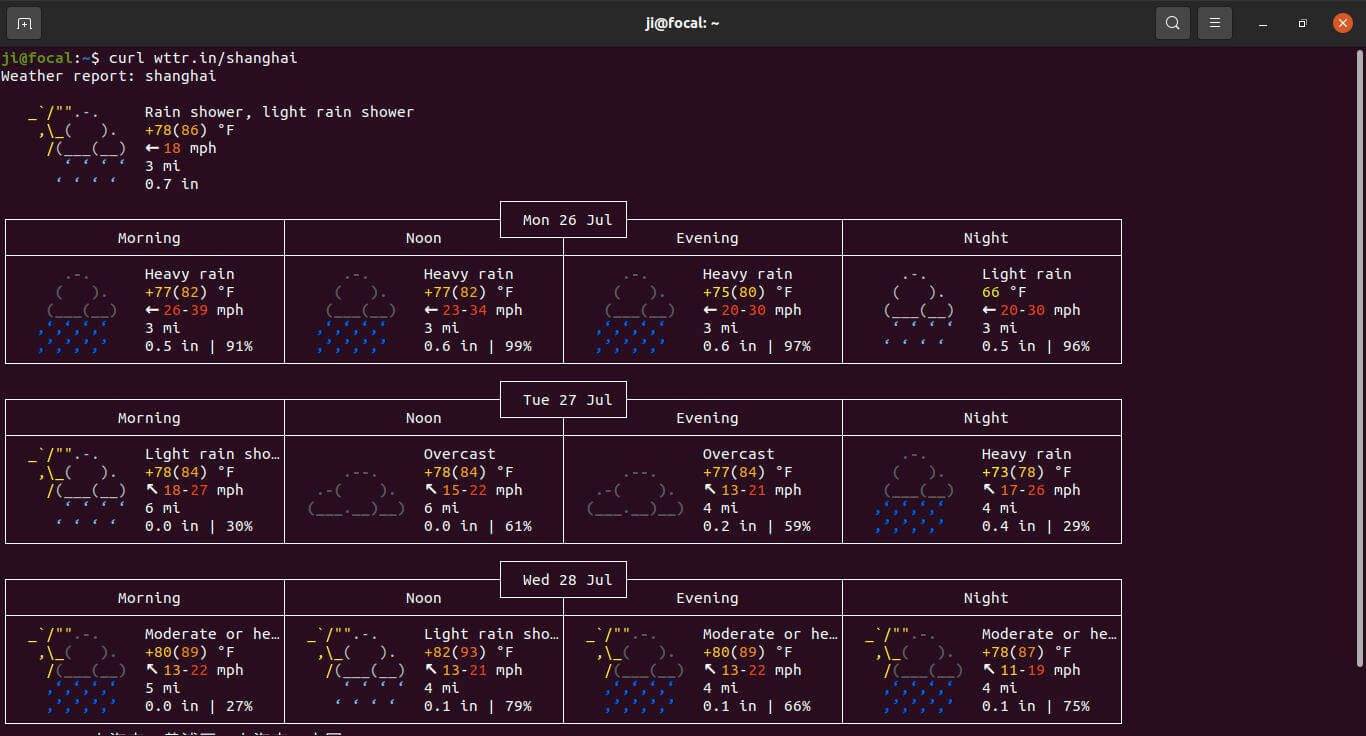
For those looking for a weather app works in command line, wttr.in is a great choice.
Just make sure curl is installed via command:
sudo apt install curl
You can then run command to get weather condition as well as forecast for current location via command:
curl wttr.in
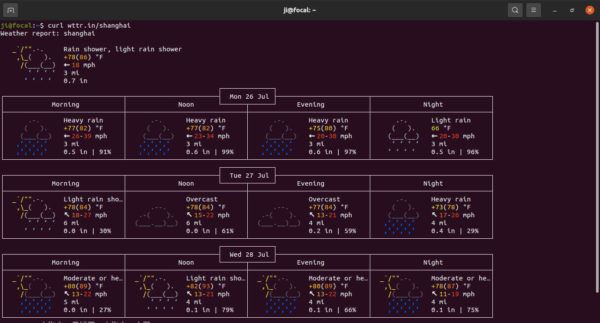
And you may specify a location, shanghai for instance, via command:
curl wttr.in/shanghai
It’s recommended to maximize your terminal window to make the forecast table display properly.
Besides the basic info, such as, temperature, pressure, humidity, it also supports for moon phase, different units, generate PNG, and more. To get more options, run command:
curl wttr.in/:help
Final Words
There are also a few other good weather apps that I know, but they are either not maintained or not well working in my machine. If you get any other good apps, feel free to leave comment below.