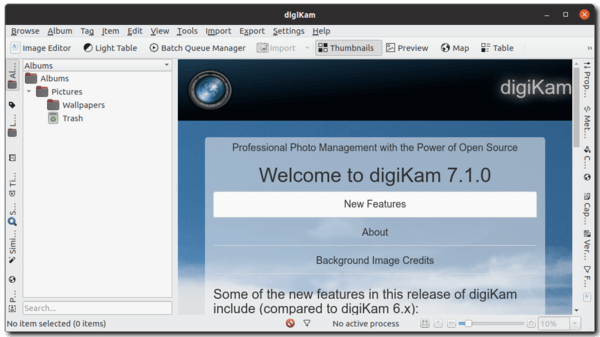
Prefer installing digiKam photo manager via apt repository rather than the containerized Flatpak package? There’s a third-party PPA maintains the latest packages for all current Ubuntu releases.
Open terminal either by pressing Ctrl+Alt+T on keyboard, or by searching for ‘terminal’ from system application launcher. When it opens, do following steps one by one to add the PPA and install the latest digiKam deb packages.
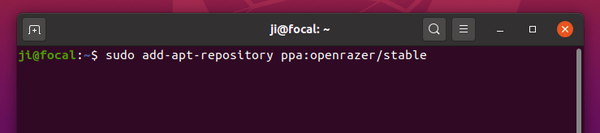
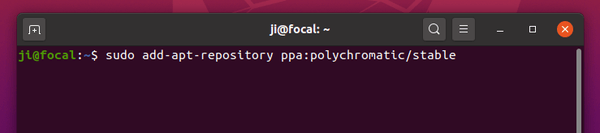
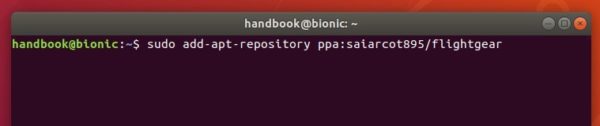
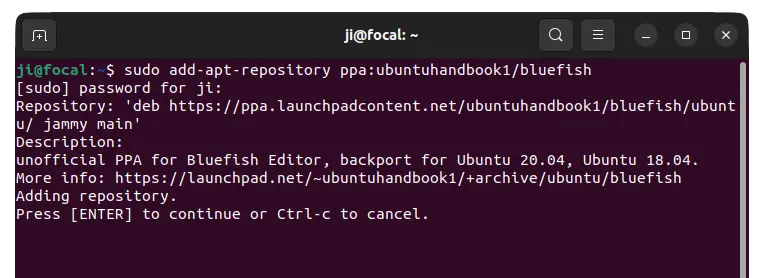
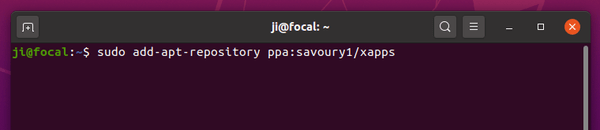
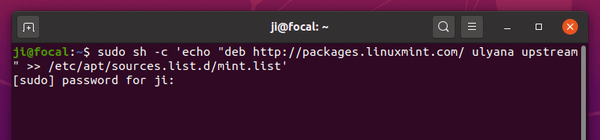
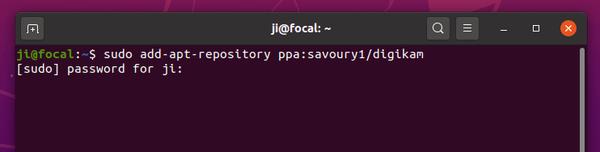
1. Add the Rob Savoury’s digiKam PPA via command:
sudo add-apt-repository ppa:savoury1/digikam
Type user password (no asterisk feedback) when it prompts and hit Enter to continue.
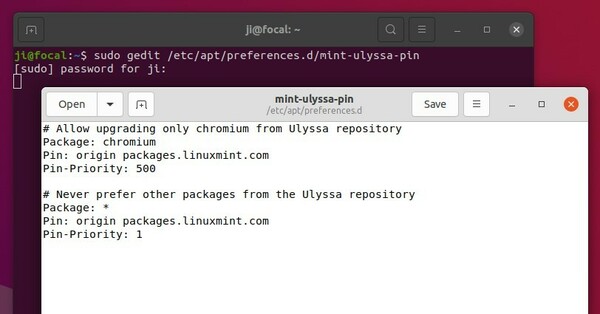
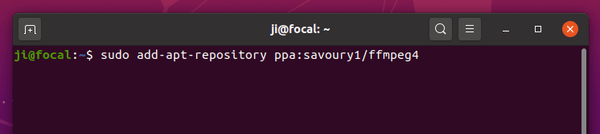
2. (Optional) The PPA package for Ubuntu 18.04 require updated FFMpeg package, which is available by adding another PPA:
sudo add-apt-repository ppa:savoury1/ffmpeg4
The PPA also contains the latest digiKam for Ubuntu 16.04, it is however requires more dependency PPAs. See the PPA link for detail.
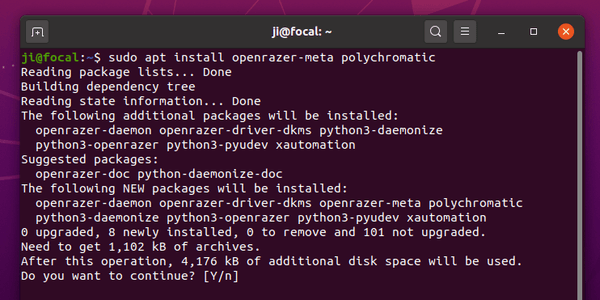
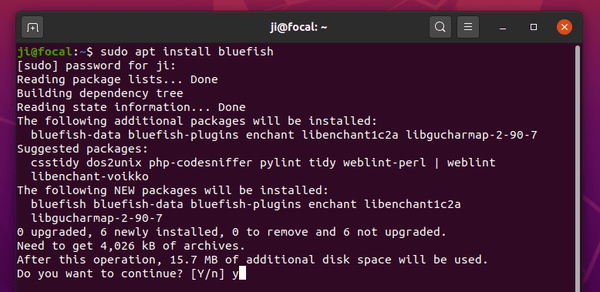
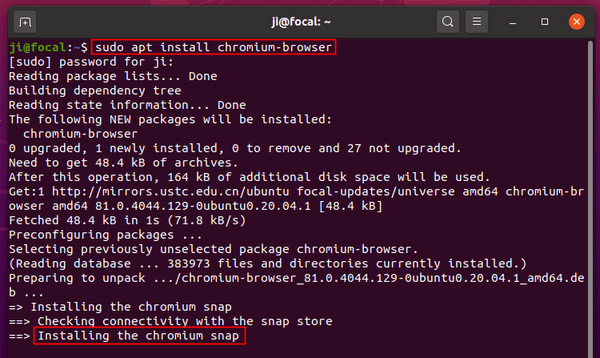
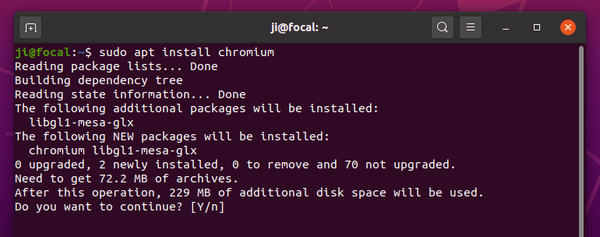
3. Finally run 2 commands one by one to refresh system package cache and install the photo manager:
sudo apt update

sudo apt install digikam
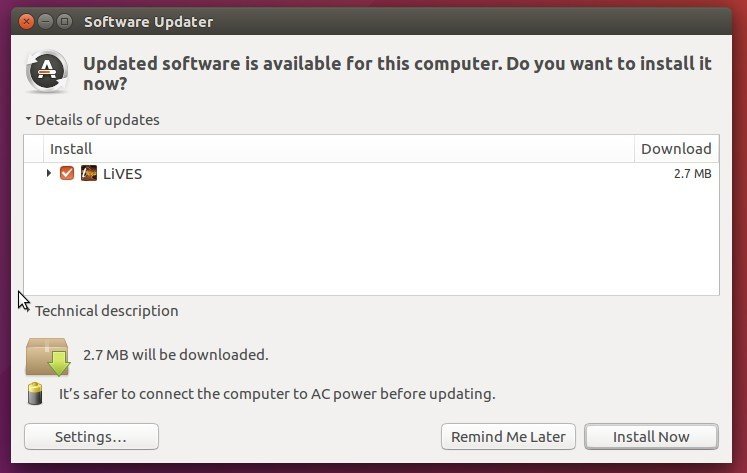
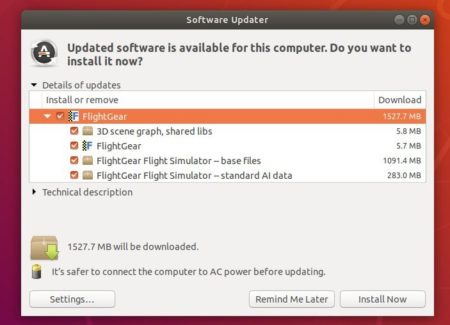
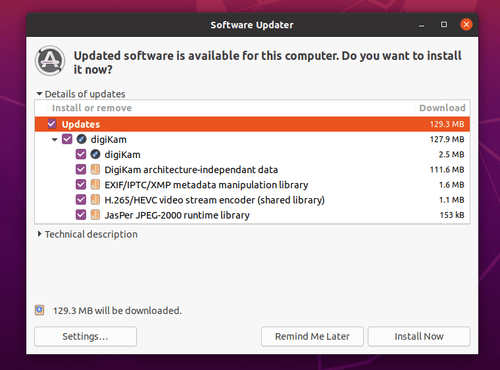
If an old version of digiKam .deb package was installed on your system, simply launch Software Updater and upgrade the software along with other system updates.
Uninstall:
To remove digiKam photo manager, open terminal and run command:
sudo apt remove --autoremove digikam
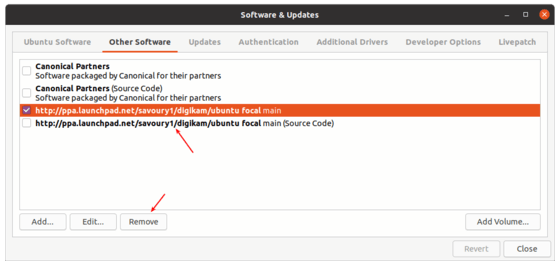
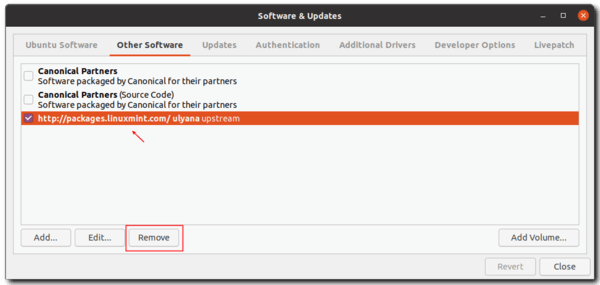
To remove the PPA, open Software & Updates and remove the repository lines from Other Software tab.