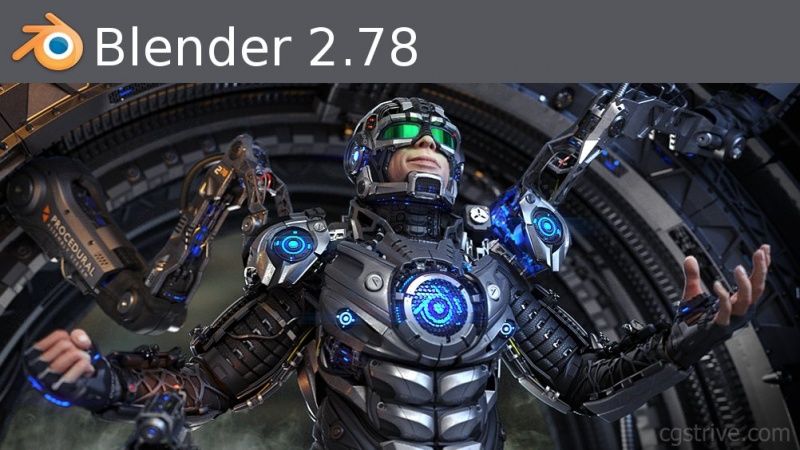
The Blender Foundation has recently announced the release of Blender 2.78. Here’s how to install or upgrade it via PPA in Ubuntu 16.04, Ubuntu 14.04, and Linux Mint 18, 17.
What’s new in Blender 2.78:
- spherical stereo rendering support for VR
- a grease pencil for full 2D drawing and animations
- viewport rendering improvements
- freehand curves drawing over surfaces
- bendy bones support
- alembic support
- The Cycles Render Engine has NVIDIA Pascal support
- new physics capabilities, and various new add-ons.
Install/upgrade to Blender 2.78 via PPA:
Thomas Schiex is maintaining a PPA with most recent Blender release for Ubuntu 16.10, Ubuntu 16.04, Ubuntu 14.04, and Linux Mint 17, 18.
So you can easily install Blender 2.78 or upgrade from a previous release by following the steps below:
1. Open terminal from Unity Dash, App Launcher, or via Ctrl+Alt+T keys. When it opens, run command:
sudo add-apt-repository ppa:thomas-schiex/blender

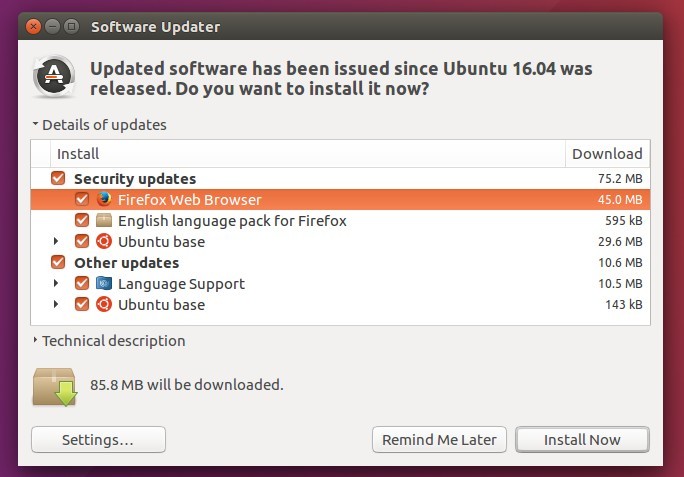
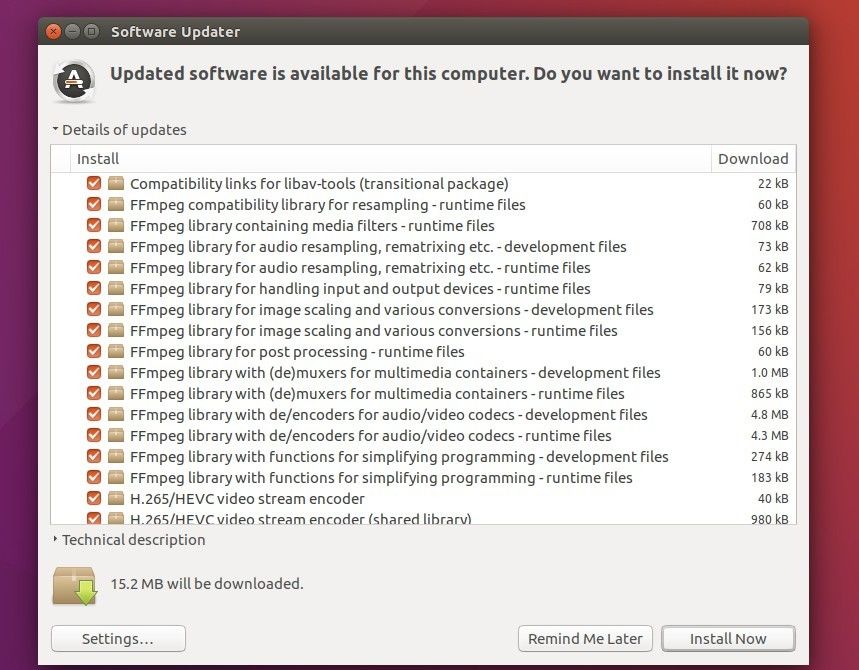
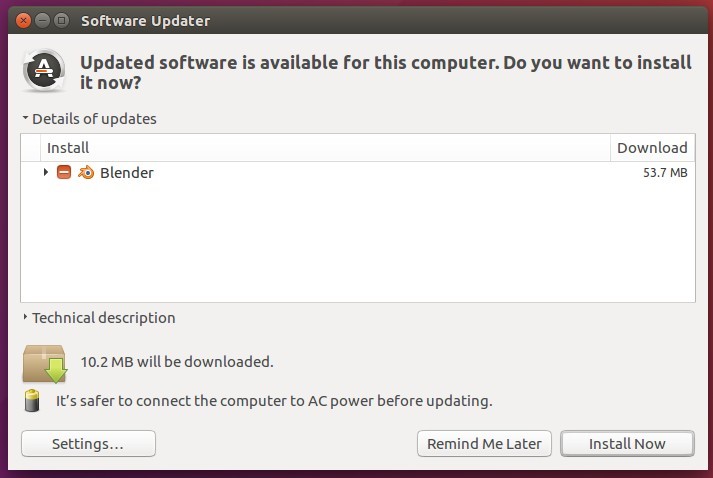
2. To upgrade from a previous release, simply launch Software Updater and install the updates after checking for updates:
Or install Blender for the first time or upgrade Blender via command:
sudo apt update && sudo apt install blender
3. (Optional) To restore to the stock version of Blender in Ubuntu’s main repository, purge the ppa via command:
sudo apt install ppa-purge && sudo ppa-purge ppa:thomas-schiex/blender