![]()
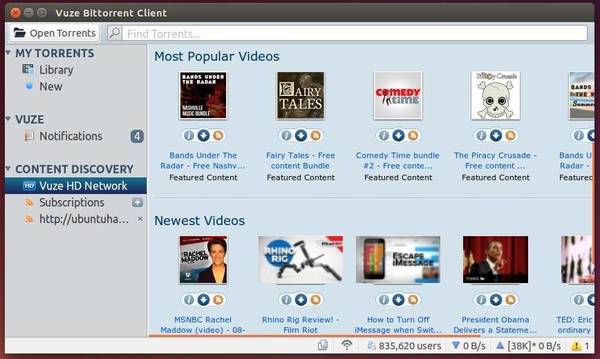
Vuze BitTorrent Client, previously Azureus, has recently reached 5.5.0 release with new features and enhancements. Here’s how to install or upgrade it in Ubuntu.
Vuze is written in Java, and uses the Azureus Engine. In addition to downloading data linked to .torrent files, Azureus allows users to view, publish and share original DVD and HD quality video content. Content is presented through channels and categories containing TV shows, music videos, movies, video games, series and others. Additionally, if users prefer to publish their original content, they may earn money from it.
What’s New in Vuze 5.5.0:
According to the release note, the new release brings:
- A new visual guide
- Additional tips and suggestions are provided for using Vuze.
- Allow blocking of local DNS resolution attempts for trackers hosts when using a SOCKS proxy.
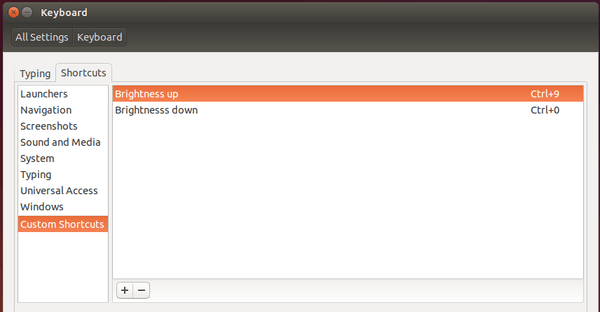
- Shortcut implemented for download location using CTRL+
to save torrents - Additions of various console-UI commands to improve usability
- Added Speed Limit Scheduler features.
- Configuration pages now have shortcuts to access specific settings quickly
For more, see the Vuze blog.
Install Vuze 5.5.0 in Ubuntu:
For non-install version, download the official package from vuze.com, extract and finally run the executable from the result folder.
Or you can install Vuze from the Getdeb repository, just download below packages from the link page:
- “azureus_5.5.0.0-1~getdeb1_all.deb”
- “vuze_5.5.0.0-1~getdeb1_all.deb”
Vuze packages in Getdeb repository
Once downloaded, open the package via Ubuntu Software Center and click the install button one by one.