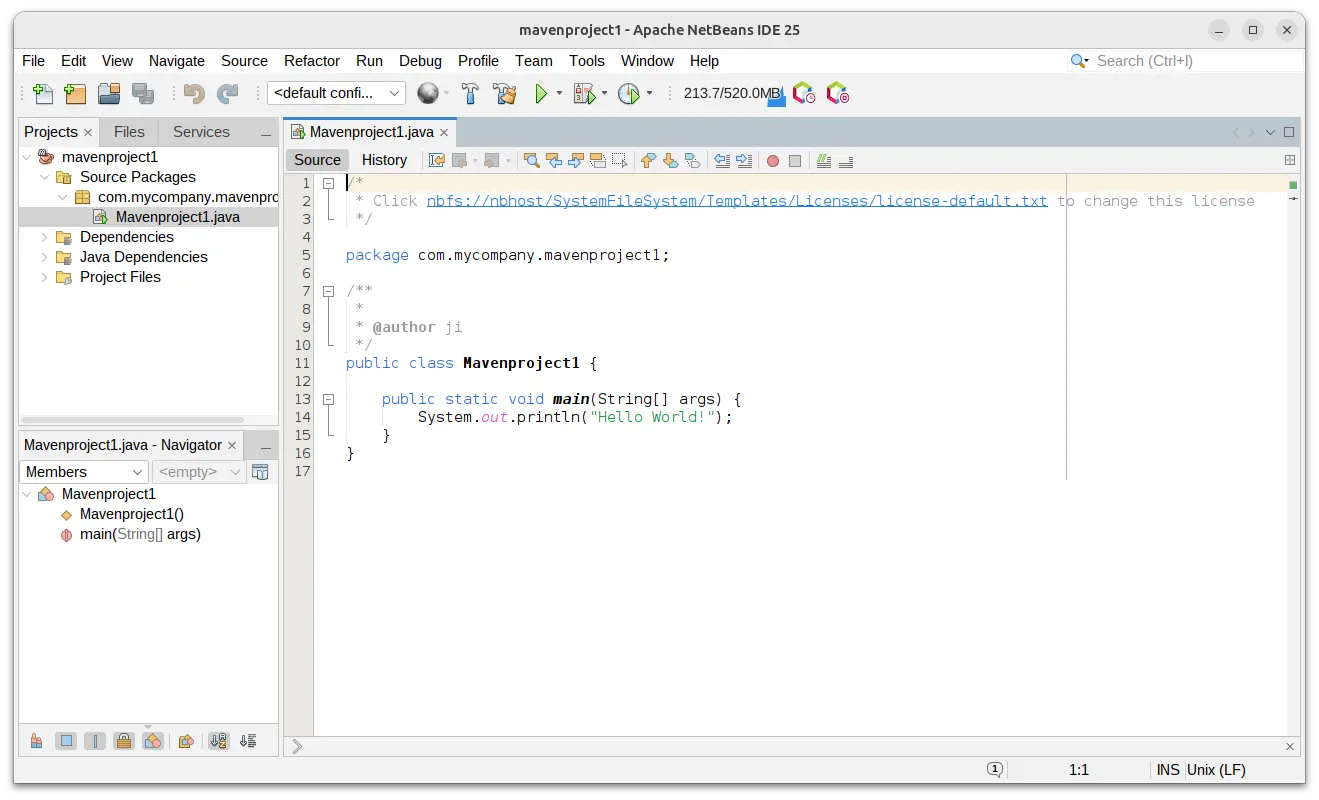
Archives For November 30, 1999

Mozilla today announced the release of Firefox 112.0. See what’s new in this release!

For Ubuntu user using the Chromium browser that was installed as Snap package from system repository, Firefox 112 adds ability to import data from that browser. Though, the feature so far does not work in Firefox itself installed as Snap package.

When working with too many browser tabs, user can now click on the down arrow icon (‘⋁’) to open tab lists, and use middle mouse click on any tab to close it.

Also, the Ctrl+Shift+T re-open closed tab shortcut key, can now restore the previous session if there are no more closed tabs from the same session to re-open.

Other changes in Firefox 112.0 include:

  • Right-clicking on password fields now shows an option to reveal the password.
  • Update EnableTrackingProtection policy to prevent from more cross-site tracking.
  • Enables overlay of software-decoded video on Intel GPUs in Windows
  • Disable the deprecated U2F Javascript API by default.
  • Various security fixes.

How to Install Firefox 112.0 in Ubuntu

For Ubuntu 22.04 and higher, that using the pre-installed Firefox as Snap package. You should now has updated to the new release. Just open browser, and check its version via the ‘About Firefox’ page.

For Ubuntu 20.04 and Ubuntu 18.04, just wait! The new release page will be made into system repository in next few days. Keep your system up-to-date will automatically update Firefox package to the latest.

For those who do NOT like the pre-installed Snap package, and old Ubuntu users who can’t wait, there’s also an Ubuntu PPA that contains the latest Firefox package, see this step by step guide how to install Firefox from that PPA.

The OpenShot video editor announced the new 3.1.0 feature release few days ago. Here are the new features and how to install guide for Ubuntu users.

OpenShot 3.1.0 features a new output video profile dialog, with more than 400 profiles support. Which, are also fully searchable.

The release also added more robust time remapping implementation, including audio resampling support for backward and forward videos, and time keyframes support using Bezier curves to incrementally speed up / slow down video and audio.

The Undo/Redo feature has been improved with multi-step edits, such as slicing a clip into 2 clips or removing a track.

  • Support waveform visualizations for audio-only files.
  • Improve Caption effect with better VTT/Subrip support.
  • Caption effect font_size moving from “Points” to “Pixels”
  • Caption effect default properties have been changed with High DPI support.
  • Clip caching, memory leak fixes, prevent zombie threads
  • FrameMapper & Clip objects now include extra caching and optimizations

For more about OpenShot 3.1.0, see the official release note.

How to Install OpenShot 3.1.0 in Ubuntu:

The software has an official Ubuntu PPA with all current Ubuntu releases and their based systems support.

1. First, press Ctrl+Alt+T on keyboard to open terminal. When it opens, paste the command below into terminal and hit Enter to add PPA:

sudo add-apt-repository ppa:openshot.developers/ppa

Type user password when it asks (no asterisk feedback) and hit Enter to continue.

2. Ubuntu 20.04 and higher will automatically refresh system package cache while adding PPA. Though old Ubuntu 18.04 and Linux Mint do not.

To manually update the cache, run command:

sudo apt update

3. Finally, either install the video editor by running command in terminal:

sudo apt install openshot-qt python3-openshot

Or use ‘Software Updater’ to update it from an already installed package.

Uninstall:

To remove the Ubuntu PPA, either open “Software & Updates” and delete the source from ‘Other Software’ tab:


or run the command below in terminal:

sudo add-apt-repository ppa:openshot.developers/ppa

And remove the editor for choice by running command:

sudo apt remove --autoremove openshot-qt python3-openshot

Want to send your application shortcut icons onto desktop, so you can click them to launch the corresponding apps? This simple tutorial is going to show you how to do the job in Ubuntu 24.04 with default GNOME Desktop.

As far as I know, there are 2 ways to easily add your app icons to the desktop in Ubuntu. They include:

  • Manually drag and drop the associated .desktop file on to desktop, add executable permission, and enable allow launching.
  • Another way is using an extension, which adds “Add to Desktop” context menu option to your app icons.

Continue Reading…

This simple tutorial is going to show you how to add both flatpak and AppImage package format support, while Ubuntu does not support them out-of-the-box.

Like Snap, Flatpak is an universal Linux package format runs in sandbox. Many software developers provide their app packages for Linux through Flatpak. And, AppImage is a portable Linux package format. Just download the package, and click ‘Run’ (after adding executable permission) will launch the program.

Enable Flatpak Support in Ubuntu

Ubuntu is focusing on the native deb and snap support. The developer team has officially announced that they won’t support Flatpak out-of-the-box.

However, user has the freedom of choice to use any other source sources, including Flatpak.

1. To enable Flatpak support, first press Ctrl+Alt+T on keyboard to open terminal, and run command:

sudo apt install flatpak

Type user password (no asterisk feedback) when it asks and hit Enter. In case the command does not work, run sudo apt update first to update package index.

2. (Optional) Then, you can choose to add the Flathub repository, the standard repository that contains tons of applications as Flatpak. To do so, run command:

flatpak remote-add --if-not-exists flathub https://flathub.org/repo/flathub.flatpakrepo

When done, log out and back in to apply the variable environment change.

3. Finally, you can either go to flathub.org and install any Flatpak application, by running the flatpak install command in the down-arrow menu beside “Install” button.

Or, install a local .flatpak (or .flatpakref) file by running command:

flatpak install ~/Downloads/file_name_here.flatpak

Enable AppImage Support in Ubuntu

AppImage is a non-install package format for Linux. Like some .exe or .msi files, user can directly click run .AppImage file to launch applications. Though, the ‘allow executing file as program’ option has to be enabled first in file ‘Properties’ dialog.

Ubuntu does NOT support AppImage out-of-the-box, due to switch to fuse3, while the file format requires the classic fuse2.

So enable AppImage is also easy. Just open terminal (Ctrl+Alt+T) and run command to install the fuse2 library:

sudo apt install libfuse2

After that, right-click on your AppImage file and click ‘Run’ to launch the application after enabled ‘allow executing file as program’ and enjoy!

In Ubuntu, Fedora and other Linux with GNOME desktop, you may found that many applications have child dialogues attached to parent windows.

For example, when opening ‘About’ dialog for Files or adding custom shortcut in System Settings. The parent window will always attach the pop-up child dialog. User can not move it out of the way until close it.


For those who don’t like this feature, it’s easy to detach the child windows. And, this tutorial is going to show you how!

Option 1: Single command to detach child windows

For those who are familiar with Linux command, press Ctrl+Alt+T on keyboard to open a terminal window.

When terminal opens, run command:

gsettings set org.gnome.mutter attach-modal-dialogs false

It applies the change immediately once you hitting Enter, though it’s for current user only!

Option 2: Use Gnome Tweaks (Graphical)

Gnome Tweaks, the popular graphical configuration tool for GNOME desktop, also has the option to do the similar job.

First, search for and install “Gnome Tweaks” from Ubuntu Software (or Gnome Software):

Then, launch Gnome Tweaks and navigate to “Windows” in left. Finally, turn off the option for “Attach Modal Dialogs” option and done.

The Ubuntu Team announced the Beta release of the Ubuntu 23.04 “Lunar Lobster” today!

Ubuntu 23.04 is a short team release with 9 months support! The final stable release will be available in next few weeks. And, it features Linux Kernel 6.2 and GNOME Desktop 44.

What’s New in Ubuntu 23.04

When trying to install the new Ubuntu release via an ISO image, you’ll see the new installer wizard. The new installer is a Flutter app with fast response and modern user interface.

Lunar new installer wizard

Thanks to GNOME 44, the top-right system menu (Quick Settings) will now display a ‘Background App‘ sub-menu, allowing to manage applications run in background. Though, only Flatpak applications are supported so far.

The “Settings” has redesigned “Mouse & Touchpad”, and “Accessibility” pages, with clean and easy to use configure options. Create Wi-Fi hotspot now displays QR code, and Network settings page now supports for adding WirdGuard VPN. About page is also been updated with more information such as Firmware version.

Other changes about the new Ubuntu 23.04 include:

  • Big avatar icon in login/lock screen.
  • Big icon view in native file chooser.
  • Paste photo image from clipboard directly into image file.
  • New Ubuntu fonts.
  • Ruby 3.1, Python 3.11.2, and more.

The new release also features 10 official flavors. Besides Kubuntu, Lubuntu, Ubuntu Budgie, Ubuntu Kylin, Ubuntu MATE, Ubuntu Studio, Ubuntu Unity, and Xubuntu, there are 2 new flavors: Edubuntu and Ubuntu Cinnamon.

How to Get Ubuntu 23.04

The ISO images for Ubuntu, Server and Netboot install tarball are available to download at the link below:

Ubuntu 22.10 user can upgrade to the development branch of 23.04, by installing all available package updates and then run update-manager -d -c in terminal. Or follow the official guide here.

Blender 3.5, the popular 3D creation software, was released few days ago. Here are the new features and how to install guide for Ubuntu users.

The new release features 26 built-in hair assets, allows to drag and drop to use onto your setups. As well, it allows to do many actions on hair curves, such as generate, duplicate, deform, trim, rotate, roll up, and more.

It also added support for Vector Displacement Maps (VDM) brushes, new GPU-based 3D viewport compositor, many lights sampling for Cycles.

Other changes in Blender 3.5 include:

  • Use native Metal in macOS for 3D viewport.
  • New options and shortcuts for Pose Library.
  • New Ease operator in the Graph Editor
  • New Natural Drawing Speed timing mode in the Build modifier
  • Support for Importing and exporting USDZ files.

How to Install Blender 3.5 in Ubuntu

Option 1: Install Blender as Snap

For Ubuntu 20.04 and higher, it’s super easy to install the latest Blender package through the official Snap package.

Simply open Ubuntu Software, search for ‘Blender’ and click install it.

I’m not sure if Ubuntu software in 18.04 has added support for Snap, but user can just press Ctrl+Alt+T on keyboard to open terminal and run command to install the daemon & Blender as snap:

sudo apt install snapd && sudo snap install blender --classic

Option 2: Install Blender via the Linux tarball

Some users do not like the snap package that runs in sandbox. For choice, Blender website offers the portable Linux tarball:

And here’s a step by step guide shows how to create app shortcut for the portable package.

Blender is also available to install as Flatpak package. For those prefer the classic .deb package, there’s a third-party PPA, though not updated at the moment of writing.

The Ubuntu design team is working on new Ubuntu fonts and proposes to use as default in the upcoming Ubuntu 23.04.

For testing purpose, the team posted the .deb packages for the new fonts in this thread. User can try it out by installing in all current Ubuntu releases and report any issue in this page.

I’ve tried out the new fonts in Ubuntu 22.04 LTS. The text in system menu and application window becomes a bit thin and compact than before.

And, the document text in text editor looks enlarged, that I even doubted if the font size was changed mistakenly.

How to Install the New Fonts

First, press Ctrl+Alt+T on keyboard to open a terminal window. When it opens, run single command below to download the 2 font packages:

wget https://launchpad.net/ubuntu/+archive/primary/+files/fonts-ubuntu_0.863-0ubuntu3_all.deb https://launchpad.net/ubuntu/+archive/primary/+files/fonts-ubuntu-console_0.863-0ubuntu3_all.deb

Install wget via sudo apt install wget if it says command not found.

After downloaded the packages, use command to install them:

sudo dpkg -i fonts-ubuntu-console_0.863-0ubuntu3_all.deb fonts-ubuntu_0.863-0ubuntu3_all.deb

You can then remove the 2 packages in user home folder. And restart computer to apply changes after installation.

How to Restore original fonts

The stock fonts package version varies on different Ubuntu editions, so I would recommend to first install Synaptic package manager in Ubuntu Software.

Then, open “Synaptic” and do:

  1. Search and highlight “fonts-ubuntu” package.
  2. Go to menu “Package -> Force Version”.
  3. Select the old stock version from pop-up dialog, then click “Force Version” button.
  4. Finally, click “Apply”.
  5. Also, do the previous steps one by one for “fonts-ubuntu-console” package.

Also, restart computer to apply changes and done!

The popular Alacritty terminal emulator got a new release few days ago. Here are the new features and how to install guide for Ubuntu Linux.

Alacritty is a free open-source GPU-accelerated terminal emulator written in Rust programming language. It features Vi mode motion and selection via keyboard, Vi search/normal search, hints, etc.

The new 0.12.0 release features fractional scaling support on Wayland session via wp-fractional-scale protocol. It also added touchscreen input support for click, scroll, select, zoom actions.

Other changes include:

  • Support for horizontal scrolling in mouse mode and alternative scrolling modes
  • Support for running on GLES context
  • New window.resize_increments config option, which is disabled by default
  • New -T flag, short form for --title.
  • Always use sRGB color space on macOS.
  • Resize increments are now set on macOS and X11 to resize by cell sizes.
  • Proper hint about window transparency in Wayland and macOS.
  • Change window.decorations_theme_variant to use Dark, Light, and None values

They are as well various other changes and bug-fixes, see the Github releases page for details.

How to Install Alacritty terminal emulator in Ubuntu Linux

This app is not available in Ubuntu system repository until the next Ubuntu 23.04. User can install it via 2 methods: cargo package manager, or third-party Ubuntu PPA.

Option 1: Install Alacritty via cargo package manager

Cargo is the command line package manager for Rust, like Pip for Python. User can use the tool to install Alacritty terminal emulator in most Linux, though user needs to MANUALLY setup PATH variable and create shortcut icon.

1. First, press Ctrl+Alt+T on keyboard to open terminal. When it opens, run command to install cargo:

sudo apt install cargo

Type user password (no asterisk feedback) when it asks and hit Enter to continue.

2. Then, install Alacritty for current user only by running command:

cargo install alacritty

3. As mentioned, cargo package does not add PATH variable by default. You can verify by running $PATH command and see if “/home/USERNAME/.cargo/bin” present in the output.

To add it into user PATH, run command nano ~/.profile to edit user profile and add following lines:

if [ -d "$HOME/.cargo/bin" ] ; then
    PATH="$HOME/.cargo/bin:$PATH"
fi

When done, press Ctrl+X, type y and hit Enter to save change! NOTE: user PATH changes take effect at next login.

4. The cargo package also does not create shortcut icons. Meaning you need to manually create one by running command:

nano ~/.local/share/applications/alacritty.desktop

Then paste following lines and save it:

[Desktop Entry]
Type=Application
TryExec=alacritty
Exec=alacritty
Icon=Alacritty
Terminal=false
Categories=System;TerminalEmulator;

Name=Alacritty
GenericName=Terminal
Comment=A fast, cross-platform, OpenGL terminal emulator
StartupWMClass=Alacritty
Actions=New;

[Desktop Action New]
Name=New Terminal
Exec=alacritty

Finally, either use alacritty command or search for and launch it from start menu (or ‘Activities’ overview).

Option 2: Install Alacritty in Ubuntu via PPA

An Ubuntu PPA can be more easy to install the terminal emulator for beginners. Though, it seems to be unofficial.

NOTE: The PPA package at the moment includes Alacritty 0.13.0 development, though the package name marked as 0.12.0 stable.

So far the PPA supports for Ubuntu 20.04, Ubuntu 22.04, Ubuntu 23.10, Ubuntu 24.04 and their based systems.

1. First, open a terminal window and run command to add the Ubuntu PPA:

sudo add-apt-repository ppa:aslatter/ppa

Type user password (no asterisk feedback) when it asks and hit Enter to continue.

2. Linux Mint and few Ubuntu based systems may need to manually update the package index, though it’s done automatically in Ubuntu since 20.04:

sudo apt update

3. Finally, install Alacritty terminal emulator via command:

sudo apt install alacritty

Once installed, search for and launch it from start menu or ‘Activities’ overview, or by running alacritty command.

Uninstall Alacritty terminal emulator

To remove the package installed via Cargo, open terminal and run command:

cargo uninstall alacritty

Also remove the shortcut icon if added via command:

rm ~/.local/share/applications/alacritty.desktop

For choice, you may also remove the Cargo package manager, though other apps installed through Cargo will also be removed:

sudo apt remove cargo

To remove the package installed from Ubuntu PPA, use command:

sudo apt remove --autoremove alacritty

Also remove the Ubuntu PPA via command:

sudo add-apt-repository --remove ppa:aslatter/ppa

That’s all. Enjoy!

This simple tutorial shows how to install the Budgie Desktop (10.8 so far) in Ubuntu 22.04 LTS.

Ubuntu Budgie is one of the official Ubuntu flavors features the Budgie desktop. While Ubuntu Budgie 22.04 ships with Budgie Desktop 10.6.1, the latest version has reached v10.9.

For those who want to get the latest features, but don’t want to upgrade the whole system. The developers team maintains an Ubuntu PPA contains the most recent desktop packages  for Ubuntu 22.04 LTS.

NOTE: The PPA so far contains Budgie desktop 10.8! According to the PPA description, it will include the latest 10.9 release.

1. First, search for and open “terminal” from application menu. When it opens, run command to add the PPA:

sudo add-apt-repository ppa:ubuntubudgie/backports-budgie

Type user password (no asterisk feedback) when it asks and hit Enter to continue.

2. After adding the PPA, install all available package updates by running command in Ubuntu Budgie 22.04:

sudo apt update && sudo apt upgrade

Ubuntu 22.04 and other flavors can also install this desktop environment by running command:

sudo apt install budgie-desktop-environment

How to restore:

To revert back to the original Budgie 10.6.1, open terminal and run command to install ppa-purge tool:

sudo apt install ppa-purge

Then, purge the PPA via the tool which also downgrade all install packages:

sudo ppa-purge ppa:ubuntubudgie/backports-budgie

Finally, restart your computer and enjoy!