Archives For November 30, 1999

Running Ubuntu 22.04 or Fedora 36 on a Lenovo IdeaPad laptop? It’s super easy to turn on/off the conservation mode.

Conservation Mode is a feature of Lenovo IdeaPad to prolong life of the battery. It’s targeted for those who plug-in ac power. With the mode enabled, the battery will only charge to 55-60%.

For the GNOME 3.36+ (defaults in Ubuntu 20.04+, Fedora 35/36 and optional in Arch and Manjaro), there’s an extension to add the toggle options into system tray menu.

As well, it also provides options to turn on/off camera, Fn Lock, Touchpad, and USB Charging.

How to Install the tool:

The tool is available as a Gnome extension called “IdeaPad Mode”.

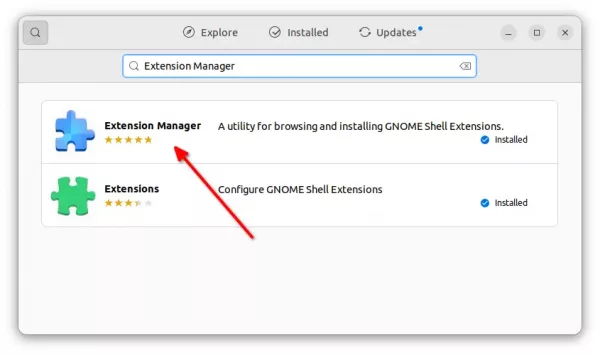
For Ubuntu 22.04, first search for and install “Extension Manager” from Ubuntu Software.

Install Extension Manager in Ubuntu 22.04

Next, search for and launch “Extension Manager” either from ‘Activities’ overview or ‘Show Applications’ screen.

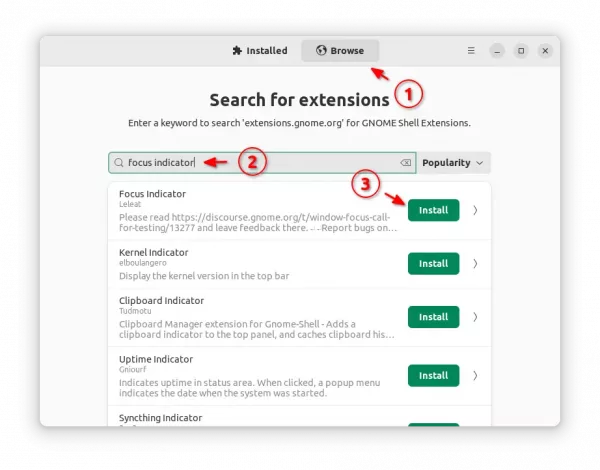
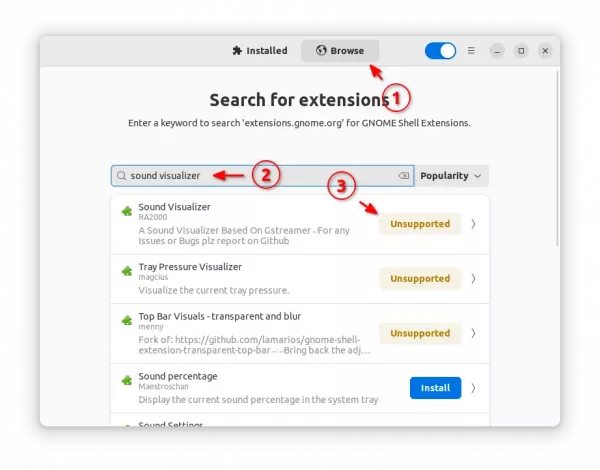
When the app opens, navigate to ‘Browse’ tab and finally search for and install the extension:

As you can see, there are few other similar extensions to do the job, click install either one that you prefer.

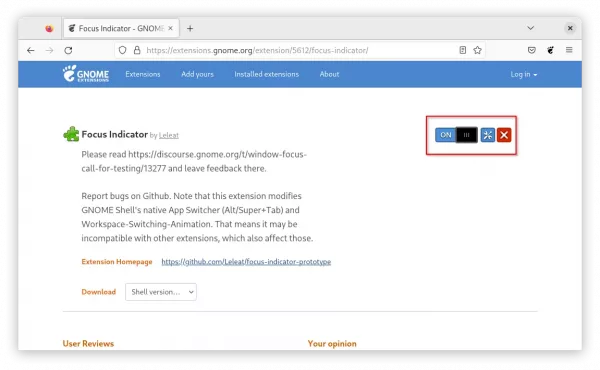
For Ubuntu 20.04, Debian 11, Fedora and other Linux with Gnome, simply use the on/off switch in the page below to install it:

NOTE: Ubuntu 20.04 needs to first install the agent package by running the command below in terminal (Ctrl+Alt+T):

sudo apt install chrome-gnome-shell

Also, install the browser extension if prompted and refresh the web page for the on/off switch.

Looking for a file shredder app for Linux? Raider is the one with a stupid simple user interface.

There are already a few good ways to securely delete files in Ubuntu Linux, such as BleachBit and Nautilus wipe extension. But for a large list of files or those do shred files frequently, this app could be more efficient.

It’s Raider, also known as File Shredder, a free open-source GTK4 application. With it, you can just drag and drop files into app window, then shred as many files as you want via single mouse click.

File Shredder with Drag and Drop support

The default remove method is ‘wipesync‘ which also sync each obfuscated byte to disk. Though, you may set it to ‘wipe‘ that first obfuscate bytes in the name, or ‘unlink‘ to delete file name from the filesystem.

It by default overwrites file with random data, which however is a clue that the file has been shredded. User can choose to overwrite with zeros instead to hide shredding.

And there are options to specify how many times to shred file over, number of bytes to shred, and whether to override the file permissions.

How to Install File Shredder

The app is available to install via the universal Flatpak package, that works in most Linux.

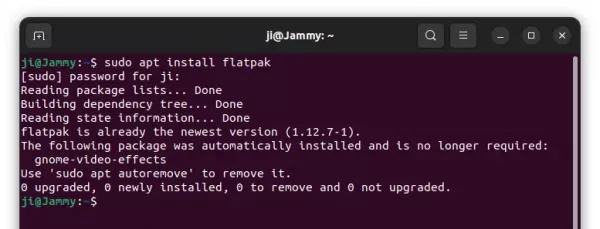
1. For Ubuntu users, first press “Ctrl+Alt+T” on keyboard to open terminal. Then, make sure the daemon package is installed by running command:

sudo apt install flatpak

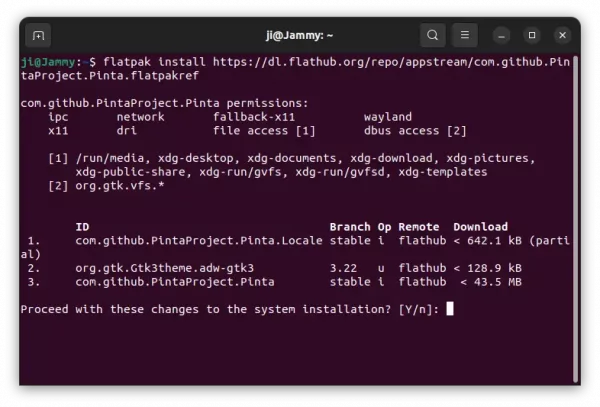
2. Next, install the tool via command:

flatpak install https://dl.flathub.org/repo/appstream/com.github.ADBeveridge.Raider.flatpakref

Once installed, launch it by either searching from ‘Activities’ overview, or using the command below:

flatpak run com.github.ADBeveridge.Raider

How to Remove File Shredder:

To remove the software, simply run command in a terminal window:

flatpak uninstall --delete-data com.github.ADBeveridge.Raider

And clear unused libraries via flatpak uninstall --unused.

The first point release of Ubuntu 22.04 is finally out! Users of Ubuntu 20.04 will receive notification to upgrade to the new LTS.

For users who are still running Ubuntu 20.04, the new LTS features Linux Kernel 5.15, GNOME 42 desktop with built-in 3-finger gestures, new screenshot UI, horizontal workspace view, and RDP remote desktop sharing, and more.

Changes in the new point release:

As usual, this point release includes many updates, high-impact bug-fixes with a focus on maintaining stability and compatibility.

The installation screen has been updated with new logo and appearance. The Ubuntu Studio 22.04 does not install issue when secure boot enabled, has been fixed by manually blacklist DKMS modules.

Besides upgrading from Ubuntu 20.04, it even supports for upgrading from Ubuntu 20.10 and Ubuntu 21.04 directly. Simply open terminal and try via do-release-upgrade -d command. See this bug for more.

For NVIDIA users, Ubuntu 22.04.1 now defaults to Wayland session for hybrid systems with Nvidia graphics drivers. For non-hybrid systems with Nvidia drivers, the classic Xorg will be default. Though, user can manually switch between Wayland and Xorg via gear button in login screen.

Other changes include:

  • new RISC-V platform support
  • Add support for VisionFive, Nezha and LicheeRV boards
  • Fix RDP Sharing on switch
  • Fix connecting to windows server over RDP
  • Add Intel DG2 support.
  • Add Xilinx ZCU111 board support
  • Add symlinks to enable StarFive boards AP6212 Wi-Fi module.
  • Add mic mute key support for HP Elite x360 series

And personally, screen flickering issue seems to be fixed in my cheap HP laptop. See full changes since Ubuntu 22.04 to 22.04.1.

Download Ubuntu 22.04.1

For those who are already running Ubuntu 22.04, just install regular updates via “Software Updater” will bring you to the new release. To verify, go to “About” page in settings.

To download the disc images, go to:

For Ubuntu 20.04 users, just wait for the upgrade prompt. Or try running update-manager -c command in terminal after installing all available package updates.

When you try to open an application in Ubuntu, Fedora or other Linux with GNOME, it’s possible to specify in which desktop workspace the app window should start!

Most operating systems today have multiple desktops to organize unrelated ongoing projects. In Ubuntu Linux, we usually called them “workspaces”. For most common used applications, user may even let them start automatically in specified workspace to improve workflow efficiency.

For Ubuntu 22.04:

1. Firstly, search for and install “Extension Manager” from Ubuntu Software.

Install Extension Manager in Ubuntu 22.04

2. Once installed, press on Super (Windows logo key) on keyboard to open ‘Activities’ overview. Then search for and launch the tool:

3. When it opens, navigate to “Browse” tab, type ‘Auto Move Windows‘ in search box and hit Enter. Finally, click the install the extension.

4. Once installed, navigate back to ‘Installed’ tab in Extension Manager and click on the gear button for that extension you just installed.

In pop-up dialog, use ‘+’ icon to add apps and set the workspace numbers for each app.

NOTE 1: The search function in app selection dialog seems broken, you have to browse through all apps manually.

NOTE 2: GNOME desktop by default has only 2 workspaces, and adds more automatically when the last is in use.

To set workspace number to ‘3’, ‘4’, or bigger, open “Settings (GNOME Control Center) -> Multitasking”, enable “Fix number of workspaces” and set a number for it.

For old Ubuntu, Fedora, Arch Linux, etc

Other GNOME based Linux can also install the “Auto Move Windows” extension directly by using the on/off switch in web browser.

(Ubuntu Only) First, press Ctrl+Alt+T on keyboard to open terminal. When it opens, run command to install the agent:

sudo apt install chrome-gnome-shell

Next, open the link button below and turn on the slider icon to install the extension:

Install browser extension if you don’t see the on/off switch in that page, and click refresh.

Finally, install “Gnome Extensions” app in either Ubuntu Software / Gnome Software, and use it to open the configuration dialog.

Install & Use “Gnome Extensions” app to configure it

Tip: Ubuntu 20.04 user may use “Gnome Tweaks” (available in Ubuntu Software) to configure the number for workspaces.

Messed up the app list in ‘Show Applications’ menu in Ubuntu 22.04? It’s easy to restore the original alphabetical ordering.

In Gnome, user can either click the 3×3 9-dots icon on dock or press Super (Windows logo key) + A on keyboard to open the ‘Start Menu’.

The GNOME Desktop ‘Start Menu’

App icons in that menu (definitely screen) support drag and drop re-arranging position. However, there’s no option to restore the app order.

To deal with the issue, user can either use the hidden configuration key or install an extension to do the trick in Ubuntu 22.04.

Option 1: Single command to restore app grid order

Press Ctrl+Alt+T on keyboard to open terminal. When it opens, run command:

gsettings set org.gnome.shell app-picker-layout "[]"

The command set the layout to empty and let it re-generate automatically. However, you need to log-out and back in to apply change.

If you happen to use the classic Xorg session, simply press Alt+F2, type r in pop-up dialog and hit Enter to restart Gnome shell to apply change.

Option 2: Use Alphabetical App Grid Extension:

It’s ‘Alphabetical App Grid‘ which so far supports for GNOME version from 38 to 42. Which means you can install and use the tool to restore app grid in Ubuntu 22.04, Debian 11, Fedora 35/36, Arch Linux and Manjaro etc.

1. For Ubuntu 22.04, firstly search for and install “Extension Manager” from Ubuntu Software.

Install Extension Manager in Ubuntu 22.04

2. Then, search for and open the tool from start menu or ‘Activities’ overview.

3. When the app opens, navigate to ‘Browse’ tab. Finally, search for and install “Alphabetical App Grid” extension.

After installation, it restore the alphabetical ordering automatically. In case you want to drag & drop re-arranging the app icons again, turn the extension off under “Installed” tab. And, re-enable it at any time you want to restore.

In addition, both methods do not restore (remove) the folders that combine multiple app icons in sub-menus. You need to manually drag them out, then use either method above to re-order them.

The popular Gnome Extension ‘Just Perfection‘ got an update recently, with love for small displays, e.g., 13 inch laptop with 1366 x 768 screen resolution.

For those never heard of the tool, it’s an extension, with lots of configuration options for customizing your Ubuntu, Fedora, or other Linux’s GNOME desktop appearance.

With it, you can hide the top-bar, the dock, ‘Activities’ button; change the position of clock menu; configure panel height, position (top or bottom), panel icon size, padding; change notification bubble size, location, and much more.

And it supports profiles to quickly switch between your pre-defined layouts and behaviors.

However, the app configuration dialog was always bigger than screen height in my case on 1366×768 laptop screen. I have to press Alt + F7 on keyboard, and move the cursor to move the dialog beyond screen top every time when trying to change something. And, use the shortcut again to move the header bar back in screen.

In the most recent 21.0.0 release, the extension now fixed the issue for GNOME 42 (defaut in Ubuntu 22.04, Fedora 36, and Arch / Manjaro Linux) with small as well as scaled displays.

In addition, this release add options to configure the size of “Alt-Tab” window preview and icon. Toggle display the separator in dock that separate favorite and other opened app icons.

‘Alt-Tab’ Window Preview and Icon size is configurable

And, it allows to change the position of OSD display, such as volume and brightness up/down pop-up, and configure the size of looking glass (GNOME Shell’s integrated debugger and inspector tool).

How to Install ‘Just Perfection’:

To install the extension in Ubuntu 22.04 +, firstly search for and install “Extension Manager” via Ubuntu Software.

Next, open the tool, then search for and install ‘Just Perfection’ under ‘Browse’ tab.

For old Ubuntu and other Linux systems, just turn on the slider icon in the link below:

NOTE: Ubuntu has to first run sudo apt install chrome-gnome-shell in terminal (Ctrl+Alt+T) to install the agent. And, install browser extension if prompted to make the on/off switch visible.

Finally, open the configuration dialog for “Just Perfection”, either via “Extension Manager” or “Gnome Extensions” app, which are available to install in Ubuntu Software/Gnome Software.

Kid3, the popular Qt audio tag editor, released version 3.9.2 today. PPA updated for Ubuntu 22.04, Ubuntu 20.04, and Ubuntu 18.04.

The new Kid3 3.9.2 is a bug-fix release. Though, there are new features including .dff support, an audio format developed by Sony and Philips for Super Audio CD (SACD).

New features also include support for chapters in MP4 audio books, importing from URLs containing search results from Discogs and MusicBrainz, and a Norwegian translation.

Other changes in the release include:

  • Allow playlist file name formats to be edited.
  • URLs with search results from web browser can be entered in the import dialogs (Amazon, Discogs, gnudb.org, MusicBrainz).
  • New style for macOS icon.
  • Cli interface adds encoding detection for text file import and export.
  • Set rating as star count with ‘set ratingstars’ (Kid3-cli).
  • Build with latest mp4v2 library.
  • Fix wrong modifications of frames when importing.

How to Install Kid3 3.9.2 in Ubuntu:

The app has an official PPA contains the packages for all current Ubuntu releases, and their based systems, such as Linux Mint, Pop! OS, Zorin OS.

1. First, search for and open terminal either from system start menu or ‘Activities’ overview. When it opens, run command to add PPA:

sudo add-apt-repository ppa:ufleisch/kid3

2. Then update package cache by running command:

sudo apt update

3. If an old version of the software package exist in system, you can now open “Software Updater” or “Update Manager” to update the tag editor app.

Or, simply run the command below in terminal to install it:

sudo apt install kid3-qt

You may replace kid3-qt with kid3 in the code for KDE desktop, and/or with kid3-cli for the command-line interface.

Uninstall:

To remove the PPA, either use ‘Software Sources’ or ‘Software & Updates’ utility, or run command in terminal:

sudo add-apt-repository --remove ppa:ufleisch/kid3

And, remove kid3 tag editor via command:

sudo apt remove --auto-remove kid3 kid3-*

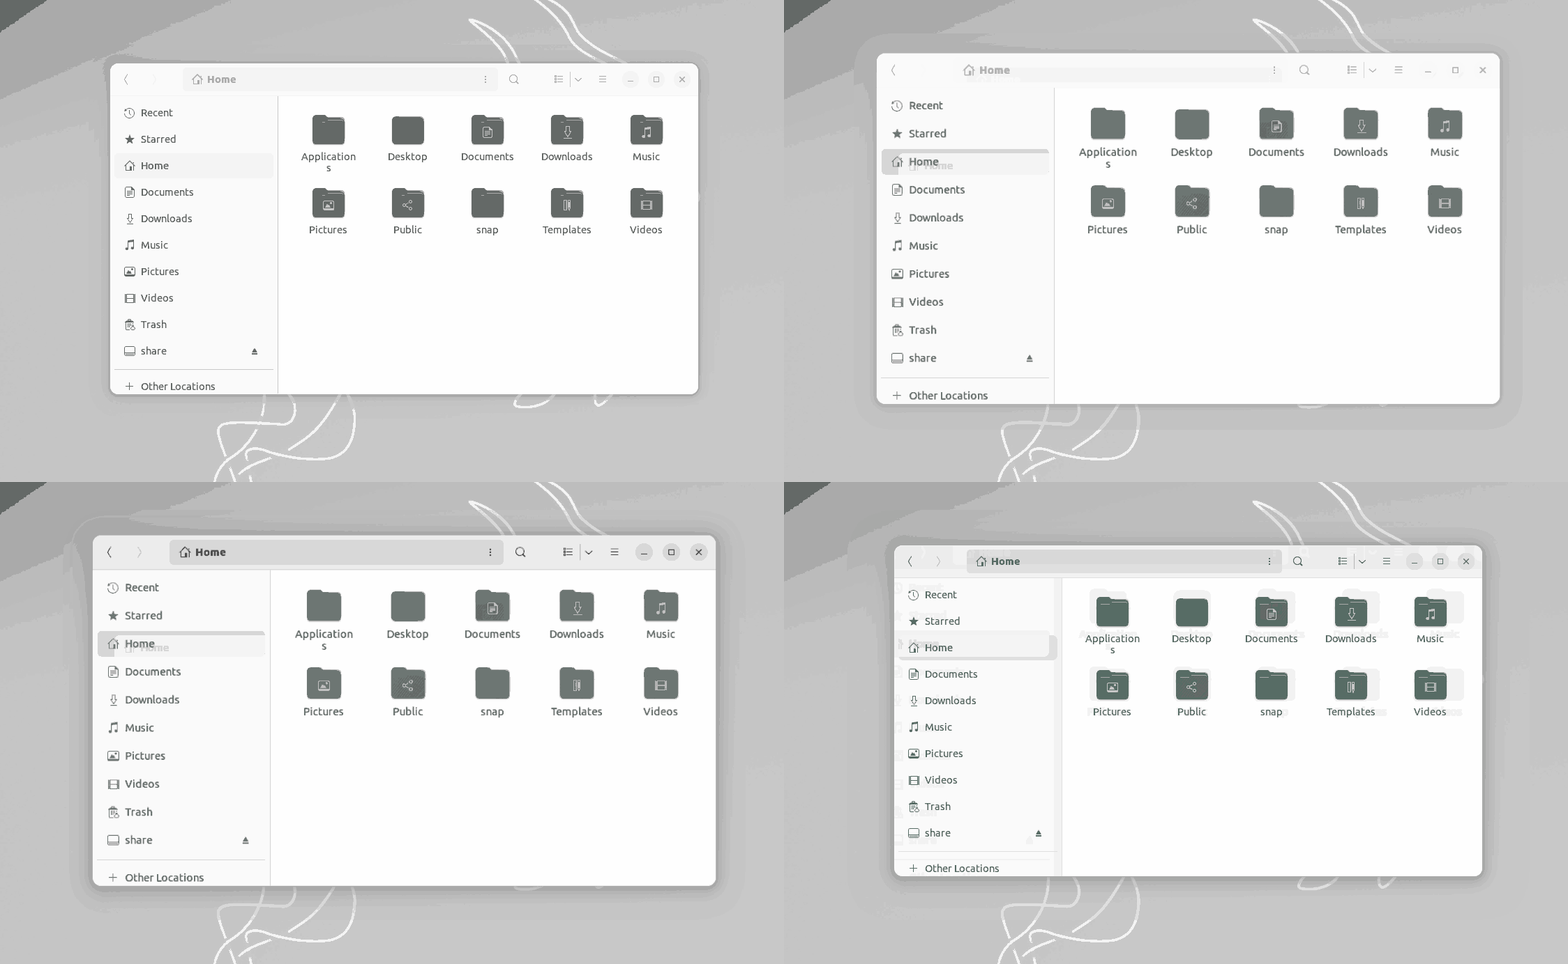
Gnome finally has an extension to enable rounded corners for all app windows, and customize the window borders!

Start in Gnome 40, more and more applications use GTK4 toolkit for rendering their user interface. So, you have modern apps with rounded (bottom) corners and classic GTK3 and Qt apps with sharp (bottom) corners.

To make your system apps look consistent, this project is created and works on Ubuntu 22.04, Fedora 35/36, Arch Linux, Manjaro Linux with GNOME.

GTK3 app with rounded corners

The extension provides options for configuring window border width, color, and radius. There can be some applications that are not working well with the extension, so it provides blacklist option. Also, it supports for setting different clip padding on per app basis.

Set border width, color. radius, and blocklist

How to Install the Extension in Ubuntu 22.04

Ubuntu 22.04 user can simply search for and install ‘Extension Manager‘ first in Ubuntu Software.

Then, search for and open ‘Extension Manager’ from Activities overview. Finally, use the tool to search and install “Rounded Window Corners” extension under ‘Browse’ tab:

After installation, you may switch back to “Install” tab in the tool, and click on gear icon to open the settings dialog for the extension.

Configure Extension

Install the Extension in Fedora 35/36 & other Linux

For Fedora and other Linux with GNOME 40+ desktop, simply go to the link button below in your web browser:

If you don’t see the ON/OFF switch, click the link in that page to install browser extension and refresh.

Linux Kernel 5.19 was released! Ubuntu Mainline PPA has made the packages for testing purpose.

Linus Torvalds announced this kernel release last night:

On a personal note, the most interesting part here is that I did the release (and am writing this) on an arm64 laptop. It’s something I’ve been waiting for for a _loong_ time, and it’s finally reality, thanks
to the Asahi team. We’ve had arm64 hardware around running Linux for a long time, but none of it has really been usable as a development platform until now.

Linux 5.19 Kernel features initial support for LoongArch CPU architecture, Apple M1 NVMe controller and Apple eFuse driver. There are also initial graphics driver for Raptor Lake P (Intel’s 13th generation processors), In-Field Scan (IFS) to circuit level tests on a CPU core, and bug-fix for Intel laptops running hot and draining the battery faster.

Other features include:

  • Zstd compressed firmware support
  • Google Whiskers Touchpad support.
  • Lenovo X12 trackpoint support.
  • Armv9 Scalable Matrix Extension support
  • Big TCP and pureLiFi’s device driver.

How to Install Kernel 5.19 in Ubuntu 22.04:

NOTE: The mainline kernel packages are NOT officially support! You install them ONLY for specific hardware support or testing purpose!

First, go to the PPA web page via the link button below:

Select download amd64/build package for modern PC/laptop, arm64/armhf build for ARM devices, or ppc64el/s390x depends on your CPU architecture type. And, install the packages in following order:

  • linux-headers-5.19.0-051900_xxx_all.deb
  • linux-headers-5.19.0-051900-generic_xxx_amd64.deb
  • linux-modules-5.19.0-051900-generic_xxx_amd64.deb
  • linux-image-unsigned-5.19.0-051900-generic_xxx_amd64.deb

Or, open terminal by pressing Ctrl+Alt+T on keyboard, and run following commands one by one to download and install the Kernel packages (64-bit only).

cd ~/Downloads
wget -c https://kernel.ubuntu.com/~kernel-ppa/mainline/v5.19/amd64/linux-headers-5.19.0-051900_5.19.0-051900.202207312230_all.deb
wget -c https://kernel.ubuntu.com/~kernel-ppa/mainline/v5.19/amd64/linux-headers-5.19.0-051900-generic_5.19.0-051900.202207312230_amd64.deb
wget -c https://kernel.ubuntu.com/~kernel-ppa/mainline/v5.19/amd64/linux-image-unsigned-5.19.0-051900-generic_5.19.0-051900.202207312230_amd64.deb
wget -c https://kernel.ubuntu.com/~kernel-ppa/mainline/v5.19/amd64/linux-modules-5.19.0-051900-generic_5.19.0-051900.202207312230_amd64.deb
sudo apt install ./linux-headers-5.19.0*.deb ./linux-image-unsigned-5.19.0*.deb ./linux-modules-5.19.0*.deb

Once installed, restart your computer and verify by running uname -a command in terminal.

For those prefer to use a graphical tool, there’s Ubuntu Mainline Kernel Installer can help to make things easier:

Uninstall Kernel 5.19

To remove the Kernel packages, you need to first restart your computer, select boot an old kernel in “Advanced” sub-menu of Grub boot-loader.

And finally run command in terminal (Ctrl+Alt+T) to remove Kernel 5.19:

sudo apt remove linux-headers-5.19.0* linux-modules-5.19.0* linux-image-unsigned-5.19.0*

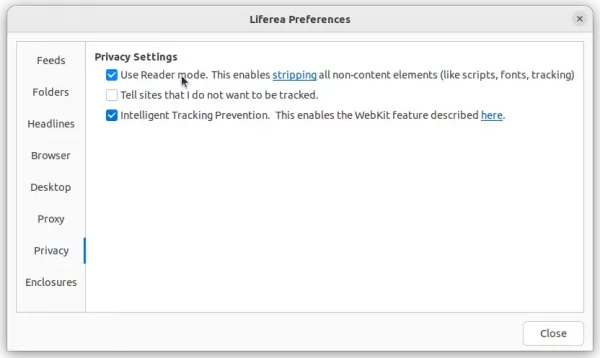
The GTK feed reader Liferea released version 1.13.9 recently with generic Google Reader API support, UI improvements, and bug-fixes.

This is the last release of the 1.13 unstable series of Liferea (Linux Feed Reader). It makes possible to import from FeedHQ, FreshRSS, Basquz, and other feed readers using Google Reader API (exclude Miniflux due to this bug).

So now besides manually adding websites, it now supports adding following sources all together:

  • Planet, BlogRoll, OPML.
  • Google Reader API.
  • Reedah.
  • Tiny Tiny RSS.
  • TheOldReader.
  • Miniflux.

Other changes in this release include:

  • Update to Readability.js 0.41 for better image and table handling.
  • Improve HTML5 extraction
  • Hide unused expander space in item list and drop enclosure icon from item list, which saves horizontal space.
  • Improve performance by different check order in itemset merging
  • Subscribing defaulted to HTML5 feeds even when real feeds do exist.

How to Get Liferea 1.13.9:

For Linux with Flatpak support out-of-the-box, e.g., Linux Mint, Pop! OS and Fedora, you may simply search for and install the software package as Flatpak from system package manager.

For Ubuntu based user prefer the classic .deb package, here’s the unofficial PPA contains the package for Ubuntu 20.04 and Ubuntu 22.04.

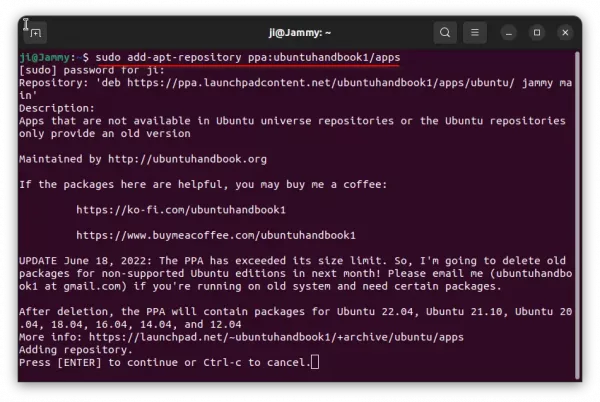
1. First, press Ctrl+Alt+T on keyboard to open terminal. When it opens, run the command below to add the PPA:

sudo add-apt-repository ppa:ubuntuhandbook1/apps

2. Next, either update the feed reader from an existing release via “Software Updater” or run command below to install it:

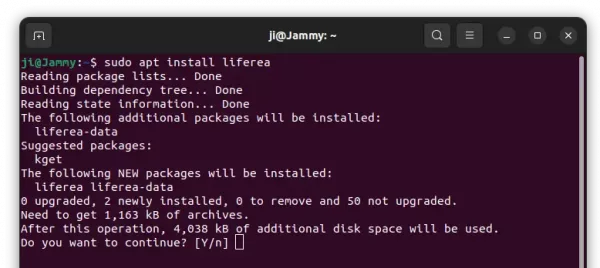
sudo apt install liferea

NOTE: Linux Mint user need to first run sudo apt update to refresh package cache manually.

Uninstall:

For any issue, you may uninstall the PPA repository by running the command below in terminal:

sudo add-apt-repository --remove ppa:ubuntuhandbook1/apps

And remove the Liferea news reader either via your system package manager or by running command below in terminal:

sudo apt remove --autoremove liferea liferea-data