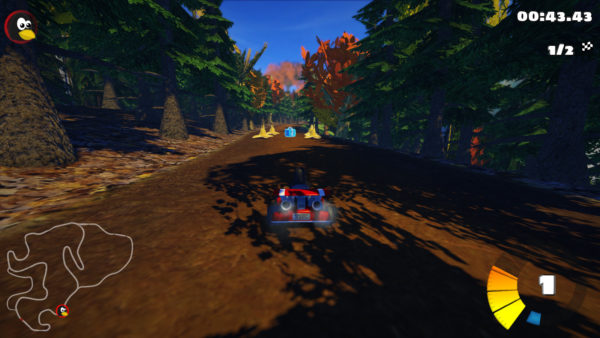
3D kart racing game SuperTuxKart 1.1 was finally released today after one RC release.
Compared to the previous RC release, SuperTuxKart 1.1 adds ability to change the touchscreen controller type in race paused dialog.
A summary of the new changes according to the release note:
- Improved online multiplayer play
- Fix network lags in various scenarios when playing online
- Add AI support to local networking servers
- UI enhancements
- A new arena: Pumpkin Park
- Mobile enhancements and iOS support
- Complex text layout and emoji support
- Story mode timer for speedrunners
- Generic polish and minor improvements
How to install SuperTuxKart 1.1 in Ubuntu:
1. Open terminal either by pressing Ctrl+Alt+T on keyboard, or by searching for ‘terminal’ from app launcher. When it opens, run command:
sudo add-apt-repository ppa:stk/dev
Type user password (no asterisk feedback) when it prompts and hit Enter to continue.

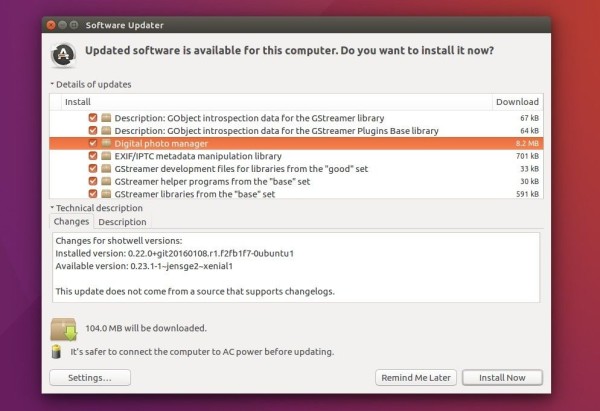
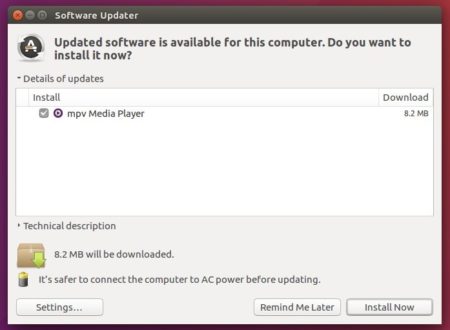
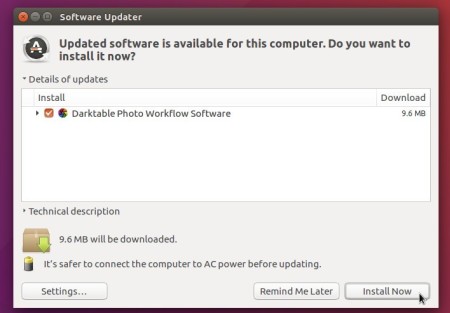
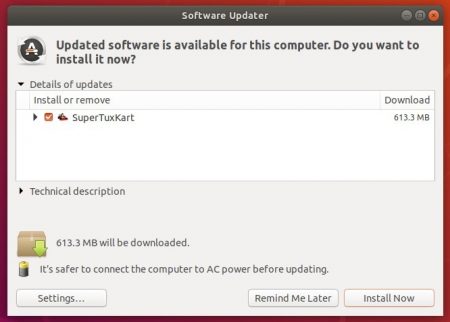
2. Then either upgrade SuperTuxKart from an existing version via Software Updater:
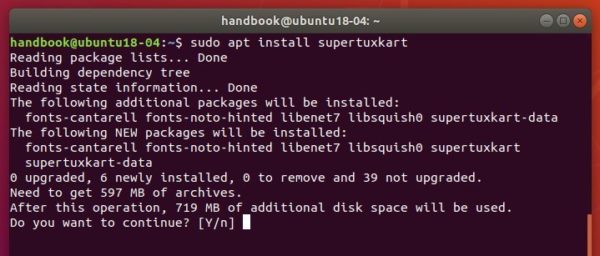
or install the game via commands:
sudo apt update

sudo apt install supertuxkart
Once installed, open the game from your system application launcher and enjoy!
Uninstall:
To remove SuperTuxKart, open terminal and run command:
sudo apt remove --auto-remove supertuxkart supertuxkart-data
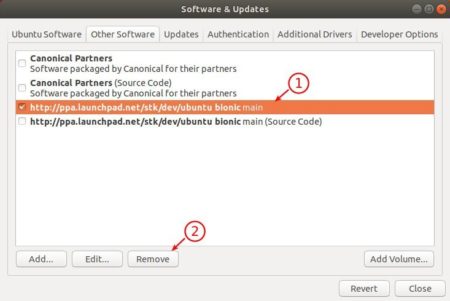
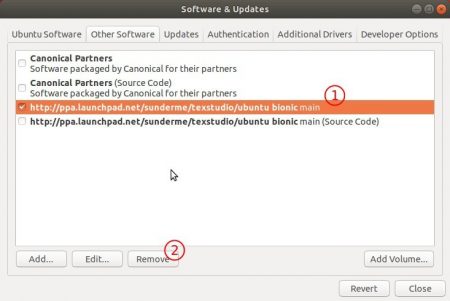
To remove the PPA, open Software & Updates -> Other Software, and remove the repository line: