This is beginner’s guide shows how to install and setup Waydroid to run full Android system as well as Android applications in Ubuntu.
I’ve written about this by using Anbox, which is however no longer in active development.
This is a re-write with free and open-source ‘Waydroid’, which is a container-based approach to run a minimal customized Android system image based on LineageOS.

Android on Ubuntu 26.04 desktop via waydroid
This tutorial is tested and works on Ubuntu 22.04 and Ubuntu 24.04 LTS with default Wayland session (Xorg is NOT supported)! It should also work in Debian Bookworm, Trixie, and Sid.
Hardware specs include:
- CPU: Intel i5-10400.
- GPU: Intel HD 630.
Step 1: Install Waydroid
Waydroid is easy to install in Ubuntu/Debian based systems, through its official apt repository.
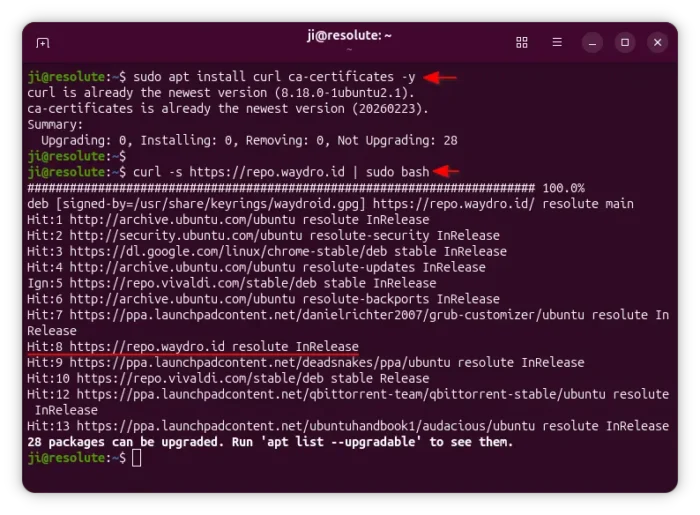
1. First, press Ctrl+Alt+T on keyboard to open terminal. When it opens, run command to install required packages:
sudo apt install curl ca-certificates
sudo command needs password authentication, but with no asterisk feedback. Just type in mind and hit Enter.
2. Then, run command to download the official script, and run it to add Waydroid repository into your system.
curl -s https://repo.waydro.id | sudo bash
In case the script does not work properly, find out your OS code manually via either lsb_release -sc or cat /etc/os-release command. Then, run command below instead:
curl -s https://repo.waydro.id | sudo bash -s resolute
Replace resolute (for 26.04) depends on your system code-name. So far, it supports focal, jammy, noble, resolute, bookworm, bullseye, trixie, sid
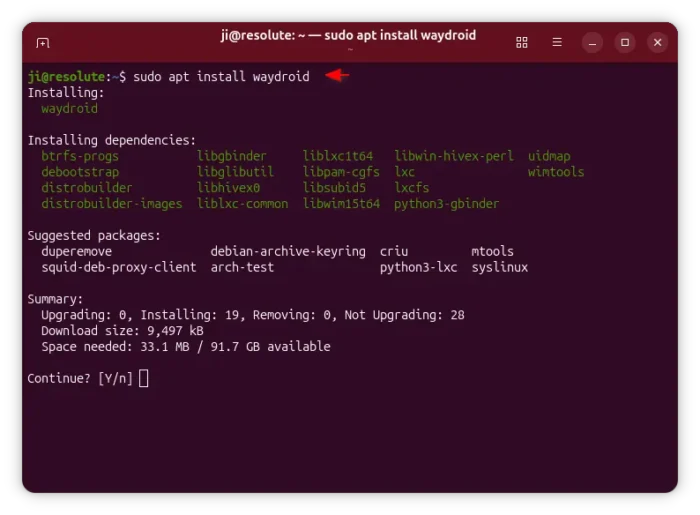
3. Finally, run command to install Waydroid:
sudo apt install waydroid
Try sudo apt update first to refresh cache if the command output package not found
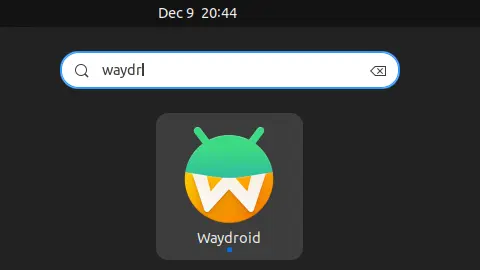
Once successfully installed the app, you should be able to launch it from start menu, applications menu, or any other app launcher depends on your desktop environment.
Step 2: Initialize
The first launch of the app, will launch the “Initialize Waydroid” dialog. If it somehow does not launch, try running waydroid first-launch command in terminal (Ctrl+Alt+T) to see what’s going wrong.
NOTE: Non-default Kernels (e.g., Mainline Kernels) may cause Waydroid launch issue due to missing driver. See HERE for more.
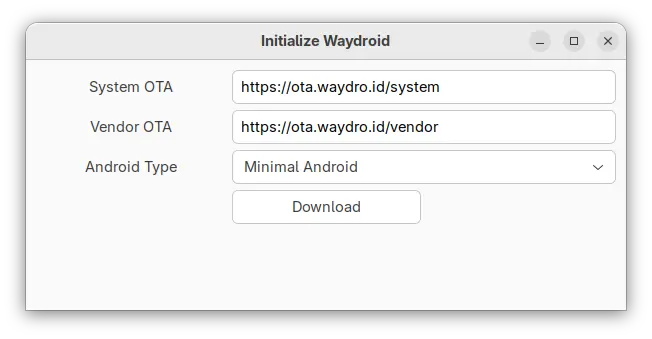
The default options are usually OK. But, you may have to choose Android type before getting start:
- Minimal Android – It’s vanilla ROM, without Google Services/Apps.
- Android with Google Apps – come with Google Services/Gapps.
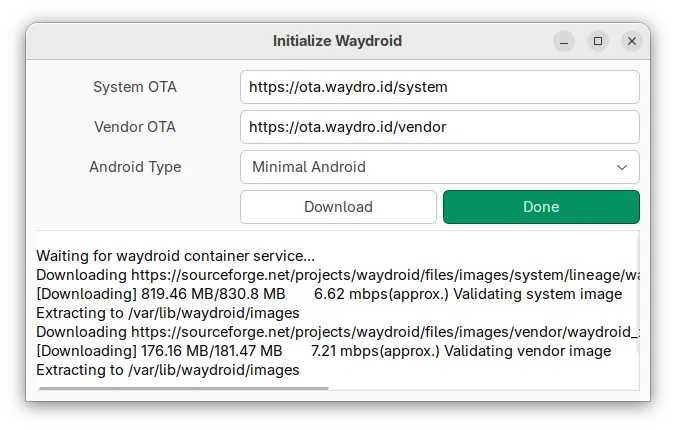
Next, click Download button will automatically download & install ROM and required packages. In my case, it downloaded & installed Android 13.
When done successfully, it will show you something like the screenshot shows you.
Tips: If you messed things up, try running the commands below one by one to delete local data (backup first), so it will look like newly installed:
sudo rm -r /var/lib/waydroid
sudo rm -r /home/.waydroid
sudo rm -r ~/waydroid
sudo rm -r ~/.share/waydroid
sudo rm -r ~/.local/share/waydroid
Then, re-initialize by running command:
waydroid first-launch
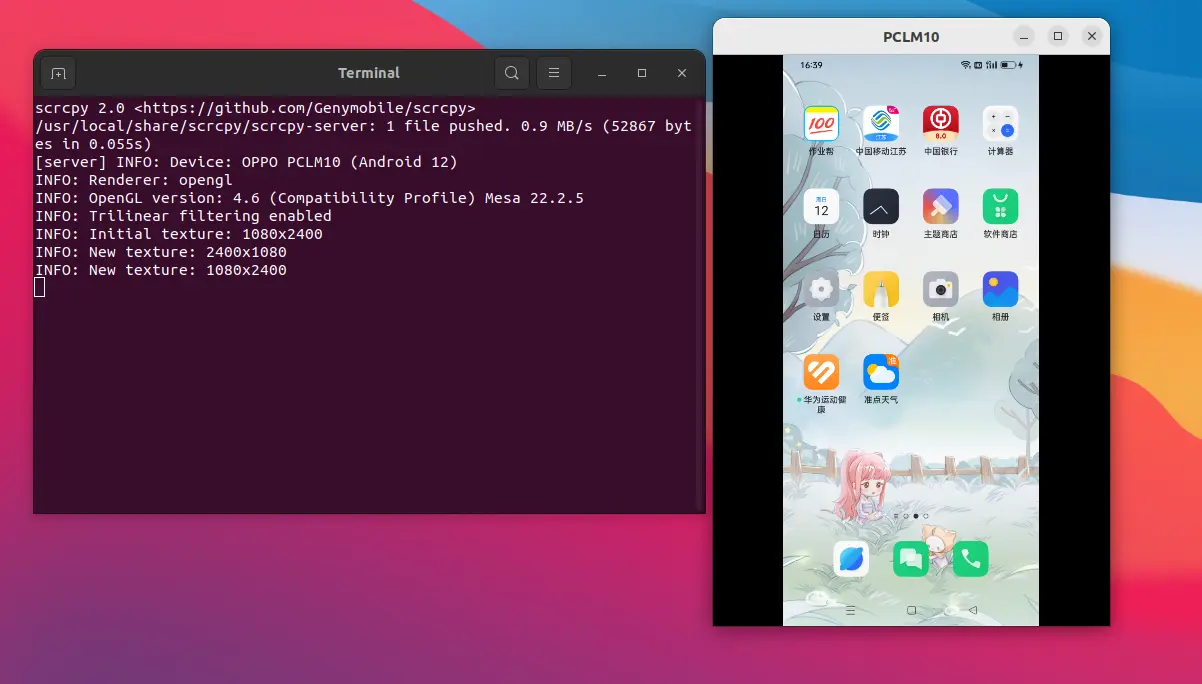
Step 3: Start Android system, resize & move window
After clicking “Done” button in last step, start Waydroid again will launch an Android screen on your desktop.
However, it by default starts in full-screen (or may-be called maximized) mode.
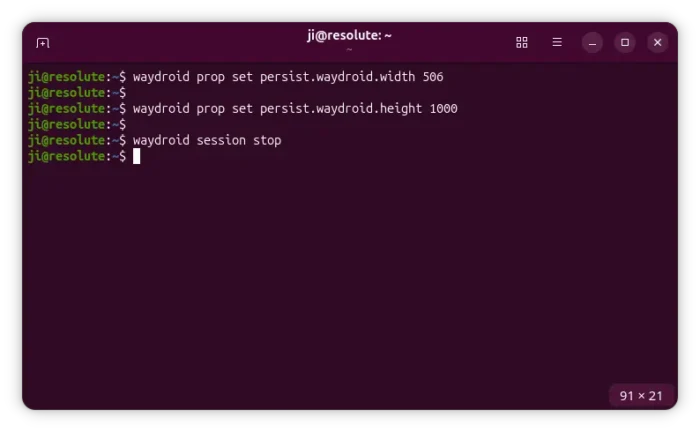
To change the Android screen size, open terminal (Ctrl+Alt+T) in the Ubuntu host, and run commands:
waydroid prop set persist.waydroid.width 506
waydroid prop set persist.waydroid.height 1000
The 2 commands will set the screen width and height to 506 x 1000. Change the numbers accordingly, and apply by running command to stop current Android session (then re-launch).
waydroid session stop
The Android window is borderless in my case. To move the window, you may either press & hold Super (Windows logo) key then dragging, or press Alt+F7 and then move mouse cursor without mouse clicking.
Step 4: Install & Remove Android Apps
If you selected ‘VANILLA’ while initializing Waydroid, then there’s no app store in the Android to install applications.
In the case, you may download any APK file from the web, or download & install the free open-source F-Droid in the host (Ubuntu in the case) then use it in Android screen to install apps.
UPDATE: Since Waydroid 1.6.0, you need to manually connect ADB via waydroid adb connect command first. And, authenticate in Android side.
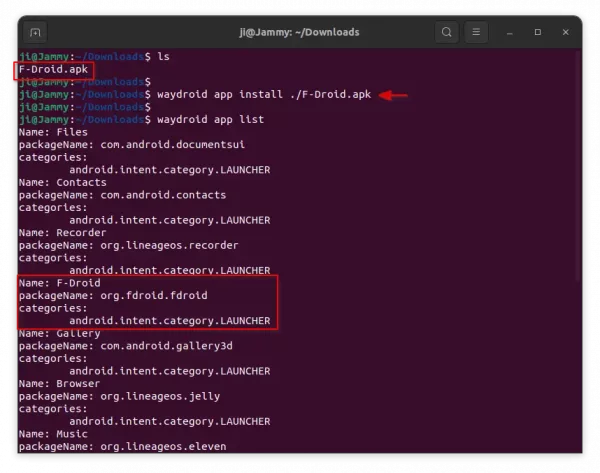
To install APK file from host user’s ‘Downloads’ folder, just run command in terminal (Ctrl+Alt+T):
waydroid app install ~/Downloads/file_name_here.apk
And, verify by listing all installed Android apps:
waydroid app list
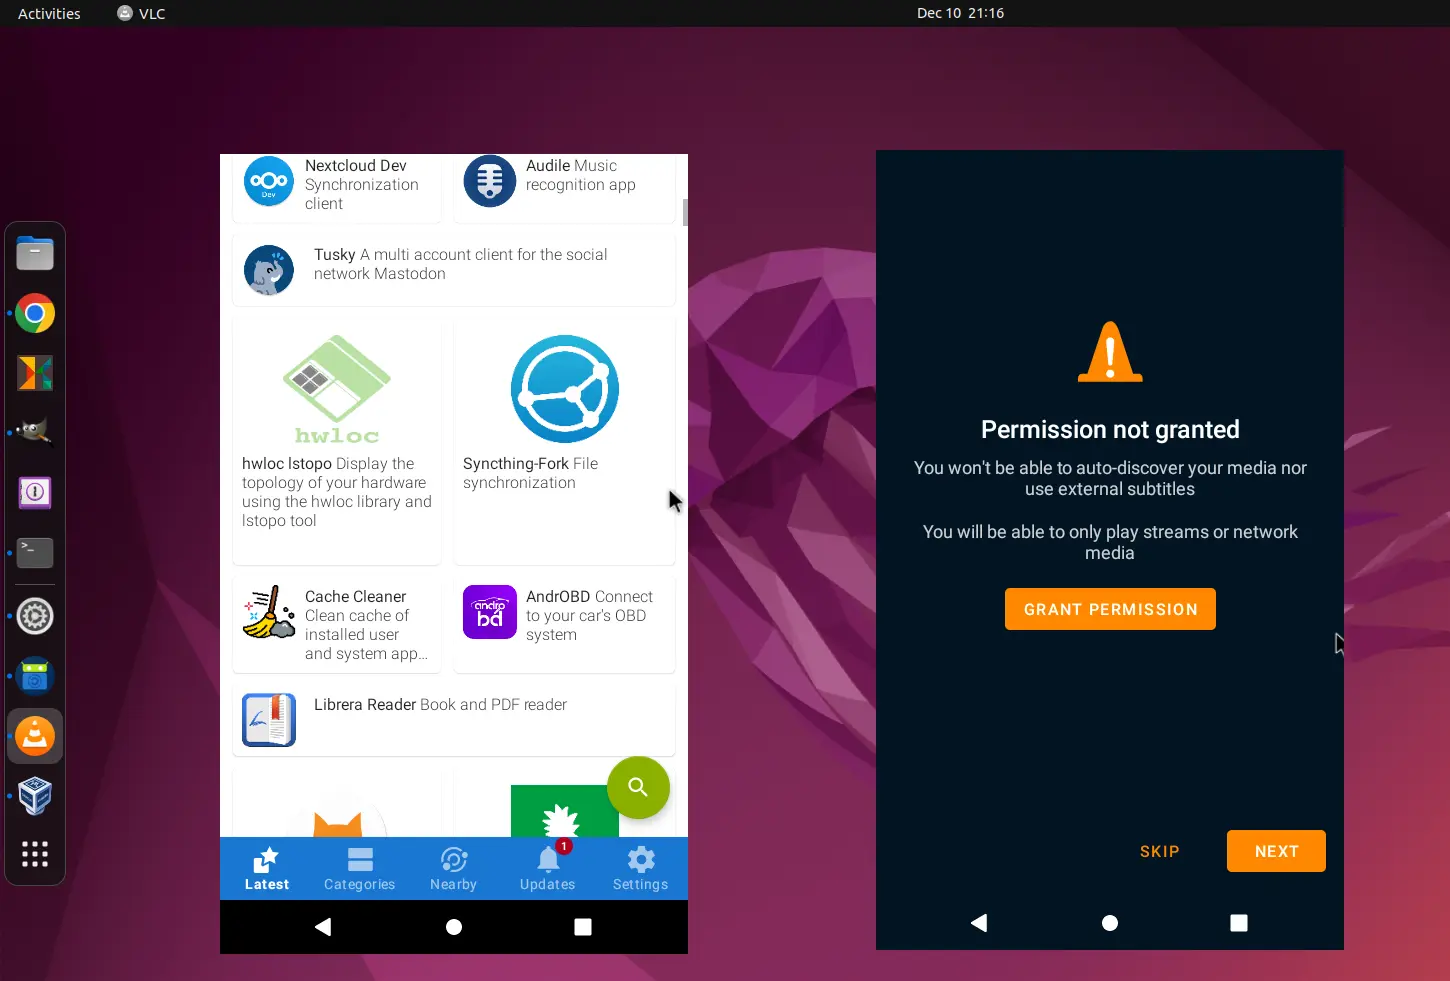
Waydroid will create app shortcuts for all installed Android apps, through .desktop files under “.local/share/applications”. Meaning, you can search & launch Android apps directly from host machine (Ubuntu).
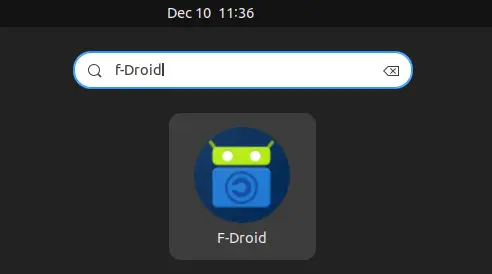
Launch ‘F-Droid’ Android app in Ubuntu
And, it supports launching multiple instance of Android apps at the same time out-of-the-box.

To remove an app, either do it in the Android screen, or run command in Ubuntu host:
waydroid app remove packageName
Replace packageName according to waydroid app list output, e.g., org.fdroid.fdroid.
Step 5: Share files between Ubuntu Host and Android
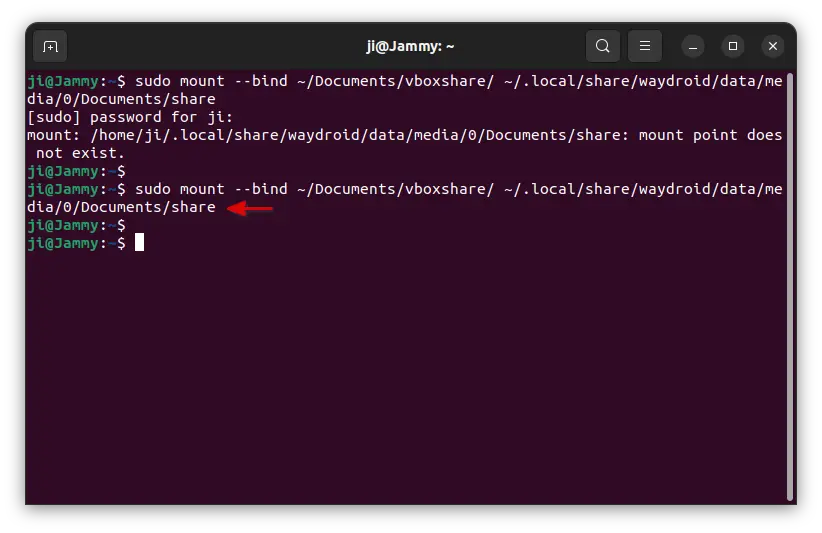
To share files between host and the Android system, simply run single command in Ubuntu host:
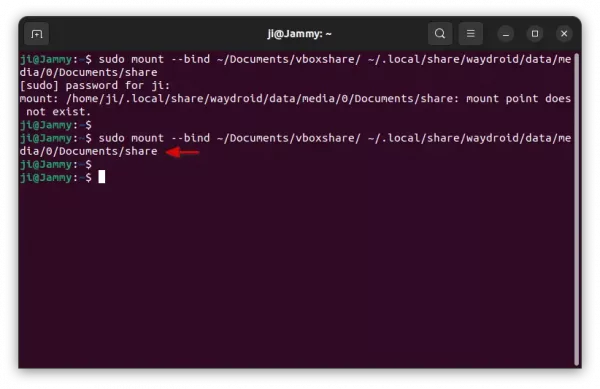
sudo mount --bind ~/Documents/vboxshare/ ~/.local/share/waydroid/data/media/0/Documents/share
Tips: It’s better to create sub-folders of Documents, Downloads, Music, etc in Android side for mount point mode.
In the command, you need to replace:
~/Documents/vboxshare/ – ‘vboxshare’ sub-folder in Ubuntu host.~/.local/share/waydroid/data/media/0/Documents/share – ‘share’ sub-folder of Documents in Android.
You need to first create the share folder in Android side if it does not exist, or it will show mount point does not exist as the screenshot below shows you.
Uninstall Waydroid:
First, stop the session and container, which maybe useful for reloading settings, run commands:
waydroid session stop
sudo waydroid container stop
To remove Waydroid, use command:
sudo apt remove --autoremove waydroid
Then, remove leftovers by running command:
sudo rm -rf /var/lib/waydroid ~/waydroid ~/.share/waydroid ~/.local/share/applications/*aydroid* ~/.local/share/waydroid
If you don’t want to install it back any more, then, also remove the source repository by deleting the sources & key files:
sudo rm /etc/apt/sources.list.d/waydroid.list /usr/share/keyrings/waydroid.gpg
For more about Waydroid, see the official document. And, for issues and feature requests go to the Github project page.