Archives For November 30, 1999

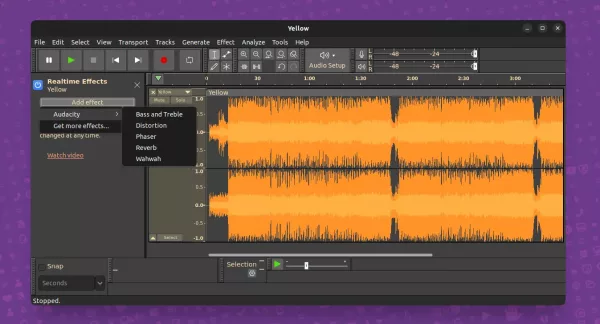
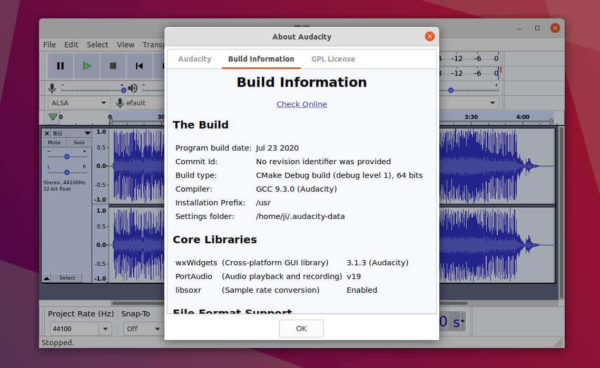
Audacity audio editor and recorder is easy to install in Ubuntu Software via Snap package. For those prefer the classic deb package, the Ubuntu PPA has updated for the latest Audacity 3.0.2.

Since Audacity 3.0, it requires the development branch of wxWidgets toolkit 3.1.x. However, Ubuntu provides only the stable v3.0 series packages.

Thanks to Pascal de Bruijn, I’ve successfully built wxWidgets 3.1.3 for Audacity. So the audio editor packages updated for Ubuntu 18.04, Ubuntu 20.04, Ubuntu 21.04, and Linux Mint 20.

Known issues:

There are however known issues in the PPA build. When starting Audacity in Ubuntu 21.04 or Linux Mint 20, it will popup “An assertion failed” dialog, which indicates:

./src/widgets/FileConfig.cpp(98): assert “mDirty == false” failed in ~FileConfig().

Just click on “continue” button, and the software should start.

Another issue is that the app window slow to open. It takes a few seconds to start due to AlSA issues and warning. However, it works once app window opens!

Install Audacity 3.0.2 via PPA:

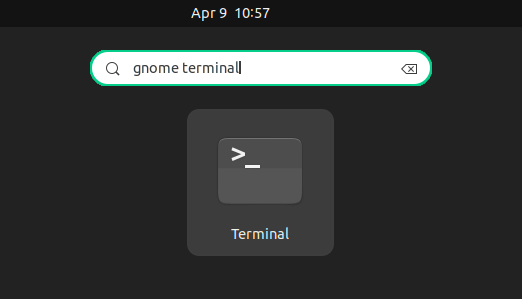
Open terminal either from system application menu or by pressing Ctrl+Alt+T on keyboard. When terminal opens, run following commands one by one:

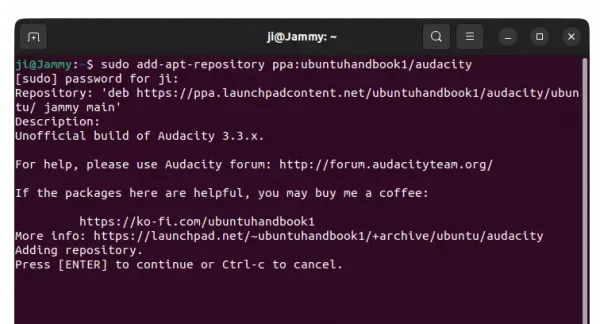
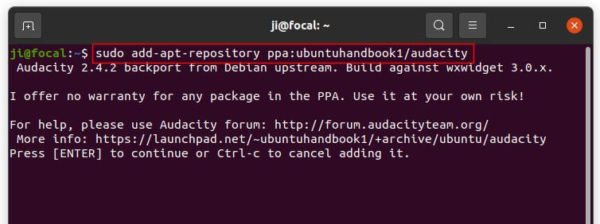
1.) Run command in terminal to add the Ubuntu PPA:

sudo add-apt-repository ppa:ubuntuhandbook1/audacity

Type user password (no asterisk feedback due to security reason) when it prompts and hit Enter to continue.

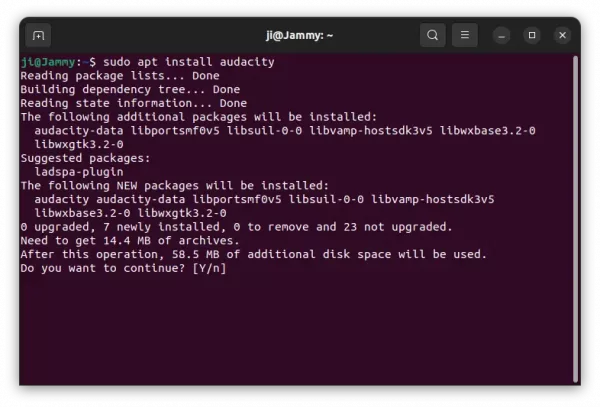
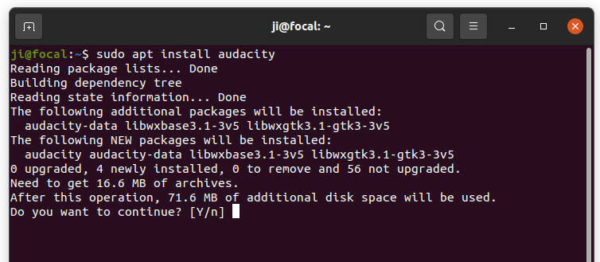
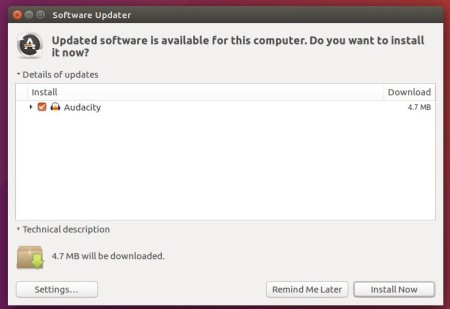
2. Then either upgrade from an old release (if exist) via Software Updater, or run following commands one by one to check updates and install (or upgrade) audacity 3.0.2:

sudo apt update

sudo apt install audacity

Uninstall:

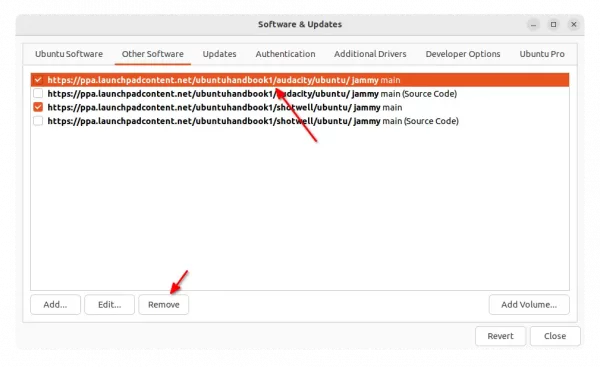
To remove the PPA repository, launch Software & Updates utility and remove relevant line under ‘Other Software’ tab. Or simply run command in terminal:

sudo add-apt-repository --remove ppa:ubuntuhandbook1/audacity

To remove Audacity audio software, either use system package manager or run command in terminal:

sudo apt-get remove --autoremove audacity audacity-data

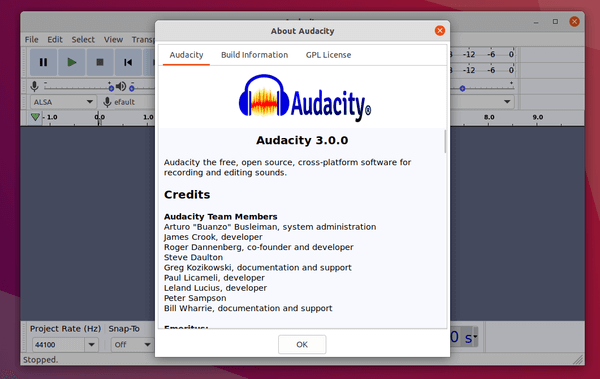
The Audacity audio editor 3.0.0 was released a week ago as the new major release. Here’s how to install it in Ubuntu / Linux Mint via Flatpak package.

Audacity 3.0.0 features new all-in-one-file aup3 project file format, improved ‘Noise Gate’ effect, new ‘Label Sounds’ analyzer, and over 160 bug-fixes.

According to the Privacy Notice, Audacity may COLLECT personal data necessary for law enforcement, litigation and authorities. And it dissuade those under 13 years old from using the App.

It is incompatible with the GPL license. USE IT AT YOUR OWN RISK!

Why Flatpak?

Ubuntu PPA has updated via the 3.0.x built against wxWidgets 3.1.3. As well, you can install the Snap package from Ubuntu Software.

The distribution’s build and Ubuntu PPAs are mostly “incorrectly built packages” as they are built against the wrong wxWidgets (3.0.x), however Audacity 3.0.0 requires wxWidgets 3.1.3.

Though I’m not a fan of the containerized Flatpak package, it’s so far the only ‘correctly’ build binary package since the Snap is still under testing.

Install Audacity 3.0.0 via Flatpak:

Firstly open terminal from system app launcher. When it opens, run following commands one by one.

1.) For Ubuntu 18.04, add the PPA for updated version of Flatpak framework:

sudo add-apt-repository ppa:alexlarsson/flatpak && sudo apt update

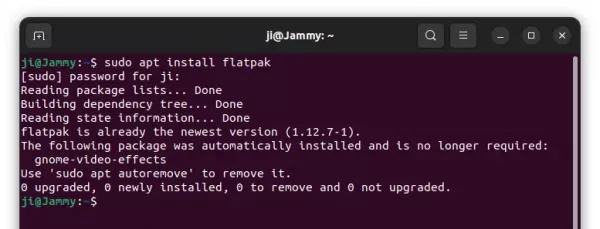
2.) Install flatpak via command:

sudo apt install flatpak

3.) Add flathub repository that hosts the software packages:

flatpak remote-add --if-not-exists flathub https://flathub.org/repo/flathub.flatpakrepo

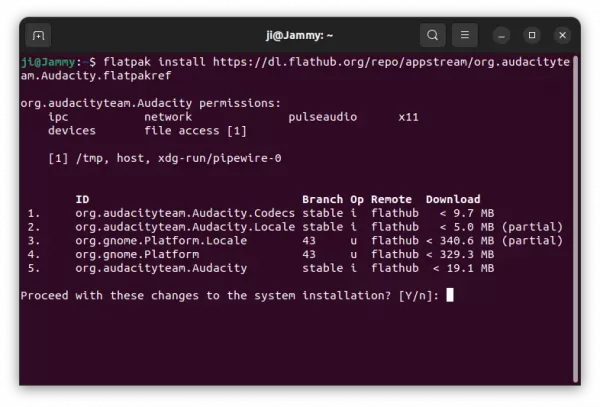
4.) Finally install Audacity flatpak package:

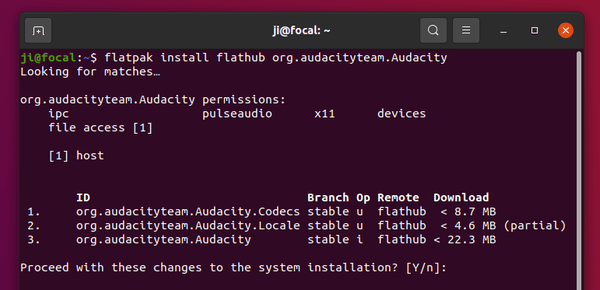
flatpak install flathub org.audacityteam.Audacity

The flatpak package won’t replace the classic deb package. If you have more than one app icon in launcher, either remove Audacity installed via apt, or launch Audacity Flatpak via command in terminal:

flatpak run org.audacityteam.Audacity

Remove Audacity Flatpak package:

To remove the software installed via flatpak, simply run command:

flatpak uninstall org.audacityteam.Audacity

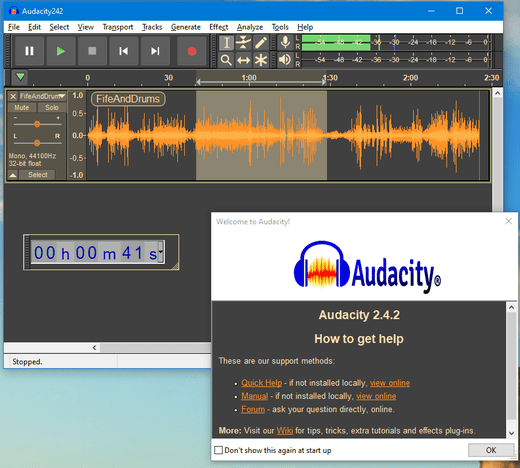
Audacity audio editor 2.4.2 was released last night with updated wxwidgets library and numerous bug-fixes.

Audacity 2.4.2 release highlights:

  • upgrade to wxwidgets 3.1.3
  • add ‘Reset Configuration’ menu option.
  • a number of bug-fixes.

How to Install Audacity 2.4.2 in Ubuntu:

As the building system has changed, the PPA package (v2.4.1) does not fully work on Ubuntu. So it’s recommended to use Audacity Flatpak.

1.) If you’re first time installing a Flatpak package in Ubuntu, setup your system by running commands in terminal (Ctrl+Alt+T):

  • Install flatpak framework via command:
    sudo apt install flatpak

  • Add Flathub repository via command:
    flatpak remote-add --if-not-exists flathub https://flathub.org/repo/flathub.flatpakrepo

2.) Then you can install Audacity flatpak package by running command:

flatpak install flathub org.audacityteam.Audacity

If you’ve previously installed it, run flatpak update org.audacityteam.Audacity command.

Uninstall Audacity flatpak:

To remove the flatpak package, simply run command in terminal:

flatpak uninstall org.audacityteam.Audacity

Audacity audio editor 2.4.0 was released a few days ago. The release was paused due to a critical bug. Now version 2.4.1 arrived with quick fixes.

What’s new in Audacity 2.4.1:

  • Works on Mac Catalina.
  • New Time Toolbar.
  • Presets for more effects can be imported and exported.
  • New Multi-View mode for tracks.
  • Export audio to Opus in Windows, Linux.
  • Easier to convert labels between point labels and range labels.
  • New Loudness Normalization effect.
  • New RMS measurement analyzer.
  • New Noise Gate effect.
  • New Spectral Delete effect.
  • Tons of bug-fixes.

How to Install Audacity 2.4.1 in Ubuntu:

The unofficial PPA has built the new release packages for Ubuntu 20.04, Ubuntu 19.10, Ubuntu 18.04, and Ubuntu 16.04.

1. Open terminal either via Ctrl+Alt+T keyboard shortcut or by searching for ‘terminal’ from application menu. When it opens, run command to add the PPA:

sudo add-apt-repository ppa:ubuntuhandbook1/audacity

Type user password (no asterisk feedback due to security reason) when it prompts and hit Enter to continue.

2. If you have a previous version installed, you can upgrade Audacity via Software Updater after adding the PPA.

upgrade audacity

or run following commands one by one to check updates and install (or upgrade) audacity 2.4.1:

sudo apt update

sudo apt install audacity

Uninstall:

To remove the PPA repository, launch Software & Updates utility and navigate to ‘Other Software’ tab.

To remove Audacity audio software, either use system package manager or run command in terminal:

sudo apt-get remove --autoremove audacity audacity-data

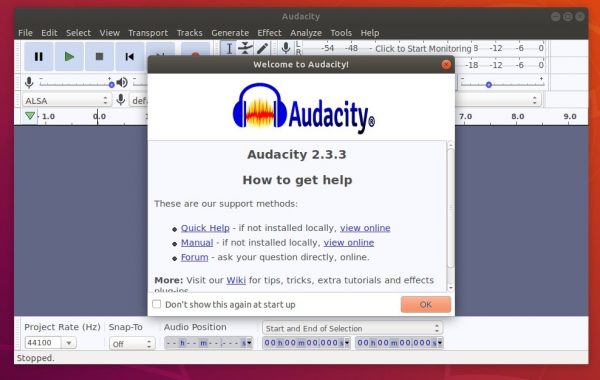
Audacity audio editor released version 2.3.3 a few hours ago. Here’s how to install it in Ubuntu 18.04, Ubuntu 19.04, and Ubuntu 19.10.

Audacity 2.3.3 features over 150 bug-fixes, and following improvements:

  • Equalization effect now split into two effects, Filter Curve and Graphic EQ.
    • Presets (using manage button) now active/working.
    • Can now have two points at same frequency for steep steps.
  • ‘What you hear is what you get’ for exports.
  • Leading silence (blank space) not skipped over in exports.
  • Quality setting on AAC/M4A exports.
  • Some confusing functionality removed.

How to Install Audacity 2.3.3 in Ubuntu:

The unofficial PPA has built the 2.3.3 packages for Ubuntu 18.04, Ubuntu 19.04, Ubuntu 19.10, and their derivatives, e.g., Linux Mint 19.x.

1. Open terminal either via Ctrl+Alt+T keyboard shortcut or by searching for ‘terminal’ from application menu. When it opens, run command to add the PPA:

sudo add-apt-repository ppa:ubuntuhandbook1/audacity

Type user password (no asterisk feedback due to security reason) when it prompts and hit Enter to continue.

2. If you have a previous version installed, you can upgrade Audacity via Software Updater after adding the PPA.

upgrade audacity

or run following commands one by one to check updates and install (or upgrade) audacity 2.3.2:

sudo apt-get update

sudo apt-get install audacity

Uninstall:

To remove the PPA repository, launch Software & Updates utility and navigate to ‘Other Software’ tab.

To remove Audacity audio software, either use system package manager or run command in terminal:

sudo apt-get remove --autoremove audacity audacity-data

Audacity audio editor and recorder released version 2.3.2 a day ago with some improvements and various bug-fixes. Here’s how to install it in Ubuntu 16.04, Ubuntu 18.04, and higher.

Audacity 2.3.2 release highlights:

  • Include LAME mp3 encoder (though it’s there in PPA build for long time).
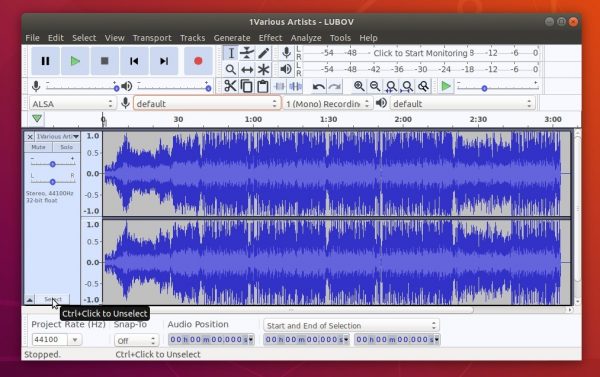
  • New ‘Select’ button in the track panel to select the whole track.
  • Audacity mod-script-pipe for driving Audacity from Python now comes with Audacity and can be enabled via preferences.
  • Type to Create a Label is now off by default.
  • A plug-in installer for Nyquist now provides a file browser for selecting ‘.NY’ files to install.
  • And over 20 bugs were fixed in the release.

How to Install Audacity 2.3.2 in Ubuntu:

The unofficial PPA has built the 2.3.2 packages for Ubuntu 16.04, Ubuntu 18.04, Ubuntu 18.10, Ubuntu 19.04, and their derivatives, e.g., Linux Mint 18.x and 19.x.

1. Open terminal either via Ctrl+Alt+T keyboard shortcut or by searching for ‘terminal’ from application menu. When it opens, run command:

sudo add-apt-repository ppa:ubuntuhandbook1/audacity

Type user password (no asterisk feedback due to security reason) when it prompts and hit Enter to add the PPA.

2. If you have a previous version installed, you can upgrade Audacity via Software Updater after adding the PPA.

upgrade audacity

or run following commands one by one to check updates and install (or upgrade) audacity 2.3.2:

sudo apt-get update

sudo apt-get install audacity

Uninstall:

To remove the PPA repository, launch Software & Updates utility and navigate to ‘Other Software’ tab.

To remove Audacity audio software, either use system package manager or run command in terminal:

sudo apt-get remove --autoremove audacity audacity-data

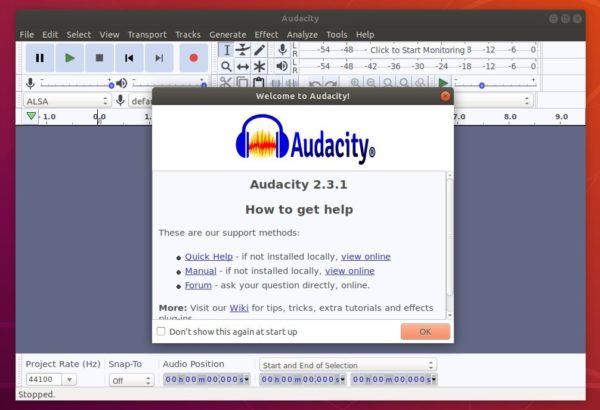
Audacity audio editor 2.3.1 was finally released and restored Linux support which was missing in 2.3.0.

Audacity 2.3.1 brings over 20 bug-fixes and following new features / improvements:

  • Microfades are now an opt-in feature. They were always on in 2.3.0.
  • The advanced vertical zooming option is now available in the View->Zoom menu.
  • Regular interval labels now support range labels.

How to Install Audacity 2.3.1 in Ubuntu:

There’s an unofficial PPA contains the 2.3.1 packages for Ubuntu 16.04, Ubuntu 18.04, Ubuntu 18.10, Ubuntu 19.04, and their derivatives, e.g., Linux Mint 18.x and 19.x.

1. Open terminal either via Ctrl+Alt+T keyboard shortcut or by searching for ‘terminal’ from app launcher. When it opens, run command:

sudo add-apt-repository ppa:ubuntuhandbook1/audacity

Type user password (no asterisk feedback due to security reason) when it prompts and hit Enter to add the PPA.

2. If you have a previous version installed, you can upgrade Audacity via Software Updater after adding the PPA.

upgrade audacity

or run following commands one by one to check updates and install (or upgrade) audacity 2.3.1:

sudo apt-get update

sudo apt-get install audacity

Uninstall:

To remove the PPA repository, launch Software & Updates utility and navigate to ‘Other Software’ tab.

To remove Audacity audio software, either use system package manager or run command in terminal:

sudo apt-get remove --autoremove audacity audacity-data

Audacity audio editor and recorder 2.3.0 was released one day ago. Here’s how to install it in Ubuntu 18.10, Ubuntu 18.04, Ubuntu 16.04, Linux Mint 18 and 19.

New features in Audacity 2.3.0 according to the release note:

  • New feature – “Punch and Roll Recording”
  • Pinned-play-head can now be repositioned by dragging
  • Play-at-speed now can be adjusted whilst playing.
  • Toolbars controlling volume and speed can now be resized for greater precision
  • Macros (formerly ‘Chains’) substantially extended
    • New Macro palette
    • Macros can be bound to keyboard keys
  • New commands: New ‘Tools’ menu, and new ‘Scriptables’ commands
  • Nyquist gains AUD-DO command
  • Nyquist effects are now translatable and translated
  • More dialogs have help buttons now
  • Increased legibility of trackname display
  • Half-wave option for collapsed tracks
  • Sliding Stretch
  • Dialog (option) for entering labels
  • And numerous bug-fixes.

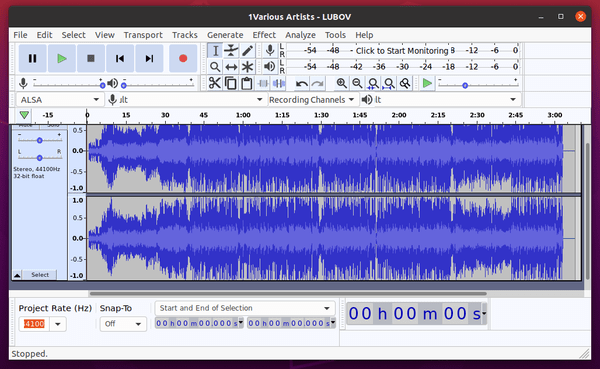
Audacity 2.3.0

How to Install Audacity 2.3.0 in Ubuntu:

Audacity 2.3.0 for Linux is considered ‘experimental’ and may crash. I’ve revert the PPA package to Audacity 2.2.2.

For Ubuntu 16.04 and higher, the new release package can be easily installed from this third-party PPA.

1. Open terminal via Ctrl+Alt+T or by searching for ‘terminal’ from app launcher. When it opens, run command:

sudo add-apt-repository ppa:ubuntuhandbook1/audacity

Type your password (no asterisks feedback while typing) when it prompts and hit Enter to add the PPA.

2. If you have a previous version installed, you can upgrade Audacity via Software Updater after adding the PPA.

upgrade audacity

or run following commands one by one to check updates and install (or upgrade) audacity 2.3.0:

sudo apt-get update

sudo apt-get install audacity

Uninstall:

To remove the PPA repository, launch Software & Updates utility and navigate to ‘Other Software’ tab.

To remove Audacity audio software, either use system package manager or run command in terminal:

sudo apt-get remove --autoremove audacity audacity-data

Audacity 2.2.2 Released! (How to Install / Upgrade)

Last updated: February 22, 2018

Audacity audio editor 2.2.2 was released two days ago with some improvements and several bug-fixes. Here’s how to install it in Ubuntu 16.04, Ubuntu 17.10, and Ubuntu 18.04.

Audacity 2.2.2 release highlights:

  • Easier zooming in and out with mousewheel, new Zoom Toggle command, and context menu for vertical rulers.
  • Easy access to change keyboard bindings of menu commands by holding Shift key
  • Detection of dropout errors while recording with overburdened CPU
  • Improved contrasts in Light and Dark themes
  • Half-wave display option
  • Several bugs/annoyances in 2.2.1 are now fixed
  • See Release Notes for details.

How to Install Audacity 2.2.2 in Ubuntu:

The Audacity team does not offer pre-compiled Linux binaries. Other than building from source, a third-party PPA is available with Audacity 2.2.2 packages for Ubuntu 16.04, Ubuntu 17.10, and Ubuntu 18.04.

1. Open terminal via Ctrl+Alt+T or by searching for ‘terminal’ from app launcher. When it opens, run command:

sudo add-apt-repository ppa:ubuntuhandbook1/audacity

Input your password (no visual feedback while typing) when it prompts and hit Enter to add the PPA.

audacity ppa

2. If you have a previous version installed, you can upgrade Audacity via Software Updater after adding the PPA.

upgrade audacity

or run following commands one by one to check updates and install (or upgrade) audacity 2.2:

sudo apt-get update

sudo apt-get install audacity

Uninstall:

To remove the PPA repository, launch Software & Updates utility and navigate to ‘Other Software’ tab.

To remove Audacity audio software, either use system package manager or run command in terminal:

sudo apt-get remove --autoremove audacity audacity-data

Audacity audio editor reached the 2.2.1 release a few days ago with performance improvements and various bug-fixes.

Audacity 2.2.1 adds ability to change the colorway of the waveforms displayed in your project. The setting is per track and not per project so you can have multiple colorways in the same project.

Other changes in Audacity 2.2.1:

  • File menu called “Save Other” is reverted “Export”
  • Fix crash applying certain chain files
  • Fix MIDI playback timing / synchronisation problems for Linux
  • Fix Quick Play loops fail to start at click position
  • Fix auto-scroll stopped working issue in 2.2.0
  • And various other bug-fixes.

How to Install Audacity 2.2.1 in Ubuntu:

The Audacity team does not offer pre-compiled Linux binaries. Besides building from source, a third-party PPA is available with Audacity 2.2.0 for Ubuntu 16.04, Ubuntu 17.04, Ubuntu 17.10, and Ubuntu 18.04

1. Open terminal via Ctrl+Alt+T or by searching for ‘terminal’ from app launcher. When it opens, run command:

sudo add-apt-repository ppa:ubuntuhandbook1/audacity

Input your password (no visual feedback while typing) when it prompts and hit Enter to add the PPA.

audacity ppa

2. If you have a previous version installed, you can upgrade Audacity via Software Updater after adding the PPA.

upgrade audacity

or run following commands one by one to check updates and install (or upgrade) audacity 2.2:

sudo apt-get update

sudo apt-get install audacity

Uninstall:

To remove the PPA repository, launch Software & Updates utility and navigate to ‘Other Software’ tab.

To remove Audacity audio software, either use system package manager or run command in terminal:

sudo apt-get remove --autoremove audacity audacity-data