![]()
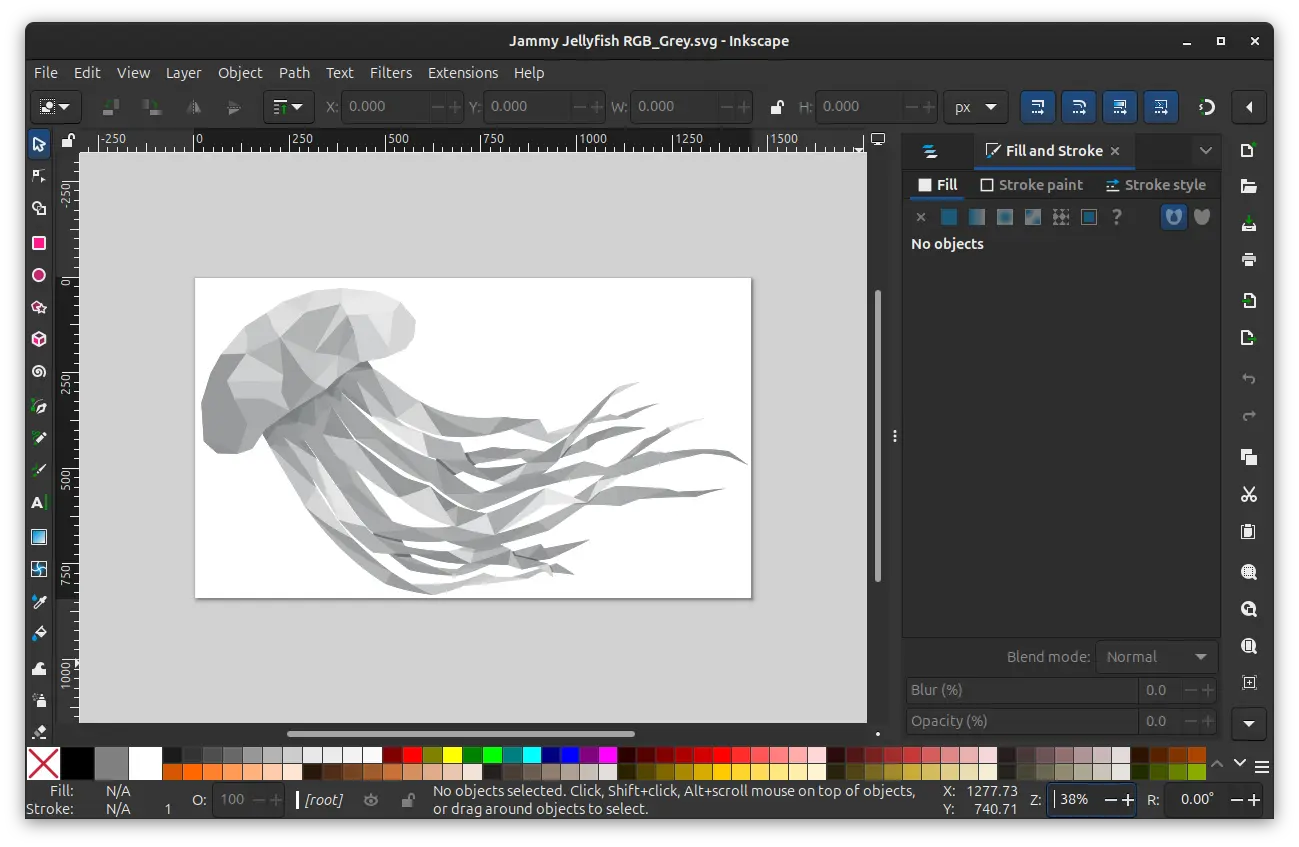
Inkscape 1.4.2, the free open-source vector graphics editor, is out with new features and many bug-fixes.
The new v1.4.2 is the first minor release in the 1.4 release series, as v1.4.1 has been merged with 1.4.2 due to a signficant bug.
News, Tutorials, Howtos for Ubuntu Linux
![]()
Inkscape 1.4.2, the free open-source vector graphics editor, is out with new features and many bug-fixes.
The new v1.4.2 is the first minor release in the 1.4 release series, as v1.4.1 has been merged with 1.4.2 due to a signficant bug.

![]()
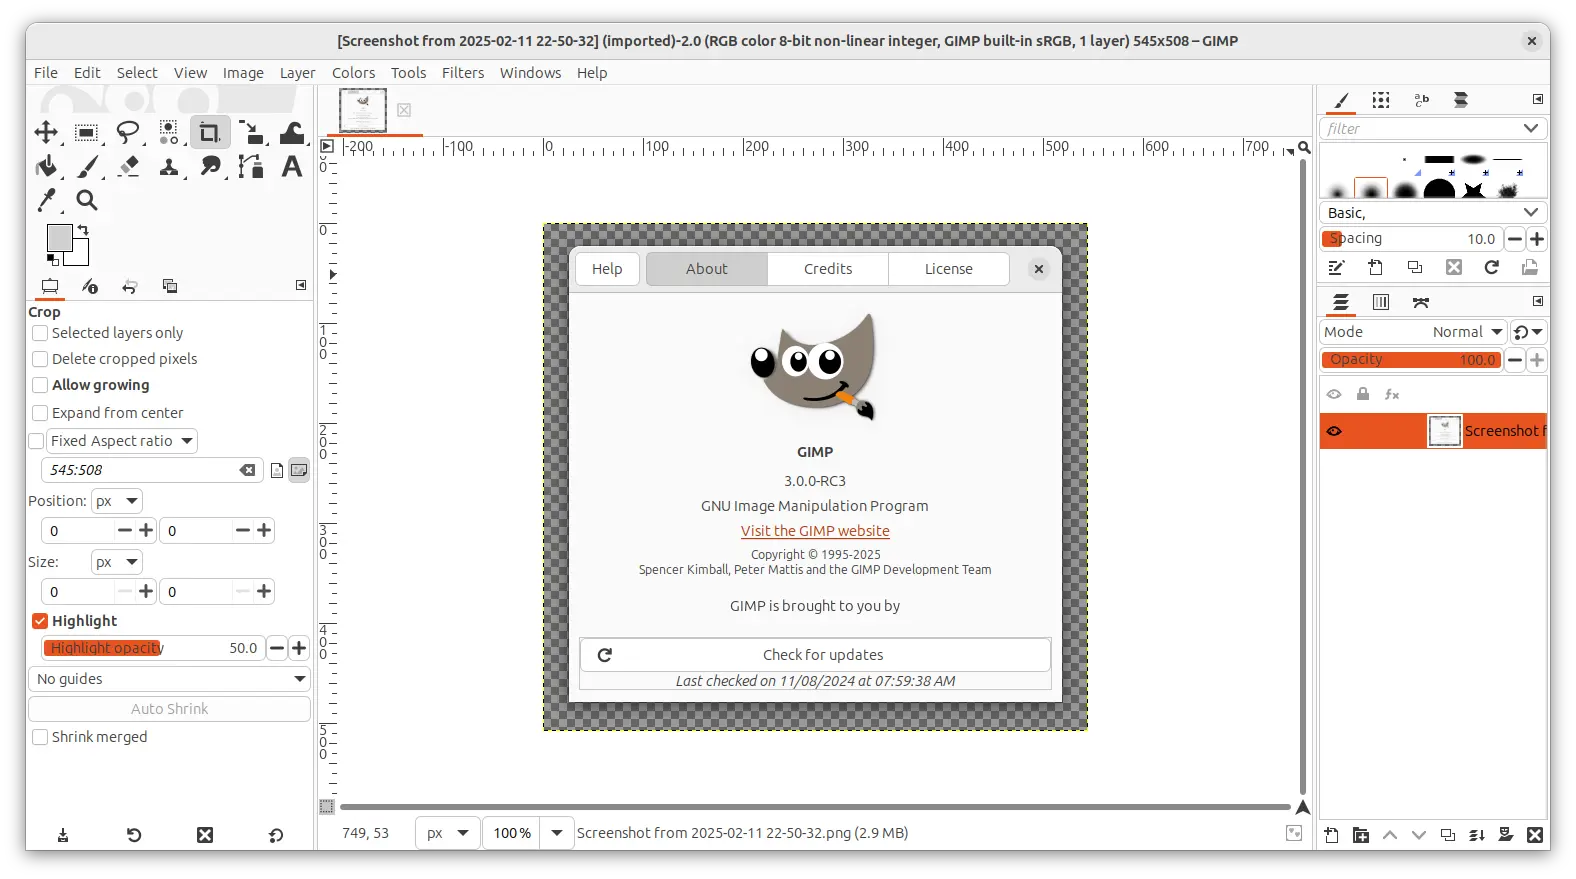
Just a week after the 3.0.0 major release, GIMP announced the first maintenance update for the 3.0 series on this Sunday.
The new image editor release fixed more than a dozen of bugs, improved the official installers, updated translations, and introduced 2 new download mirrors for users from India.

To help users switching from Adobe PhotoShop, PhotoGIMP project updated today with support for the new GIMP 3.0 image editor.
PhotoGIMP is a free open-source project that optimizes GIMP for AdobeShop users. By changing the local app data, it organised the tools and their options to be PhotoShop style, assigned keyboard shortcuts to similar to the ones in Photoshop for Windows, following Adobe’s Documentation, and added new default settings to maximize space on the canvas.
![]()
After more than 4 years of development, GIMP image editor 3.0 finally goes stable!
GIMP 3.0 is a new major release! Here are the new features and how to install guide for Ubuntu users in 3 different ways:
.deb package.
![]()
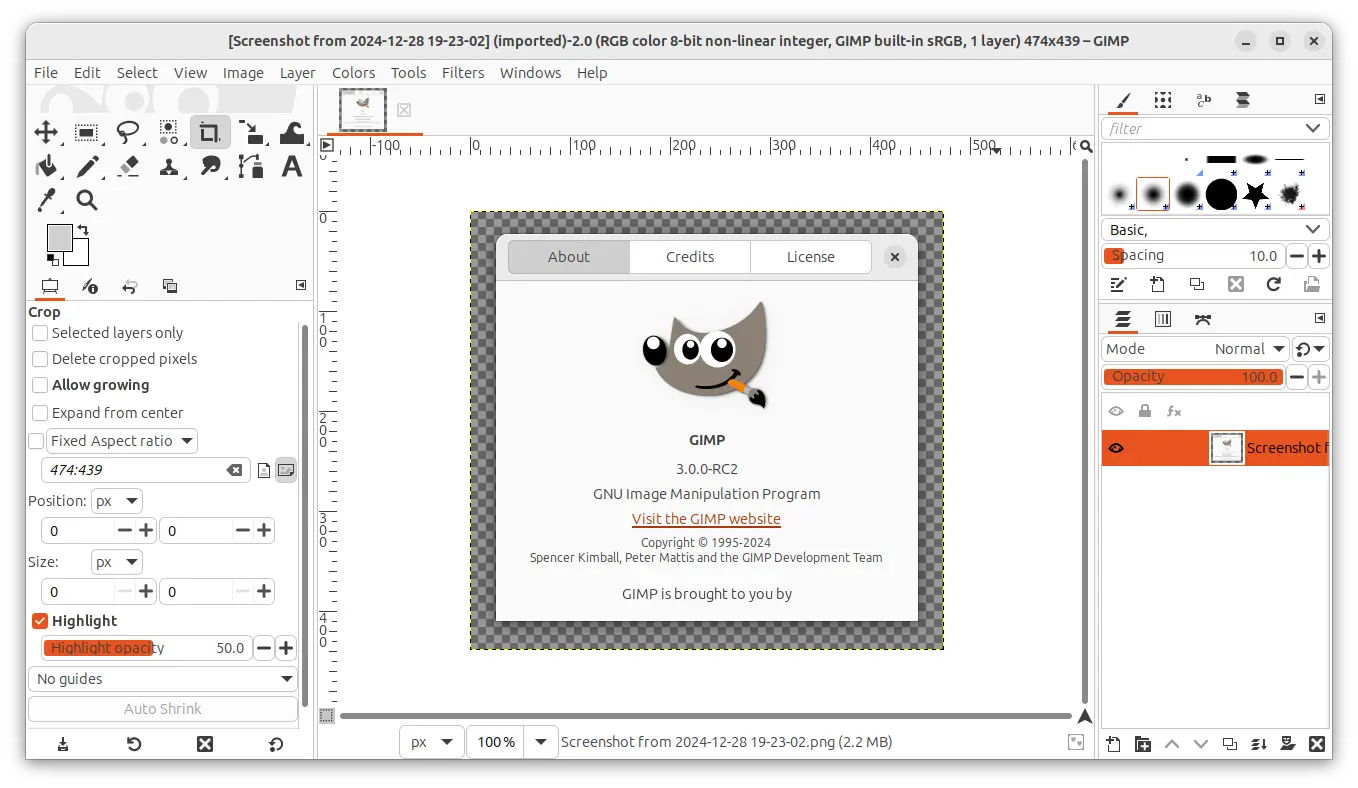
GIMP image editor announced the third release candidate for the next major 3.0 series yesterday, with dozens of bug-fixes, requests, and translation updates.
The new release fixed crash and stability issues when working on Wayland. The new GIMP running with most recent GTK 3.24.48 fixed freeze with certain actions on KDE/Wayland, and crash when dragging layers and text glitches in certain widgets with Right-To-Left languages.
![]()
GIMP image editor announced the second release candidate for the next major 3.0 release a day ago on Friday!
The new GIMP 3.0 RC2 fixed the issue migrating user’s 2.10 settings to GIMP 3.0. However, if you already used 3.0 RC1, then you need to delete those configurations first (backup of course), as otherwise RC2 won’t try to import the 2.10 preferences.
![]()
GIMP, the popular free open-source image editor, finally released new 3.0 stable version. Here’s how to install it in Ubuntu using PPA.
So, what exactly is a “release candidate” (RC)? A release candidate is something that might be ready to be GIMP 3.0, but we want the larger community to test it first and report any problems they find.
According to the announcement, it’s time to try it out for those who are interested in the new release.
![]()
This tutorial shows how to install Inkscape, version 1.4 so far, in Ubuntu 22.04, Ubuntu 24.04, and Ubuntu 24.10.
Inkscape is a popular free open-source vector graphics editor, that works in Linux, Windows, and macOS. It uses SVG as default file format, and can also import/export various other file formats, including AI, EPS, PDF, PS and PNG.
The software is widely used for both artistic and technical illustrations such as cartoons, clip art, and logos. So far, the latest version is v1.4 that was released a week ago.
![]()
The popular free open-source digital painting software, Krita, released version 5.2.3 a few days ago.
The release rework the build system, so the CI can be built in all 4 platforms (Windows, Linux, macOS, and Android).
Besides that, Krita 5.2.3 fixed various bugs, including crash on saving webp images, crashes when inserting keyframe columns when there’s a transform mask, animation playback freezes when pausing past the end of audio, batch exporter python plugin does not respect trimming flag, and various fixes to tool canvas input shortcut behavior.
Continue Reading…
![]()
GIMP image editor announced the new 2.99.18 development release today. It’s marked as the last dev release for the next major 3.0 version.
The new release has a new welcome dialog, with Personalize tab to set your favorite theme, icon and font scaling, and select program language, Contribute tab with a few links for who want to contribute to GIMP, and Create tab with quick buttons to create, open, open recent images. It as well has an option to enable on every start.