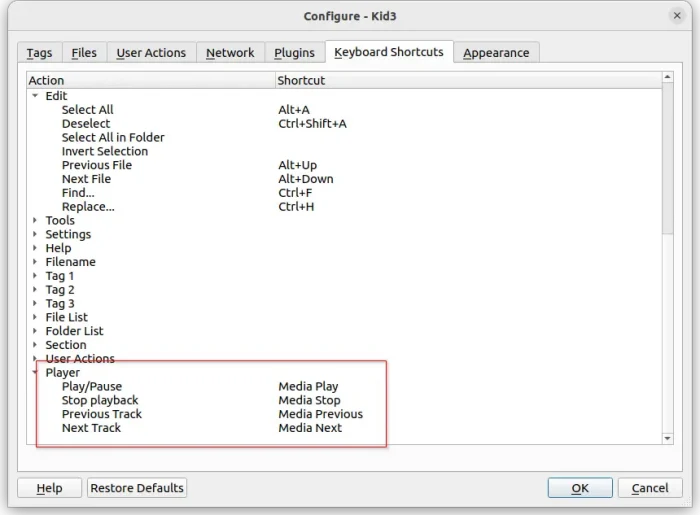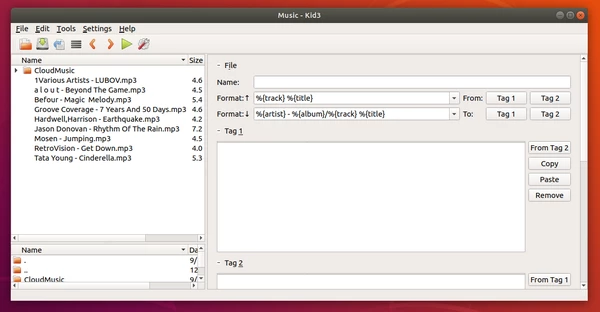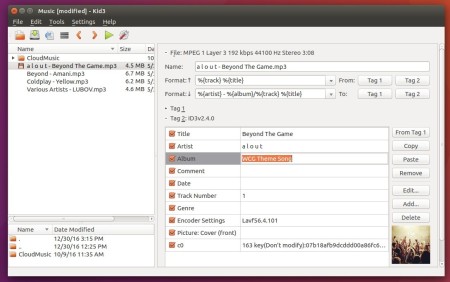
Kid3 audio tag editor released version 3.7.1 today. Here’s how to install it in Ubuntu 16.04, Ubuntu 18.04, Ubuntu 18.10, and higher.
Kid3 3.7.1 primarily brings bug fixes and usability improvements. Most new features target the Android version, which now supports a dark theme, a better file selection dialog and more configuration options.
- Support max-, min-, unq- aggregation when renaming directories.
- Android: Support dark and light themes.
- Android: Support opening files with Kid3 from other apps.
- Android: Settings for formats, character replacements and import profiles.
- Improved support format codes in file name for cover.
- Fixed support setting of ID3v2 version for DSF files.
- Avoid jumping around frames while deleting.
- Removal of multiple tags where not all tags are removed.
- Setting of a simple string as value for IPLS frame with TagLib.
- Adapted to Discogs server update.
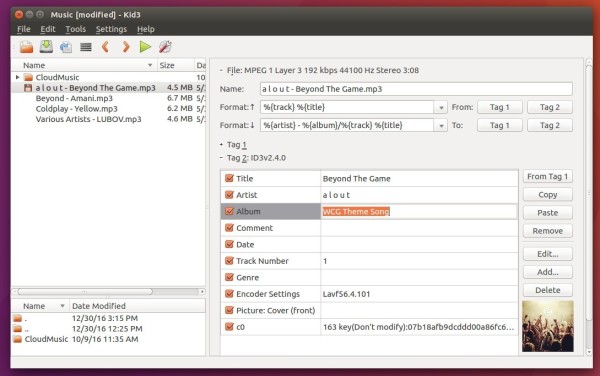
How to Install Kid3 3.7.1 in Ubuntu:
The official Kid3 PPA contains the latest software packages for Ubuntu 16.04, Ubuntu 18.04, Ubuntu 18.10, and higher.
Open terminal either via Ctrl+Alt+T keyboard shortcut or by searching for ‘terminal’ from software launcher. When it opens, do following steps one by one.
1. Copy and paste following command in terminal and hit run to add the PPA:
sudo add-apt-repository ppa:ufleisch/kid3
Type your password (no asterisk feedback due to security reason) when it prompts and hit Enter to continue.

2. Then you can upgrade Kid3 from a previous version via Software Updater:
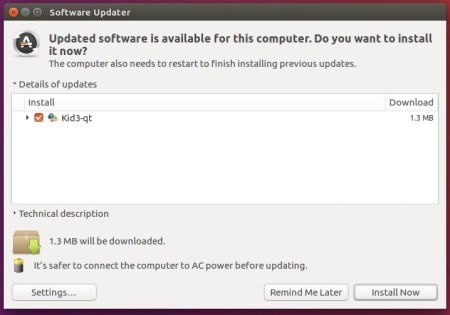
or run commands one by one in terminal to install or upgrade to the latest tag editor:
sudo apt update

sudo apt install kid3-qt
For KUbuntu, you may replace kid3-qt with kid3 in the last command for KDE integration.
Uninstall
To remove the PPA repository, either open Software & Updates -> Other Software tab, or run command:
sudo add-apt-repository --remove ppa:ufleisch/kid3
To remove the audio tag editor, either use your system package manager or run command:
sudo apt remove --autoremove kid3 kid3-*


