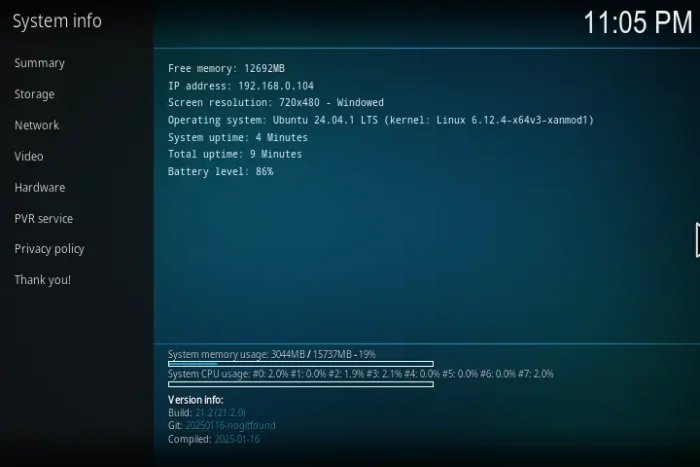
The Kodi media center 19.0 now is available to install via its official Ubuntu PPA.
Kodi 19.0 “Matrix” is a new major release for the open-source home theater software. Though it’s not officially announced at the moment of writing, the PPA packages has been updated, available for Ubuntu 18.04, Ubuntu 20.04, Ubuntu 20.10, Linux Mint 20.x and derivatives.
What’s New in Kodi 19.0:
There are many new features in the release. And here are some big changes:
- AV1 Codec support.
- New color for subtitles and ability to change opacity.
- static HDR10 and dynamic Dolby Vision HDR support.
- Move to Python 3 for addons.
- New functions in the PVR.

How to Install Kodi 19.0 via PPA:
Open terminal either from system app launcher or by pressing Ctrl+Alt+T on keyboard. When it opens, run following commands one by one to get the new release packages.
1. Add Kodi PPA.
To add the official Kodi PPA, run command in terminal:
sudo add-apt-repository ppa:team-xbmc/ppa
Type user password when it asks, with no asterisk feedback, and hit Enter to continue.

2. Install / Update Kodi.
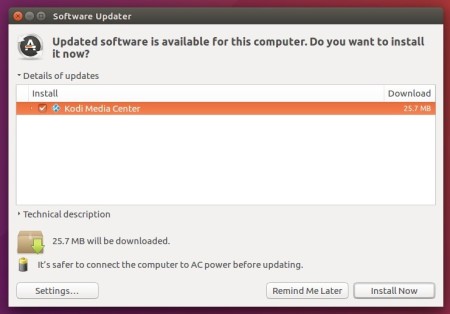
The Software Updater utility will prompt you to run a “partial upgrade” since the dependency packages switched from Python 2 to Python 3. So it’s recommended to install or upgrade Kodi by running terminal commands.
Firstly refresh system package cache, if you’re on Ubuntu 18.04, via command:
sudo apt update
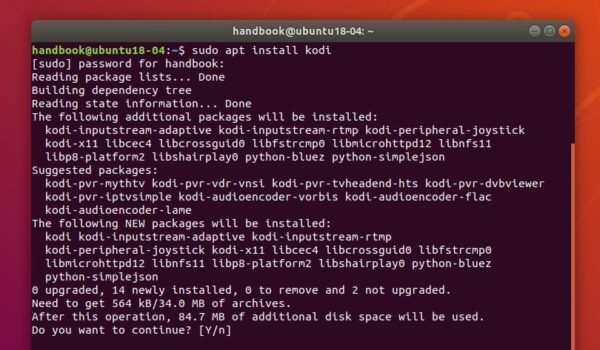
Then install Kodi via command:
sudo apt install kodi
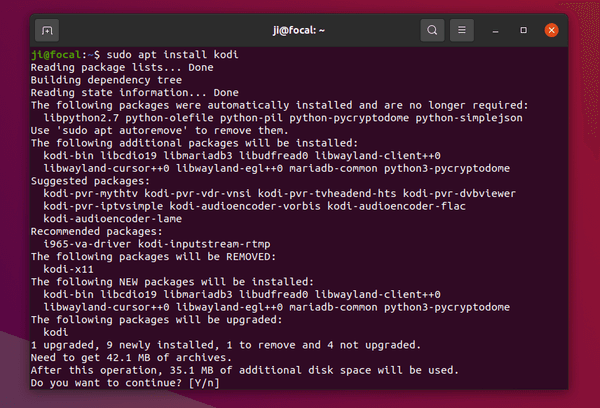
If you’re going to upgrade Kodi, the previous command may not update the add-ons, so I recommend to run apt upgrade instead:
sudo apt upgrade
How to Downgrade:
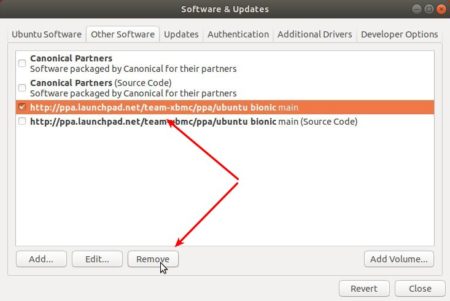
You can purge the Ubuntu PPA as well as downgrade Kodi to the stock version available in Ubuntu main repositories. To do so, run command:
sudo apt install ppa-purge && sudo ppa-purge ppa:team-xbmc/ppa


