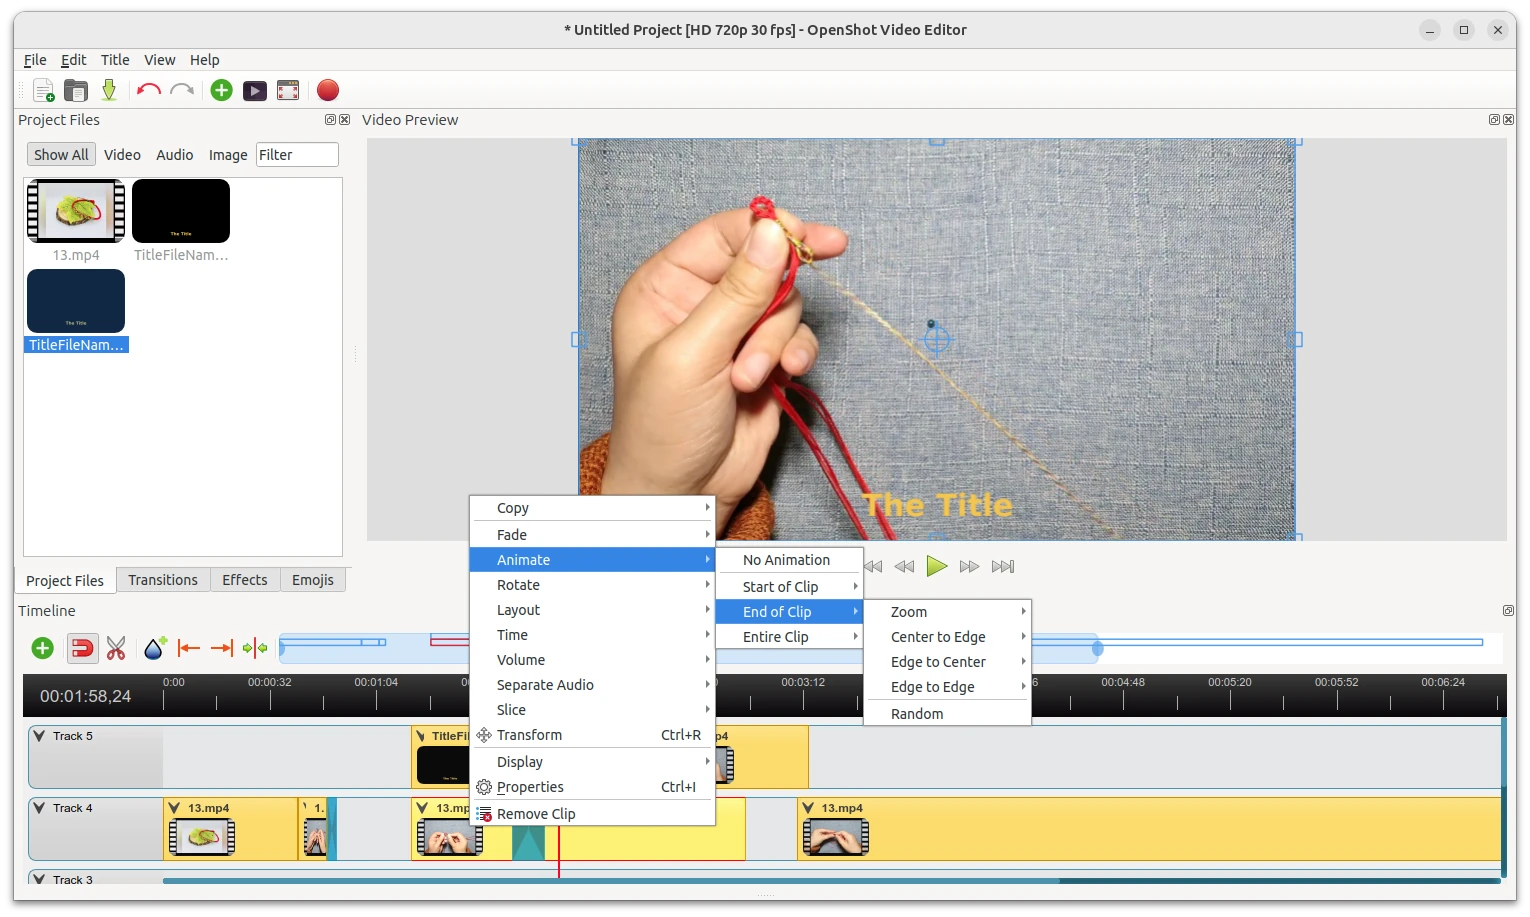
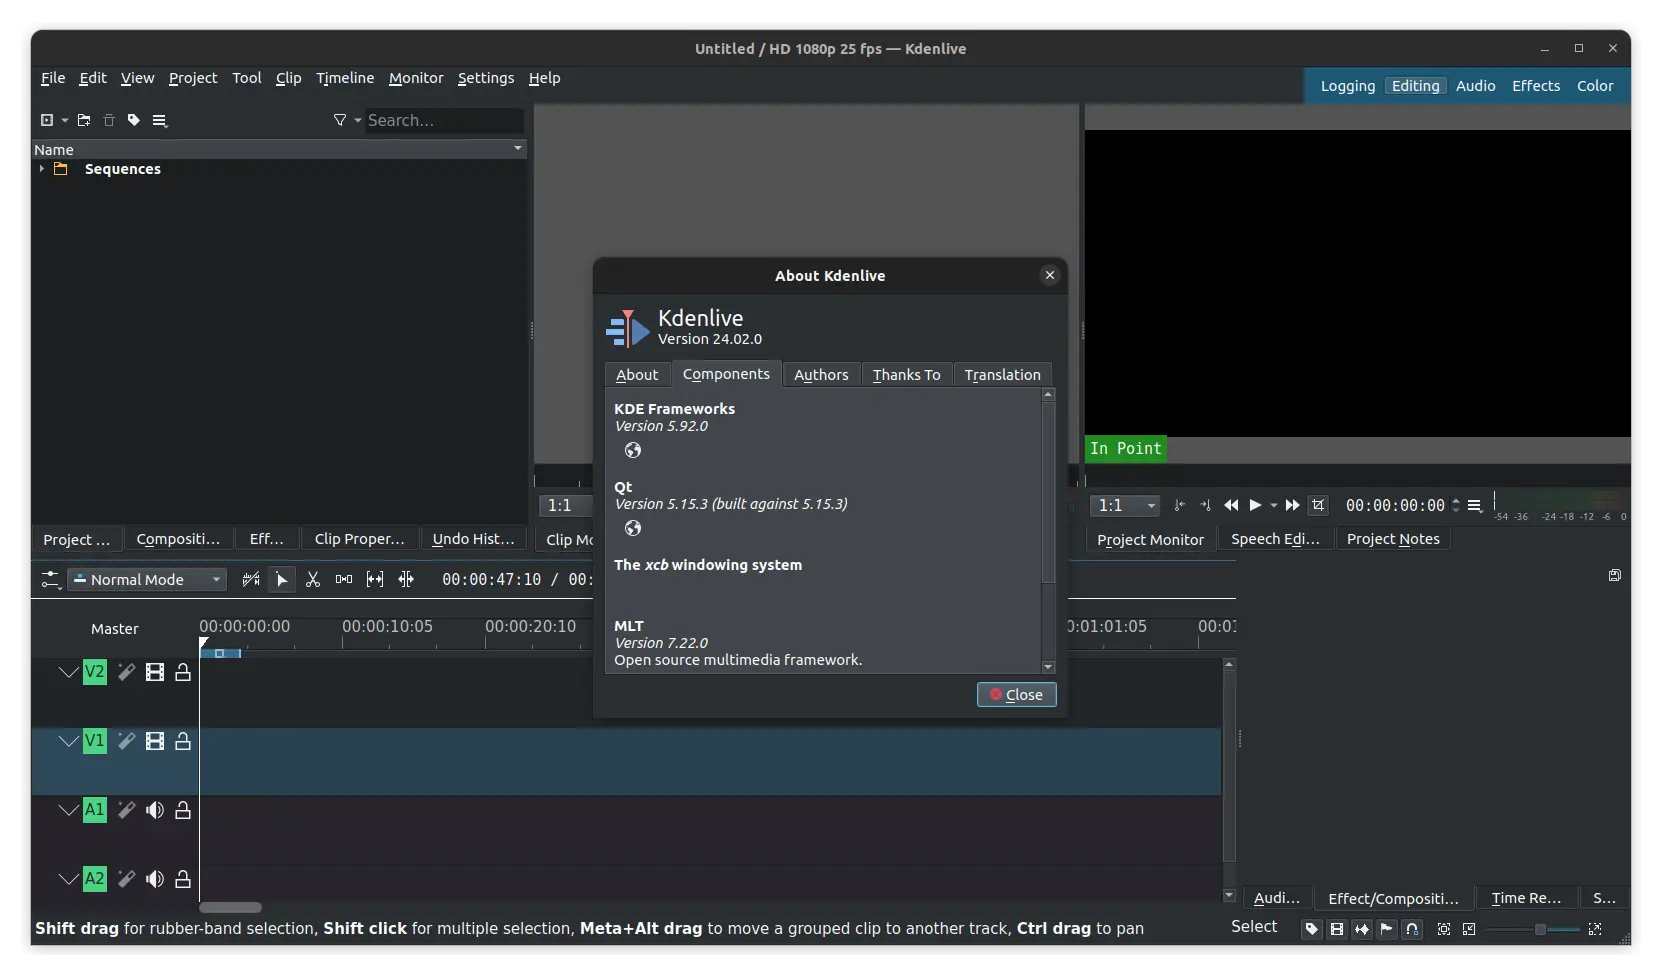
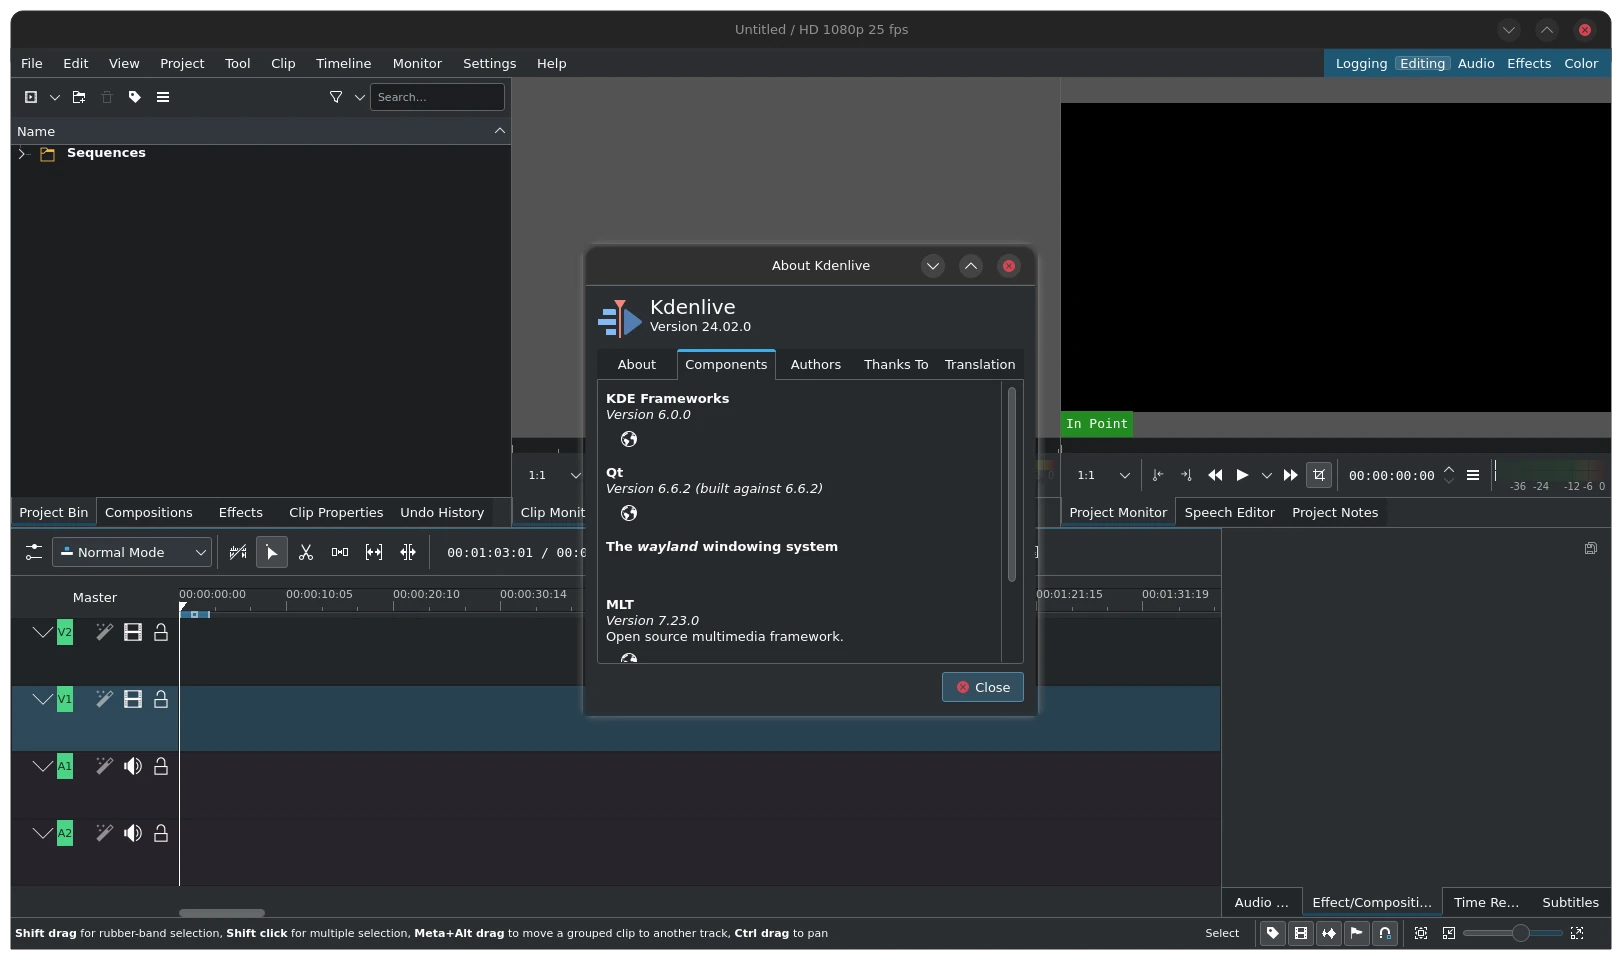
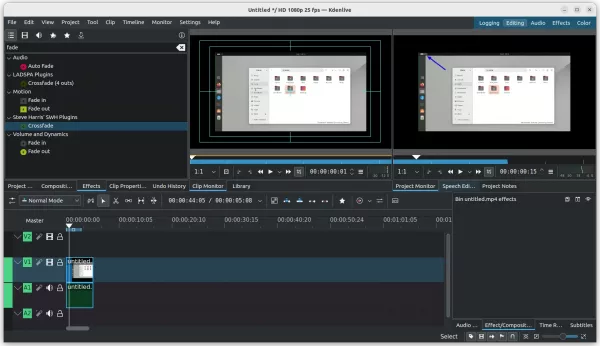
The popular free open-source Kdenlive video editor released version 23.08.0 more than a week ago. For those who are sticking to the native .deb package format, the official Ubuntu PPA finally updated with the new release package!
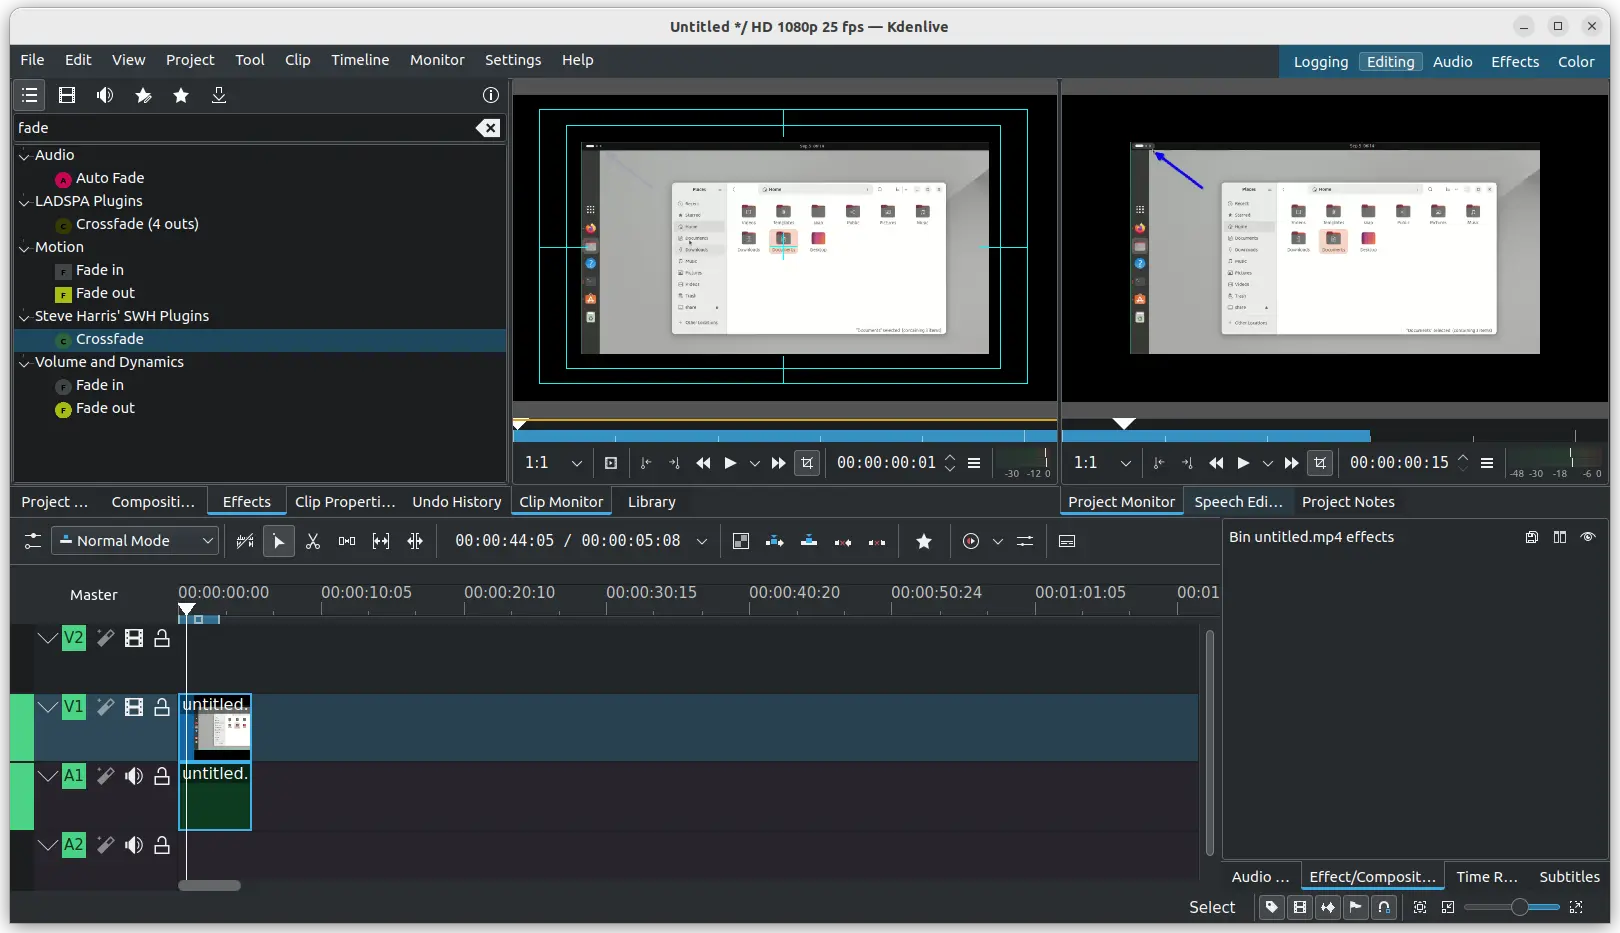
Kdenlive 23.08.0 introduced 2 new effects Audio Seam and Auto Fade, added AV1 NVENC profile, and had bug-fixes to Whisper engine with Nvidia GTX 16xx series.
There are also some usability improvements, such as new “Fit all tracks in view” context menu option, Shift + z shortcut adjusts timeline zone to selected clips, and keyboard shortcut to toggle between timeline tabs. See the release note for more details.
How to Install Kdenlive 23.08 in Ubuntu:
Kdenlive provides official Linux packages through AppImage, Flatpak, and Ubuntu PPA.
While the first two run in sandbox, the last PPA is a good choice for Ubuntu/Linux Mint users, which so far supports Ubuntu 22.04, Ubuntu 23.04, and Ubuntu 23.10.
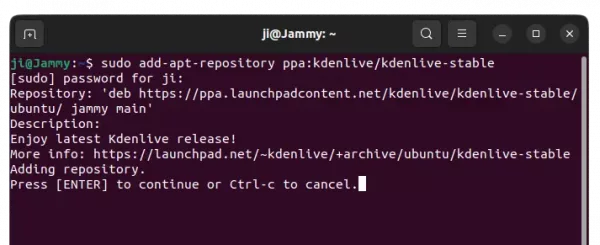
1. First press Ctrl+Alt+T on keyboard to open terminal, or search for and launch ‘Konsole‘ from start menu in KDE. When it opens, run command:
sudo add-apt-repository ppa:kdenlive/kdenlive-stable
Type user password (no asterisk feedback) when it asks and hit Enter to continue.
2. After adding PPA, user can either open Software Updater (or Update Manager) to update the software package from an existing version:

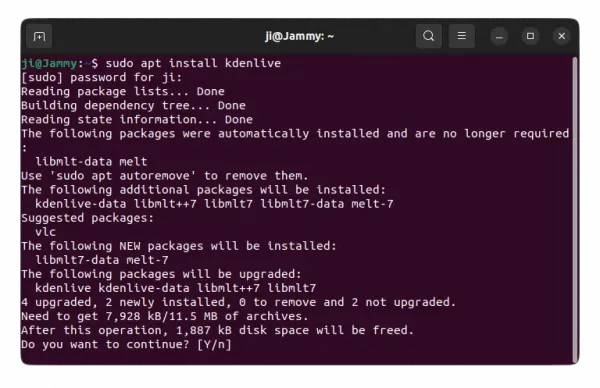
Or run the command below to install or update the video editor:
sudo apt install kdenlive
NOTE: Linux Mint user has to run sudo apt update first to manually refresh package cache
And, if you got overwriting files issue due to the old dependencies: libmlt-data and melt, run command to remove them and then re-run the apt command above:
sudo dpkg -r melt libmlt-data
Once installed, press Super (Windows logo key) to open ‘Activities’ overview or start menu, and search for and open Kdenlive.

Uninstall Kdenlive
To remove Kdenlive, either use your system package manager or run the command below in a terminal window:
sudo apt remove --autoremove kdenlive
And remove the Ubuntu PPA either by running command in terminal:
sudo add-apt-repository --remove ppa:kdenlive/kdenlive-stable
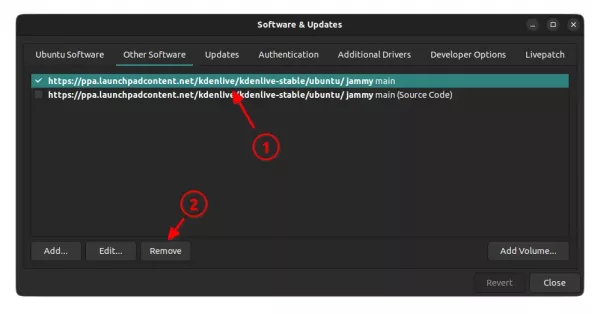
Or use “Software & Updates” utility to remove the source line under “Other Software” tab.