The Avidemux video editor released version 2.8.1 few days ago. Here’s what’s new and how to install in Ubuntu via PPA.
The new Avidemux 2.8.1 release improved HiDPI displays support by updating the icon set, and using OpenGL for rendering on-the-fly preview in video filter dialog.
It also introduced new filters: 3D LUT, Decimate, and Arbitrary Rotate, new video encoder: VideoToolbox HEVC for macOS users, and support for decoding 8-bit VP9 on Windows using DXVA2 and Linux using VDPAU with graphics card that features a VP9 decoder.
There are other features, such as temporarily disable active filters in Video Filter Manager and reverse video by exporting selection as JPEG images and loading in reverse order.
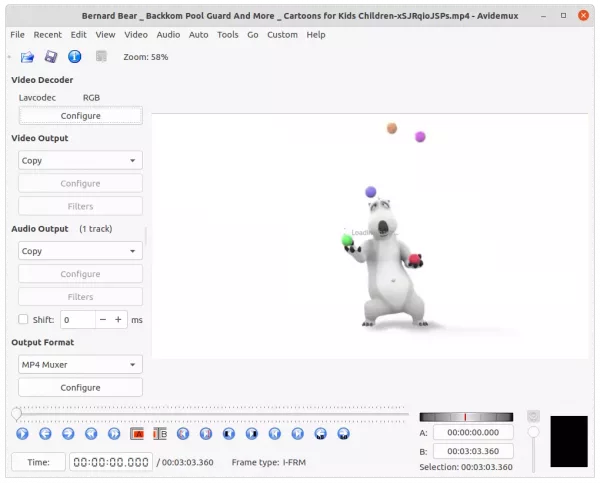
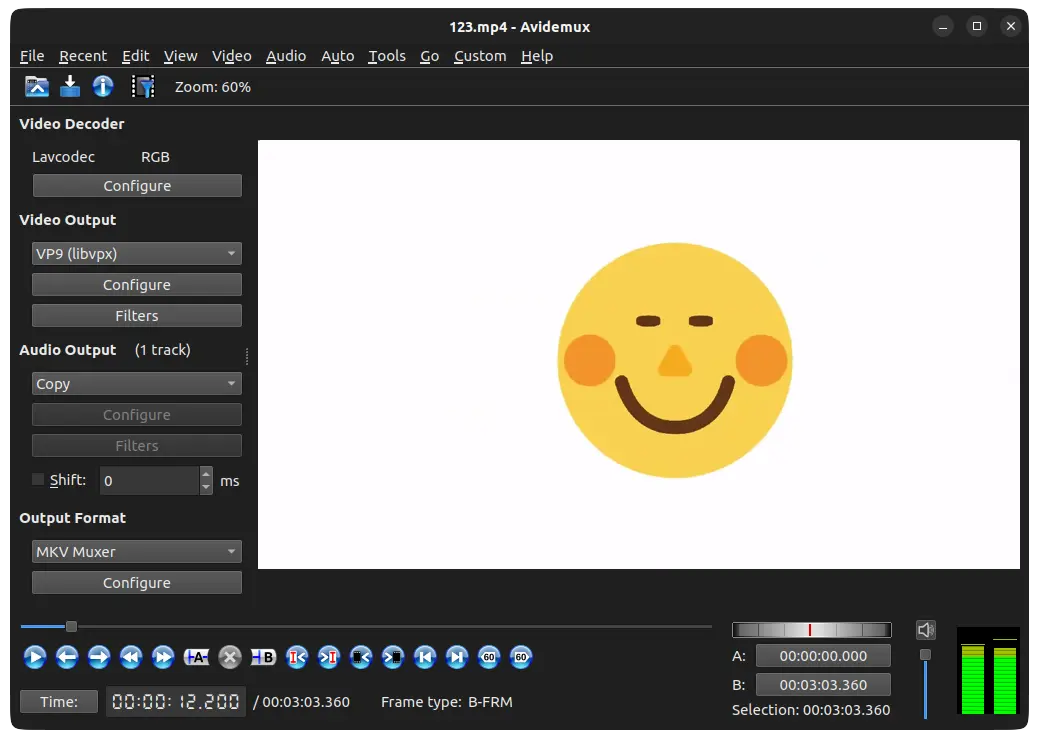
Avidemux video editor
Other changes in Avidemux 2.8.0 include:
- ‘Peek Original’ button to quickly compare filtered and unfiltered inputs.
- Add blend and motion interpolation options to ‘Resample FPS’ filter.
- Mark cut points on navigation slider.
- “Resample FPS” and “Change FPS” filters can handle up to 1000 fps.
- Translucent green masking for “Crop” filter’s preview
- “Resize” filter output up to 8192×8192 resolution.
- Improved HiDPI scaling in previews.
- x264 video encoder plugin allows to specify color properties.
- Replace PulseAudioSimple with PulseAudio in Linux.
How to Install Avidemux 2.8 in Ubuntu:
The “xtradeb packaging” team is maintaining some apps and games, including Avidemux, in its PPA repositories. The maintainer comes from the old GetDEB team. And, Avidemux website refers to the PPA for Ubuntu users in the download page.
1. Remove old Avidemux package:
If you’ve installed Avidemux 2.7 packages from my unofficial PPA, remove it first!! The name now changes from avidemux2.7 to avidemux. No version number in package name anymore.
Firstly, press Ctrl+Alt+T on keyboard to open terminal. When it opens, paste the command below to remove it:
sudo apt remove --autoremove avidemux2.7-*
2. Add the new ‘official’ PPA
The xtradeb apps PPA contains Avidemux along with many other app packages for Ubuntu 20.04, Ubuntu 21.04, and Ubuntu 21.10 so far.
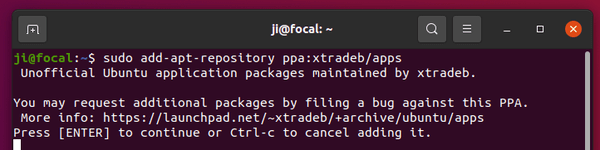
Open terminal (Ctrl+Alt+T) and run command below to add it to your system:
sudo add-apt-repository ppa:xtradeb/apps
Type user password (no asterisk feedback) when it asks and hit Enter to continue.
For those still using Ubuntu 18.04, my unofficial PPA is available for choice:
sudo add-apt-repository ppa:ubuntuhandbook1/avidemux
3. Update package cache:
While adding Ubuntu PPA, it updates system cache automatically since Ubuntu 20.04. However, Ubuntu 18.04 and some Ubuntu based systems need to run the command to do it manually:
sudo apt update
4. Install Avidemux 2.8:
Finally, install the video editor as well as its dependencies via command:
sudo apt install avidemux-qt avidemux-jobs-qt
After installation, open the video editor by searching from ‘Activities’ overview screen and enjoy!
How to Remove Avidemux video editor:
To remove the video editor, simply run command:
sudo apt remove --autoremove avidemux-qt avidemux-jobs-qt
It removes all the packages and useless dependency libraries, though personal data left in ‘.avidemux6‘ folder (hidden folder, press Ctrl+H to display) in user home directory.
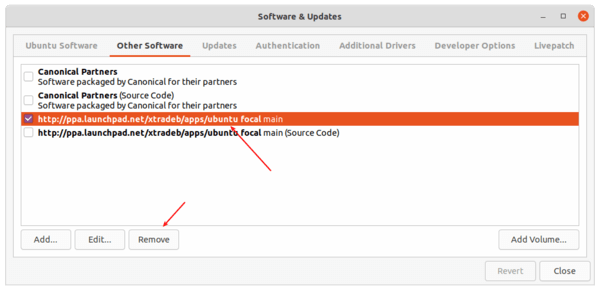
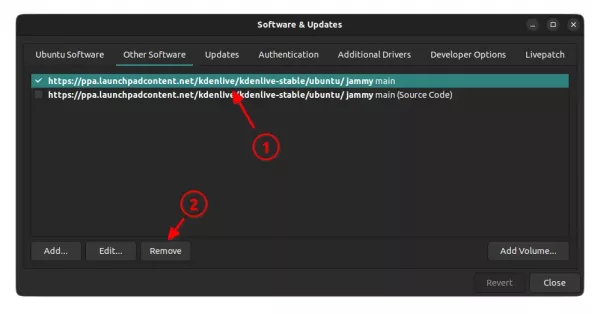
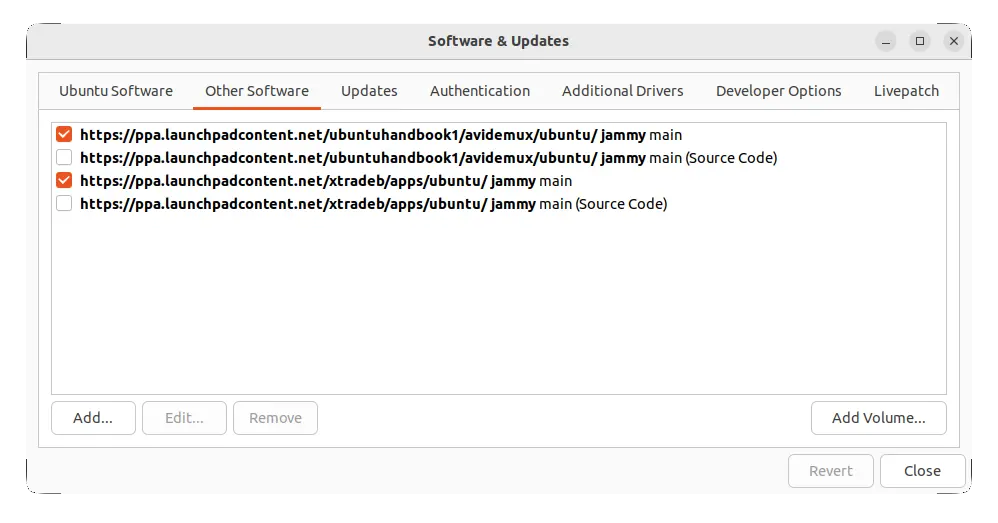
To remove the Ubuntu PPA, open ‘Software & Updates‘ and remove the relevant line under Other Software tab.