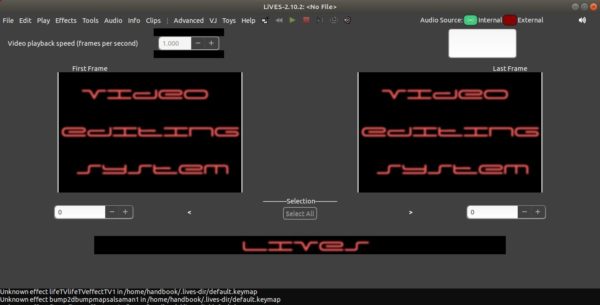
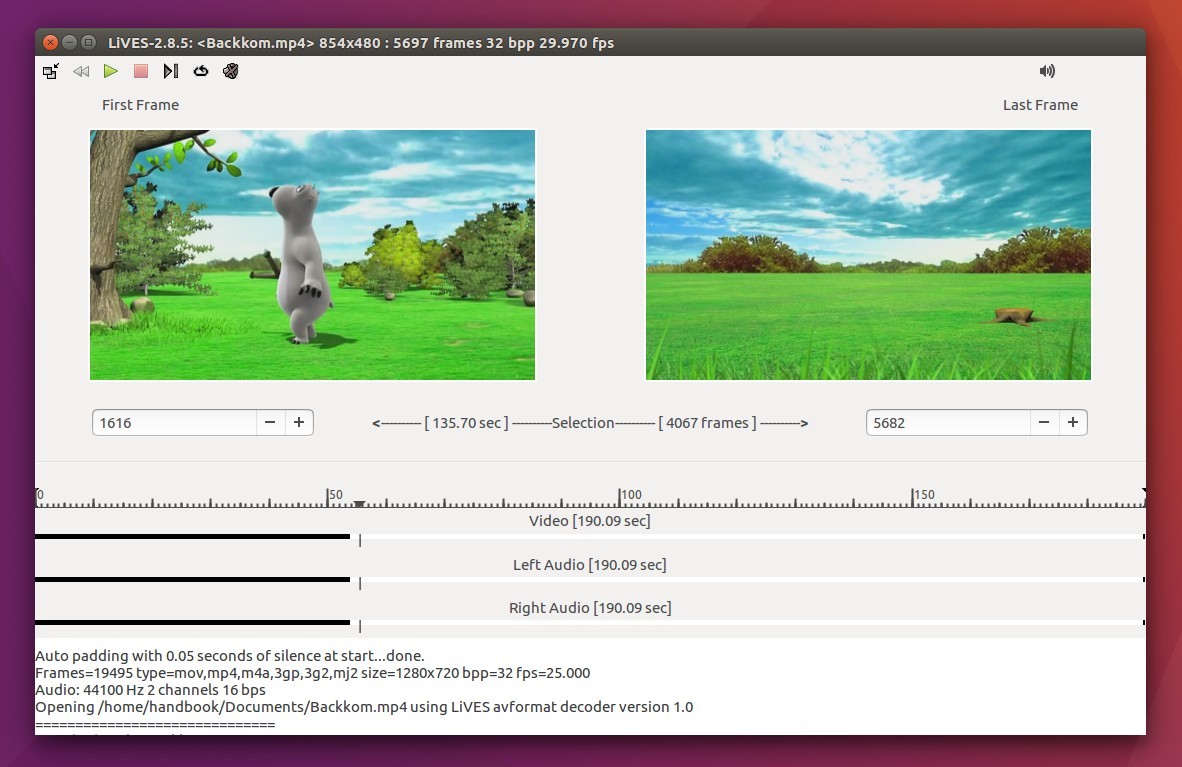
LiVES video editor and VJ tool released version 3.0.1 today. Here’s how to install it in Ubuntu 18.04, and Ubuntu 19.04.
LiVES 3.0 release highlights:
- Render silence to end of video if necessary during rendering.
- Improvements to openGL playback plugin, including much smoother playback.
- Re-enable Advanced options for the openGL playback plugin.
- Allow “Enough” in VJ / Pre-decode all frames
- Refactor code for timebase calculations during playback (better a/v synch).
- Overhaul external audio and audio recording to improve accuracy and use fewer CPU cycles.
- Auto switch to internal audio when entering multitack mode.
- Eliminate some race conditions between the audio and video threads.
- Implemented reference counting for realtime effect instances.
- Extensively rewrote the main interface, cleaning up the code and making many visual improvements
- Improvements to online video downloader, clip size and format can now be selected, added an update option.
- Improvements to the projectM filter wrapper, including SDL2 support.
- Eliminate race conditions when applying rendered effects.
- Added an option to invert the Z-order in multitrack compositor.
- Added support for musl libc.

How to Install Lives 3.0.1 in Ubuntu:
1. Open terminal either via Ctrl+Alt+T keyboard shortcut or from application menu. When it opens, run command to add the unofficial PPA:
sudo add-apt-repository ppa:ubuntuhandbook1/lives
Type user password (no visual feedback while typing due to security reason) when it asks and hit Enter.

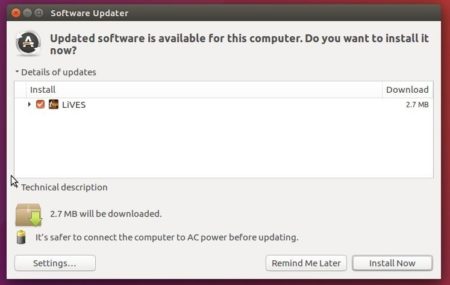
2. Then upgrade the software from an existing release via Software Updater:
or simply run commands in terminal to install or upgrade LiVES:
sudo apt-get update

sudo apt-get install lives lives-plugins
Uninstall:
To remove the software, simply run commands:
sudo apt-get remove --autoremove lives lives-plugins
The PPA can be removed via Software & Updates utility under Other Software tab.