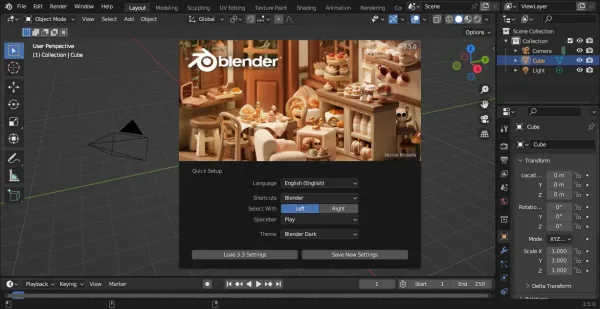
Blender 3.5, the popular 3D creation software, was released few days ago. Here are the new features and how to install guide for Ubuntu users.
The new release features 26 built-in hair assets, allows to drag and drop to use onto your setups. As well, it allows to do many actions on hair curves, such as generate, duplicate, deform, trim, rotate, roll up, and more.
It also added support for Vector Displacement Maps (VDM) brushes, new GPU-based 3D viewport compositor, many lights sampling for Cycles.
Other changes in Blender 3.5 include:
- Use native Metal in macOS for 3D viewport.
- New options and shortcuts for Pose Library.
- New Ease operator in the Graph Editor
- New Natural Drawing Speed timing mode in the Build modifier
- Support for Importing and exporting USDZ files.
How to Install Blender 3.5 in Ubuntu
Option 1: Install Blender as Snap
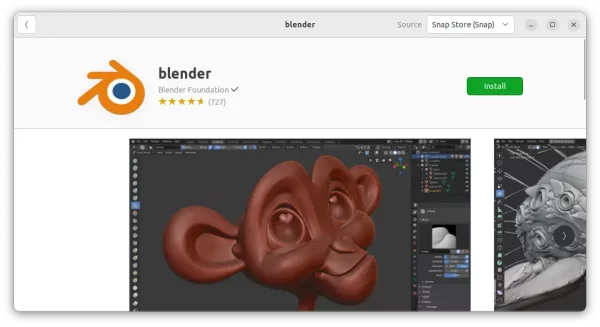
For Ubuntu 20.04 and higher, it’s super easy to install the latest Blender package through the official Snap package.
Simply open Ubuntu Software, search for ‘Blender’ and click install it.
I’m not sure if Ubuntu software in 18.04 has added support for Snap, but user can just press Ctrl+Alt+T on keyboard to open terminal and run command to install the daemon & Blender as snap:
sudo apt install snapd && sudo snap install blender --classic
Option 2: Install Blender via the Linux tarball
Some users do not like the snap package that runs in sandbox. For choice, Blender website offers the portable Linux tarball:
And here’s a step by step guide shows how to create app shortcut for the portable package.
Blender is also available to install as Flatpak package. For those prefer the classic .deb package, there’s a third-party PPA, though not updated at the moment of writing.


