Archives For May 31, 2023

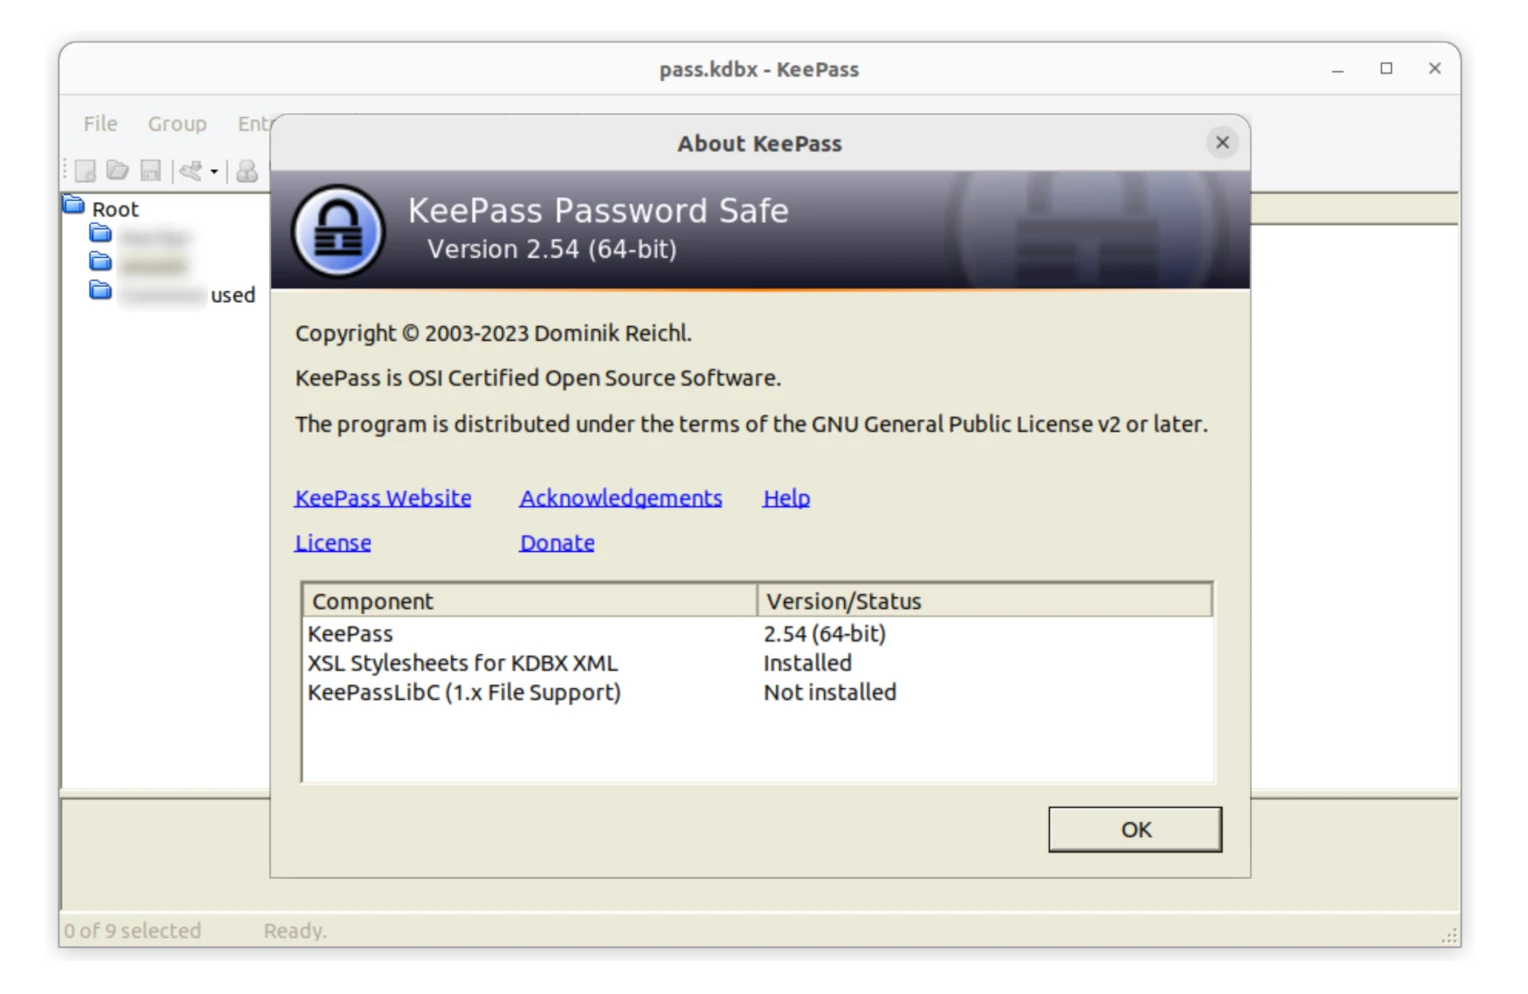
The KeePass password manager now is at version 2.55. Here are the new features and PPA repository for all current Ubuntu releases.

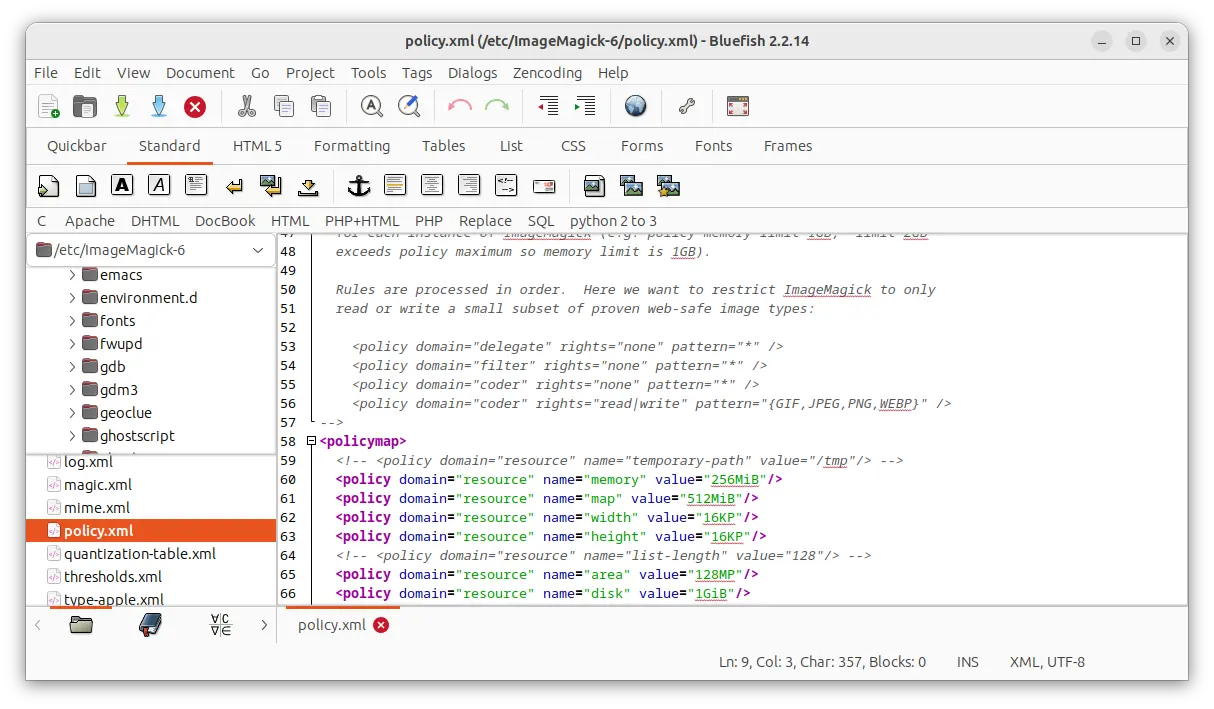
KeePass 2.54 now uses the enforced configuration file for the triggers, global URL overrides, password generator profiles and a few more settings. See more about enforced configuration.

As well, there’s now new ‘Enforced Options’ dialog for storing certain options in the enforced configuration file. User can open it by going to menu 'Tools' -> 'Advanced Tools' -> 'Enforce Options'.

The ‘Print’ and ‘Export’ command in most report dialogs now requires the ‘Print’ application policy and ‘Export’ application policy flag, and the master key must be entered.

Other changes in KeePass 2.54 include:

  • Hide passwords and other sensitive data by default in report dialogs.
  • Support hiding the value via asterisk in single line edit dialogs
  • Like on Windows, commands that require elevation now have a shield icon in Linux/macOS.
  • add ‘Move Selected Unused Text to Dialog Control’ command.
  • Redesign export confirm dialog.
  • Disable the clipboard workarounds by default in Linux, macOS, etc.
  • Various other improvements.

How to Install KeePass 2.55 (updated) in Ubuntu via PPA

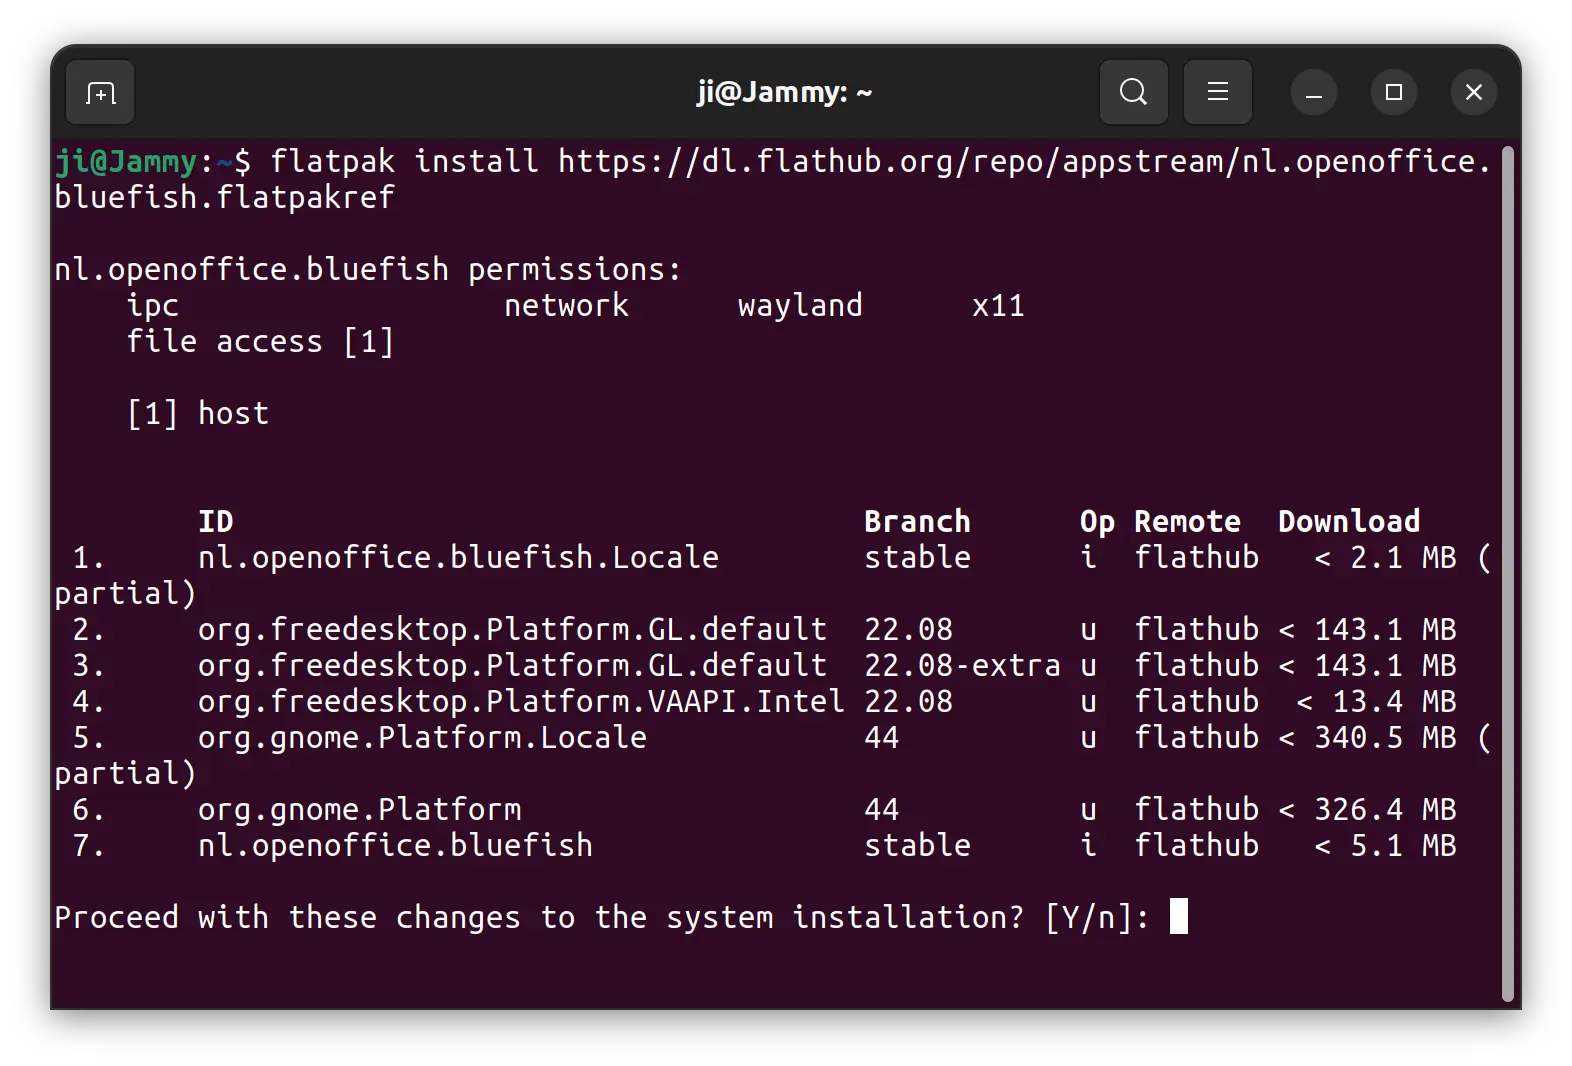
Besides building from source code, I’ve uploaded the package into this unofficial PPA for Ubuntu 18.04, Ubuntu 20.04, Ubuntu 22.04, Ubuntu 23.10, Ubuntu 23.04 and their derivatives.

NOTE: Thanks to @AnonTester, there should be no longer “invalid data format” pop-up in every app launch. Because, I’ve made small script to sync the version number between KeePass.exe and KeePass.exe.config files during the building process.

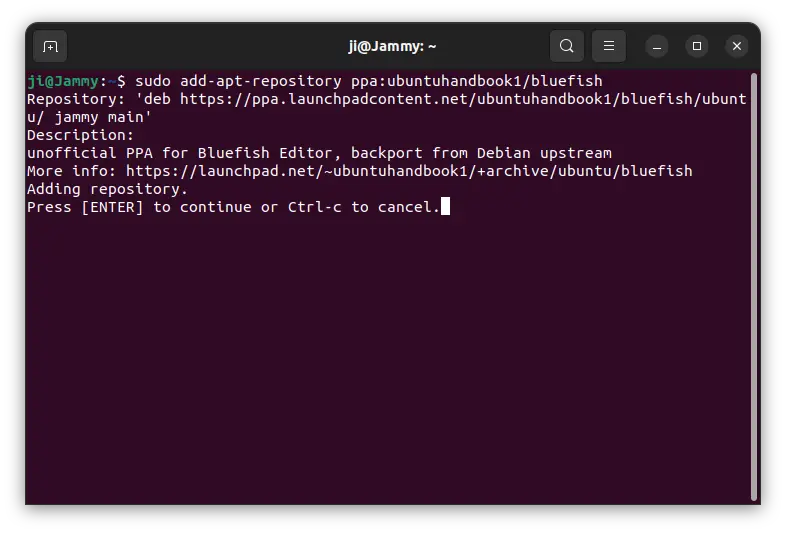
1. First, press Ctrl+Alt+T on keyboard to open terminal. Then, run the command below to add the PPA:

sudo add-apt-repository ppa:ubuntuhandbook1/keepass2

2. For old Ubuntu 18.04 & Linux Mint, you need to manually refresh package cache though it’s done automatically in Ubuntu 20.04+:

sudo apt update

3. Finally, either run the apt command below to install the package:

sudo apt install keepass2

Or use Software Updater (Update Manager) to update the package if an old version was installed on your system.

Uninstall:

To remove the software package, also open terminal (Ctrl+Alt+T) and run command:

sudo apt remove --autoremove keepass2

And, remove the PPA, either by going to “Software & Updates -> Other Software” and remove the source line, or run the command below in terminal:

sudo add-apt-repository --remove ppa:ubuntuhandbook1/keepass2

The free and open-source DJ mixing software, Mixxx, announced the beta version of the next major 2.4 release series a few days ago!

The new Mixxx 2.4 added support for saving loops as hotcues, and native Apple Silicon support for better performance on M1, M2, etc., devices.

The release also features explicit sync leader support, new controller mapping scripting engine (ES2016 support), new “all-shaders” scrolling waveforms for much better UI performance, new Quick Effect selector and effect chain buttons.

Other changes include:

  • background color for quick cover art preview
  • cover art fetcher to the Musicbrainz dialog
  • support exporting crates, playlists and the library to Engine Prime and Denon standalone controllers
  • Add support for m4v files
  • Add experimental QML user interface
  • Noise active effect, pitch shift effect, distortion effect.
  • Drop Ubuntu 18.04 support, add NixOS support.
  • And numerous other changes including search improvement, optimized database, history cleanup, and more and more. See this page for details.

How to Install Mixxx 2.4 Beta in Ubuntu:

Mixxx has an official Beta PPA contains the package for Ubuntu 20.04, Ubuntu 22.04, Ubuntu 23.04 and Ubuntu 23.10.

NOTE: At the moment of writing, the 2.4 Beta package in PPA is borken due to missing dependency. So, check the link above! And do the commands below when the PPA successfully updated.

1. First, press Ctrl+Alt+T on keyboard to open terminal. When it opens, run command to add the PPA:

sudo add-apt-repository ppa:mixxx/mixxxbetas

Type user password (no asterisk feedback) when it asks and hit Enter to continue.

2. Then, update system package cache for Linux Mint, etc:

sudo apt update

3. Finally, install Mixxx 2.4 beta package by running command:

sudo apt install mixxx

Before the maintainer fixed the PPA package, user can compile Mixxx 2.4 Beta from the source tarball.

The Bluefish text editor just got a new bug-fix release today!

It’s Bluefish 2.2.14, that fixed crashes when deleting backup files on close, when closing some of the dialogs in flatpak app, and when the CSS language file was loaded on a 32-bit system.

Furthermore, the release fixed zencoding functionality with python3, added option to store the scope of the search dialog to the session or project which was removed in 2.2.12 release. Also, it improves the speed of the bookmarks code.

Bluefish 2.2.14

How to Install Bluefish in Ubuntu

Bluefish is available in Ubuntu repository, but always old. For the most recent releases, either use the official Flatpak package, third-party PPA, or build it from source by yourself.

Option 1: Flatpak package

Bluefish provides official package through Flatpak that works in most Linux but runs in sandbox.

Ubuntu user can press Ctrl+Alt+T on keyboard to open terminal, and run the commands below one by one to install the package:

1. First, run command to enable Flatpak support:

sudo apt install flatpak

2. Then, install Bluefish as Flatpak package:

flatpak install https://dl.flathub.org/repo/appstream/nl.openoffice.bluefish.flatpakref

At the moment of writing, the Flatpak package is still v2.2.13. You can run flatpak update nl.openoffice.bluefish to update it when the new package is published.

Option 2: Ubuntu PPA (unofficial)

As you can see in the screenshot above, the Flatpak package will install hundred MB of run-time libraries. So, this unofficial PPA is here for choice.

The PPA supports Ubuntu 18.04, Ubuntu 20.04, Ubuntu 22.04, Ubuntu 22.10, Ubuntu 23.04, and their based systems with both x86_64 and arm64/armhf CPU architecture types.

1. First, press Ctrl+Alt+T on keyboard to open terminal. When it opens, run command to add the PPA:

sudo add-apt-repository ppa:ubuntuhandbook1/bluefish

Type user password (no visual feedback) when it asks and hit Enter to continue.

2. For the old Ubuntu 18.04 and Linux Mint users, manually refresh the system package cache by running command:

sudo apt update

3. Finally, either run command to install the text editor:

sudo apt install bluefish

Or, open “Software Updater” and use the tool to upgrade the previous Bluefish package to the latest.

Option 3: Build Bluefish text editor from source

For those who can’t wait, it’s not hard to compile the package from source tarball. And, following steps are tested and work in my case in Ubuntu 23.04.

1. First, open terminal (Ctrl+Alt+T) and run command to install the dependency libraries:

sudo apt install gettext debhelper libenchant-2-dev libglib2.0-dev libgtk-3-dev libgucharmap-2-90-dev libpango1.0-dev libtool libxml2-dev libxml2-utils python3-dev zlib1g-dev

2. Download the source code from Bluefish website. Then, extract it. Right-click on source folder and select “Open in Terminal

3. Once terminal opens with the source folder as working directory, run the commands below one by one to build and install the text editor.

./autogen.sh
make -j4
sudo make install

Uninstall Bluefish text editor:

For the Flatpak package, open terminal and run command to remove it:

flatpak uninstall --delete-data nl.openoffice.bluefish

Also run flatpak uninstall --unused to remove unused run-time libraries.

For the PPA package, remove it by running command:

sudo apt remove --autoremove bluefish

Also remove the Ubuntu PPA repository via command:

sudo add-apt-repository --remove ppa:ubuntuhandbook1/bluefish

For bluefish built from source code, until you remove the source folder, you can navigate to that folder in terminal and run command to uninstall it:

sudo make uninstall

For Ubuntu 24.04, Ubuntu 23.10, Fedora 38 and other Linux with GNOME 44 ~ 46, there’s now an extension allows to change display name of audio output devices from the top-right aggregation menu (aka Quick Settings).

By default,  the speakers and headphones in the sound output sub-menu is a bit too explicit, that are not very clear to understand. To make the menu easy to read, you may rename them to just “headphones”, “built-in speaker”, or whatever that you want.

1. To install the extension, first open Ubuntu Software, search and install “Extension Manager”:

Install Extension Manager in Ubuntu 22.04+

For Ubuntu 23.10/24.04, press Ctrl+Alt+T on keyboard to open terminal and run the command below instead to install it:

sudo apt install gnome-shell-extension-manager

2. Then launch “Extension Manager”, navigate to ‘Browse’ tab, finally search and install the “Quick Settings Audio Devices Renamer” extension.

For Fedora and other Linux, go to this web page and use ON/OFF switch to install the extension.

3. Once installed the extension, switch back “Installed” tab in Extension Manager (or open GNOME Extensions app). Then, click open the settings for that extension, finally click on the ‘pencil’ icon to edit the name of corresponding output device.

You can even insert emojis in the name, either by using a emoji picker or copy from “Gnome Characters” app.