


![]()
I’m using Virtualbox to try out different Linux Distributions in virtual machines. It always has 2 logo icons on Ubuntu dock: one for the manager, and another for VMs.
The VM and VM manager icons on the dock are totally same, causing me to make mis-clicks frequently. And, all the opened VMs are grouped into single icon on the dock.
If you don’t like this default behavior, then it’s easy to make Virtual Virtual Machines to have separate icon per instance.
As the screenshot below shows you, after following this tutorial, every VM will have its own system logo on Ubuntu Dock:
![]()
UPDATE: This tutorial ONLY works for Virtualbox installed from virtualbox.org/wiki/Linux_Downloads.
Method 1: Disable virtualboxvm.desktop
The VM icons for Linux are handled by virtualboxvm.desktop file under “/usr/share/applications” directory. Simply disable that file will make Virtualbox VM (7.0.12 in my test) fall back to separate icon with system/distro logo.
To do so, just create an empty file with same filename under “.local/share/applications”. It will be taken in use instead of the one in ‘/usr/share/applications’ for current user only.
Option 1: Single command to create empty virtualboxvm.desktop
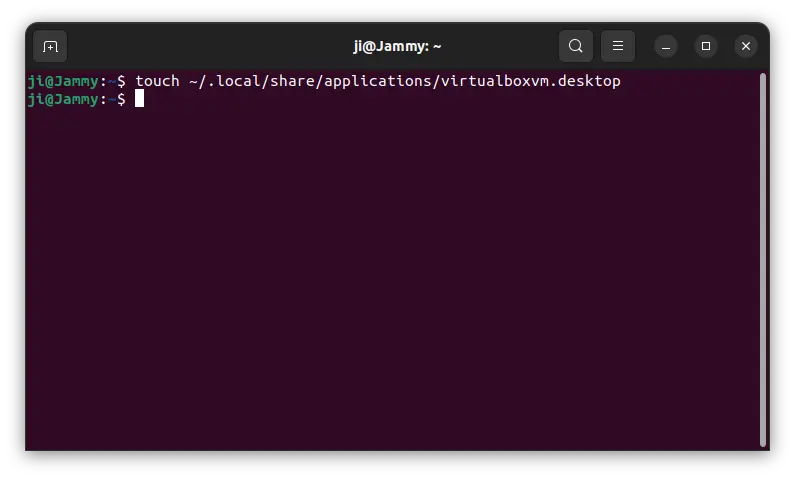
Ubuntu user can press Ctrl+Alt+T on keyboard to open terminal, then run the single command below to create the empty file:
touch ~/.local/share/applications/virtualboxvm.desktop
This command should work in most Linux, though running command mkdir -p ~/.local/share/applications may be required first to create the directory.
Option 2: Use text editor to create empty virtualboxvm.desktop
For those who hate Linux commands, simply search for and launch a text editor window.
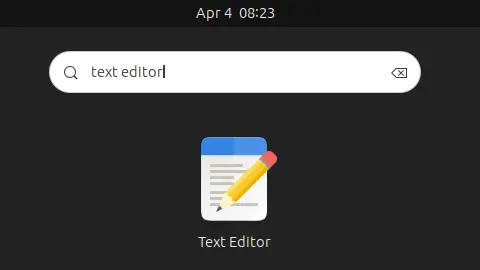
Then, it should by default open an empty file (if not create one). There open menu and select “Save as”.
![]()
In next dialog, name the empty file to virtualboxvm.desktop and save it into “Home > .local > share > applications”.
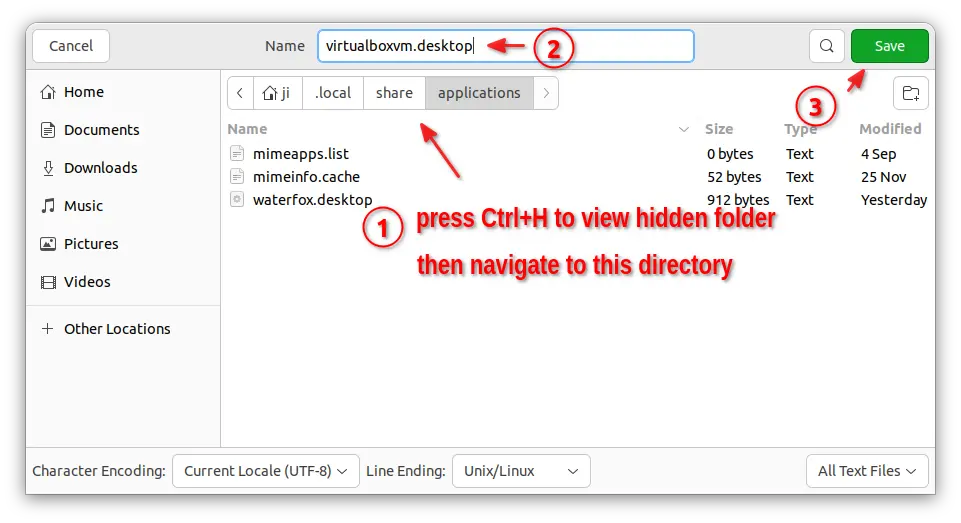
The change will be applied next time you launch a VirtualBox VirtualBox.
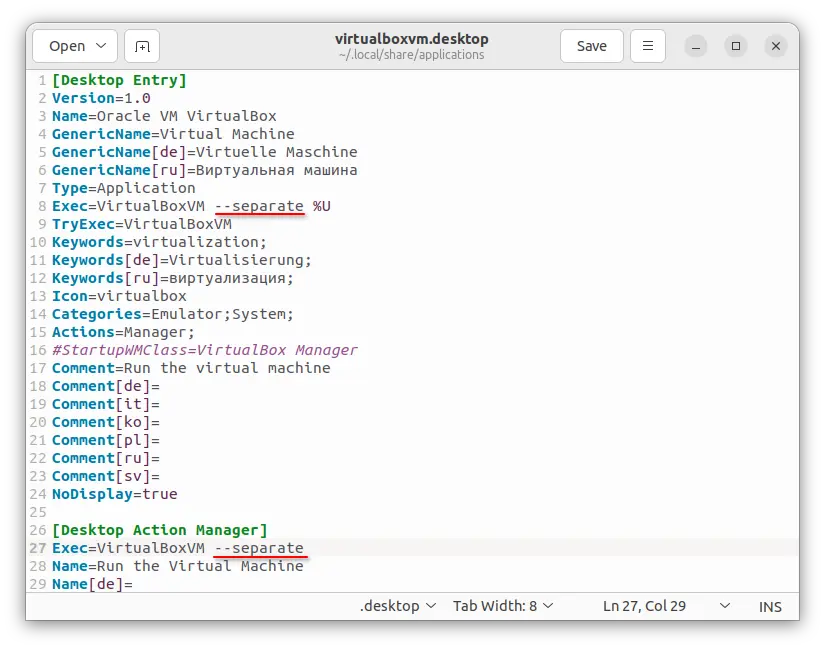
Method 2: Edit virtualboxvm.desktop
In case the first method does not work for you, you can configure the file to make it start VM as separate process.
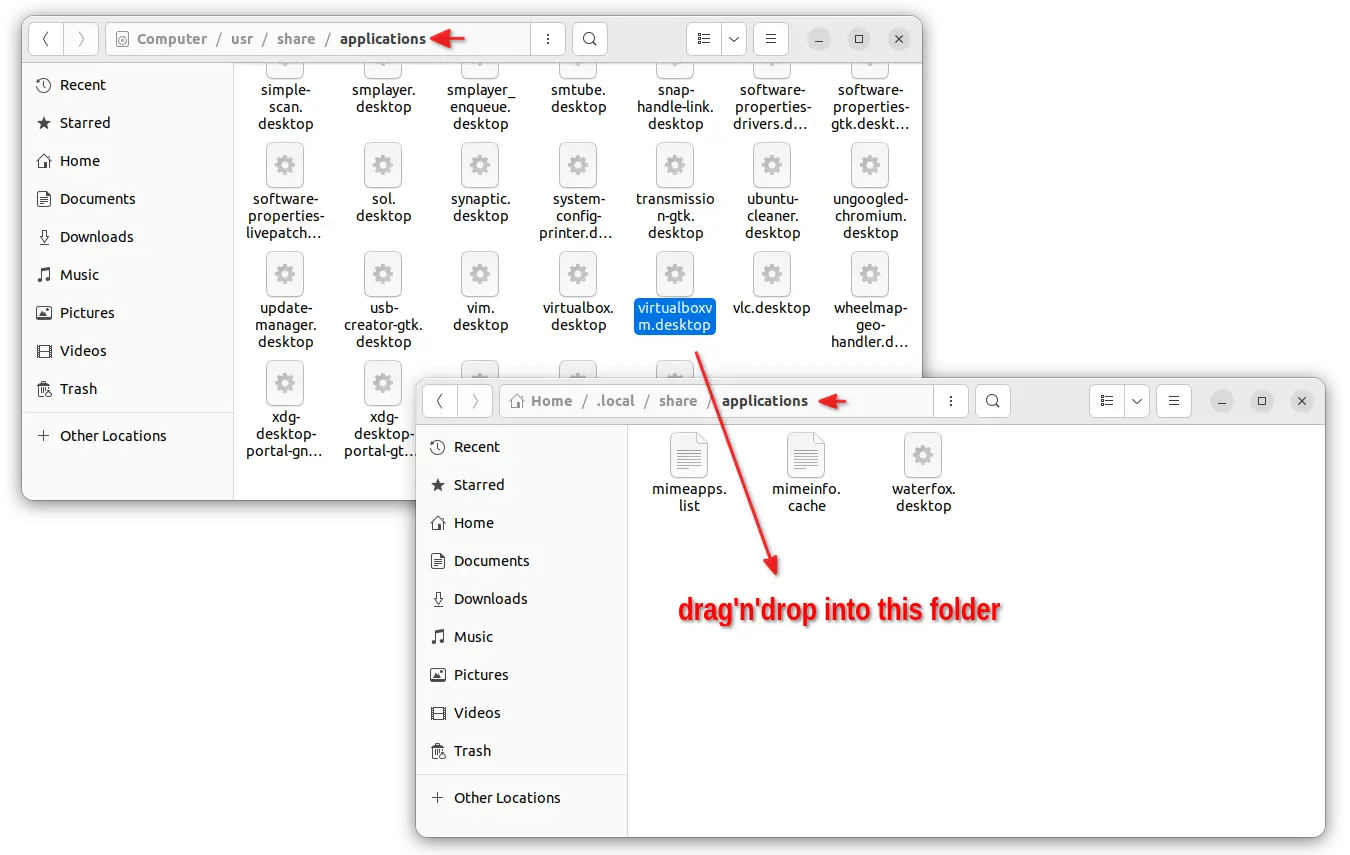
1. First, open 2 “Files” windows. Then drag’n’drop virtualboxvm.desktop to local folder.
- In “Files” (aka nautilus), navigate to Other Locations -> Computer -> usr -> share -> applications, then, find out the virtualboxvm.desktop file.
- In another “Files” window, press Ctrl+H, then navigate to .local -> share -> applications. Finally, drag’n’drop the file to this folder.
2. Right-click on the virtualboxvm.desktop file in .local/share/applications folder and click “Open with Text Editor”.
When the file opens, add --separate flag to ‘Exec’ line. So it will be ‘Exec=VirtualBoxVM --separate %U‘.
For choice, you can change the icon to Icon=virtualbox-vbox, or replace with /path/to/whatever-icon that your want. However, all VMs will use the same icon on Ubuntu Dock.
How to Restore
To restore the change, simply delete the empty file either in your file manager or by running command in terminal:
rm ~/.local/share/applications/virtualboxvm.desktop
That’s it. Enjoy!


Isn’t thare anyway to use a icon for every virtual machine? Everyone with their own icon?
As far as I know, the only way to do the job is create separate
.desktopfile for each virtual machine, then set custom icon.