Prefer running Linux apps via AppImage package format? ‘AppImage Pool’ is an app center for searching and downloading your favorite apps as AppImage.
More and more apps today publish Linux packages via universal Flatpak, Snap and AppImage. The former two are easy to install since they are well integrated in Ubuntu or other Linux. But, AppImage is a non-install portable package. It uses one file per application. Just run the file will launch the app.
To make it easy to find out and download an app as AppImage, the free libre and open-source software ‘AppImage Pool’ is created as a simple, modern AppImageHub client.
AppImage Pool
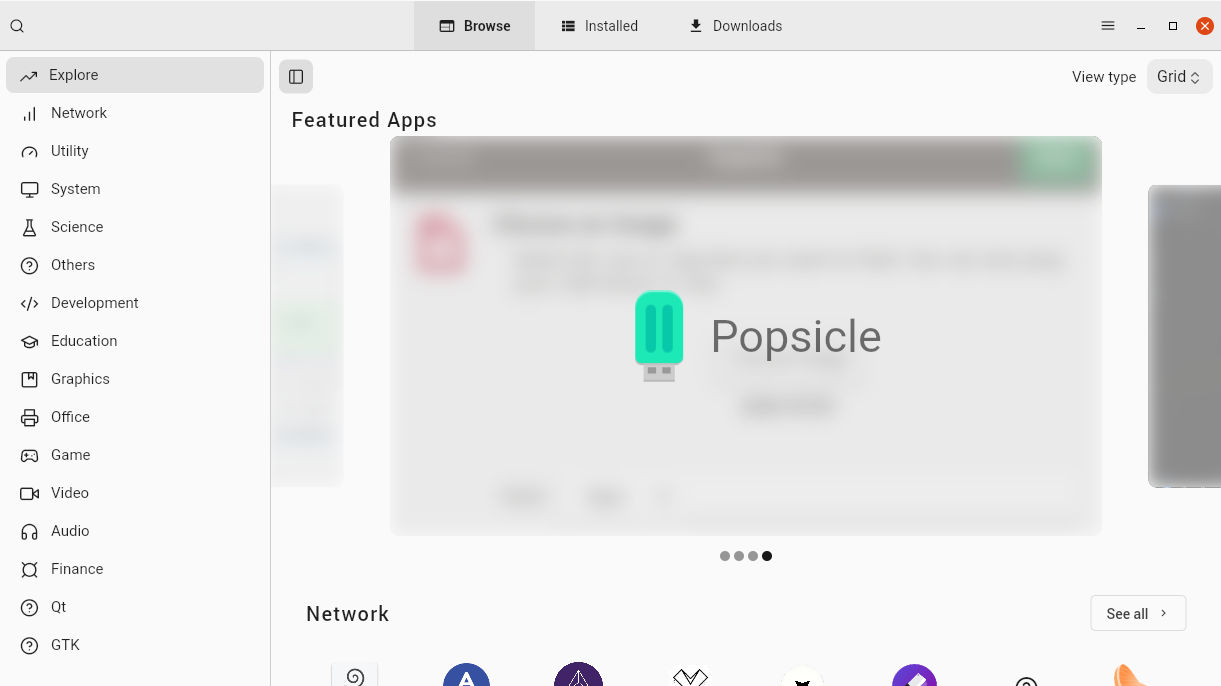
The tool uses Google’s flutter to provide a Gnome Software and Ubuntu Software look like user interface, allows user to browser, search for, and download AppImage packages. Though, it so far has sharp window borders that looks not native in GNOME.
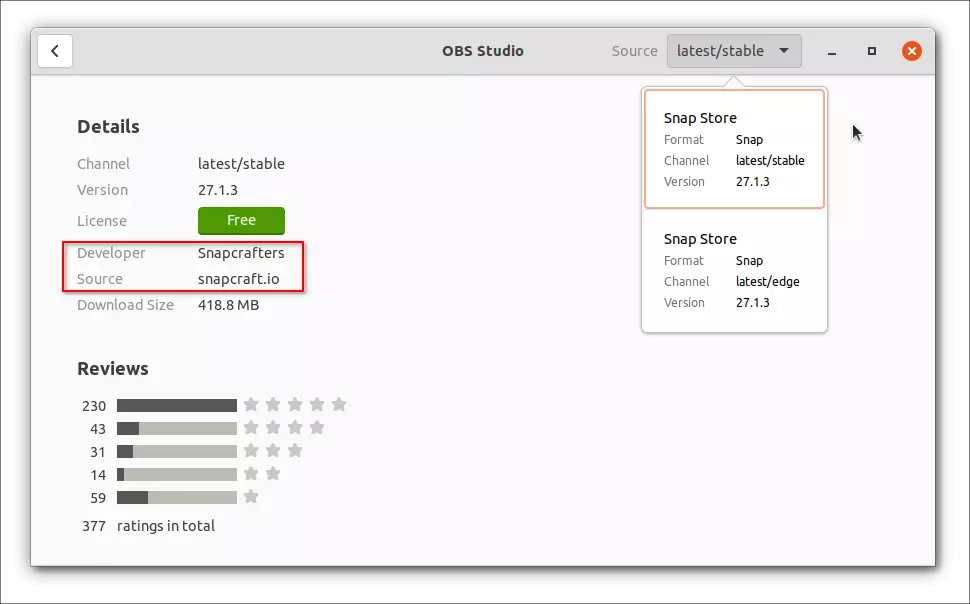
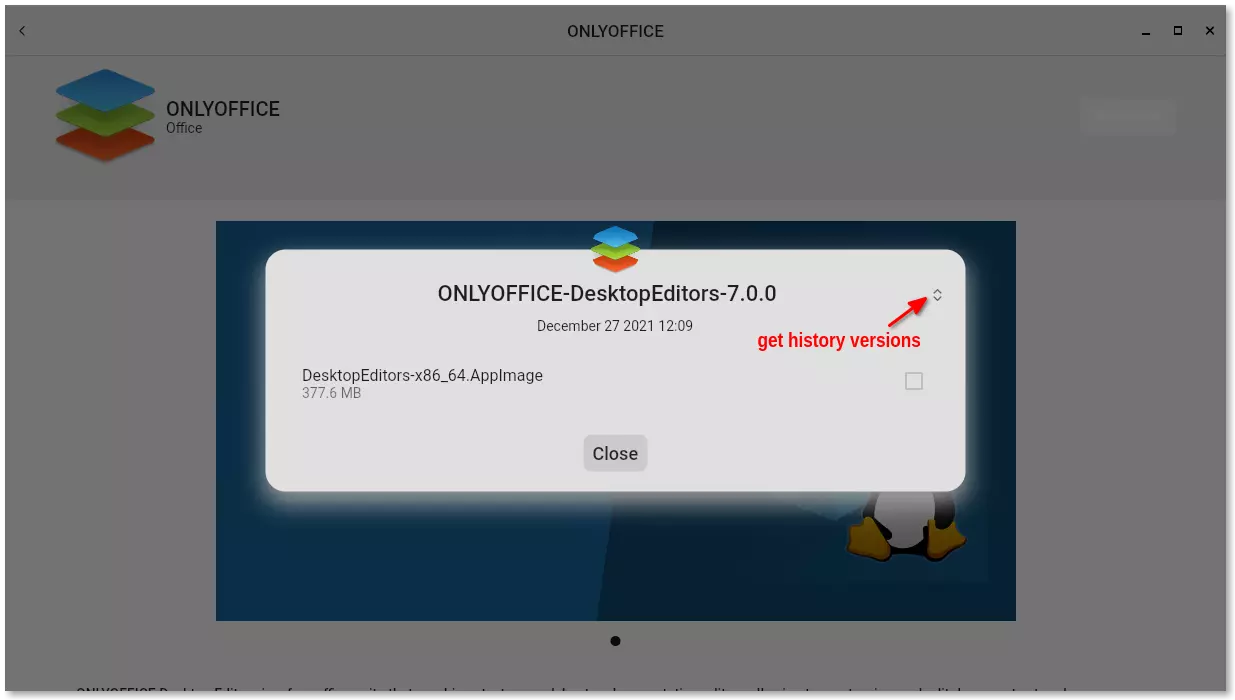
Instead of using ‘Install‘ option, each app has a blue ‘Download‘ button. By clicking on it will pop up the dialog to choose package to download. Not only the latest, history packages are also available. And, it downloads from github directly, no extra-server involved
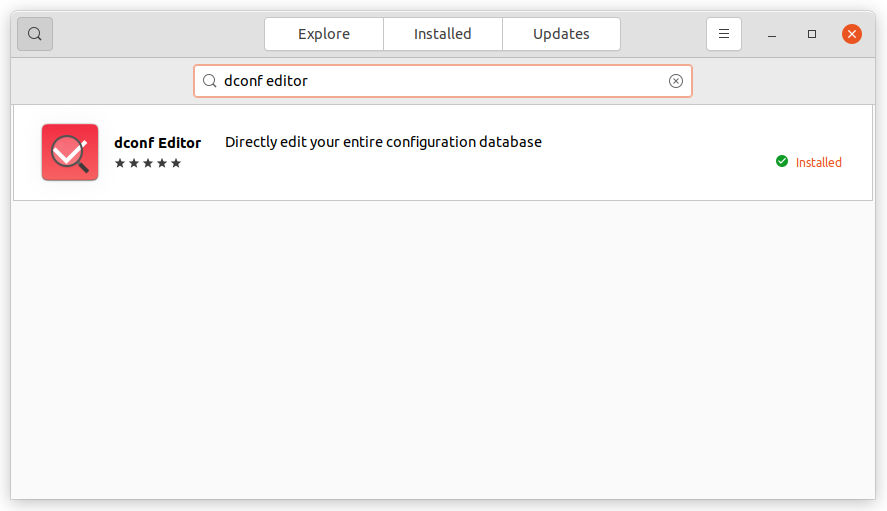
Downloaded packages are listed under ‘Installed‘ tab, with ability to click to launch app as well as delete buttons.
Other features include:
- Dark / Light mode.
- Store files by default in ‘Applications‘ folder in user home.
- Multi download support.
How to Install AppImage Pool:
The app itself is available as AppImage package, which can be downloaded from the GitHub releases page (via Assets section):
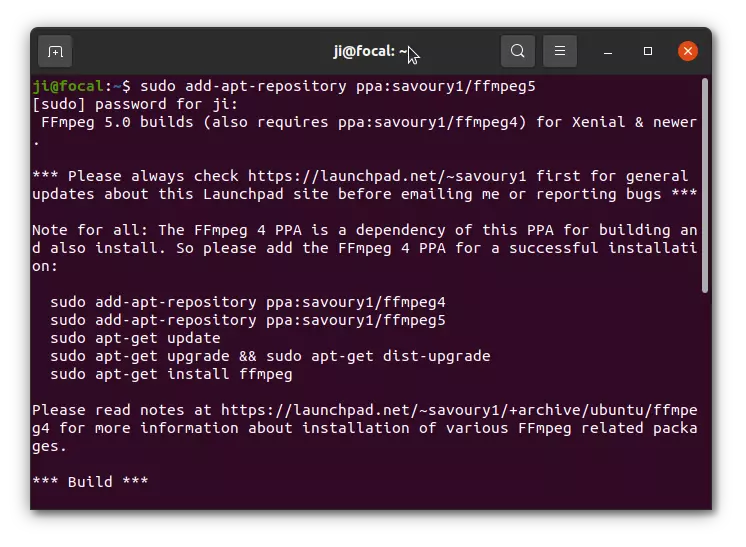
It’s also available as universal Flatpak package. Ubuntu user may firstly press Ctrl+Alt+T to open terminal and run command to install Flatpak daemon:
sudo apt install flatpak
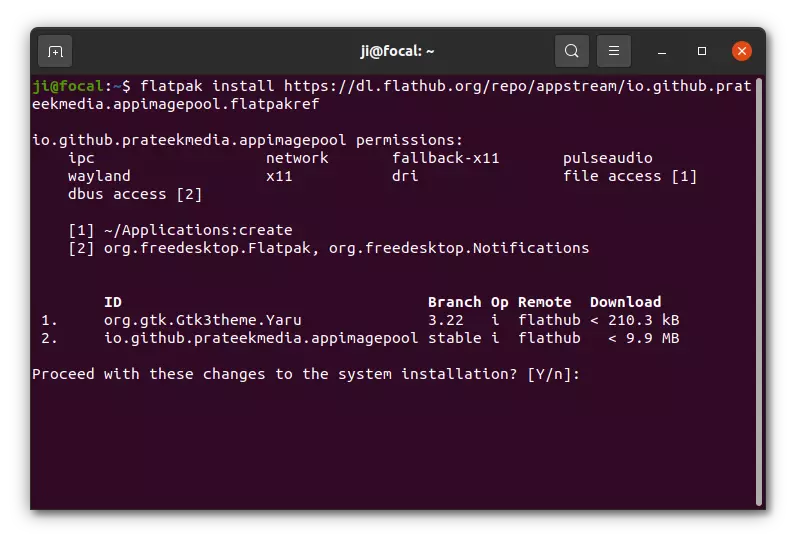
Then install the tool via command:
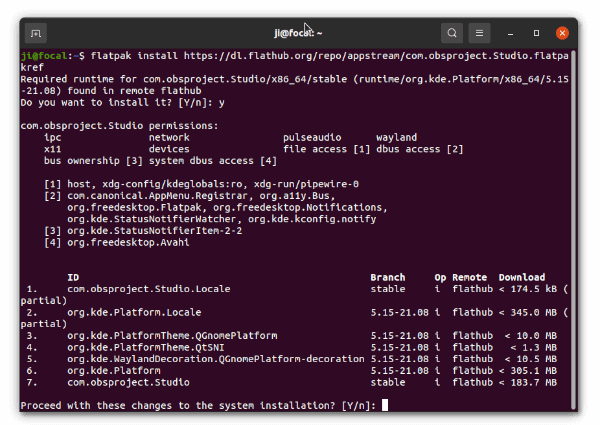
flatpak install https://dl.flathub.org/repo/appstream/io.github.prateekmedia.appimagepool.flatpakref
Uninstall AppImage Pool:
For the Flatpak package, run the command below in terminal to remove it:
flatpak uninstall --delete-data io.github.prateekmedia.appimagepool
And clear useless library via flatpak uninstall --unused.