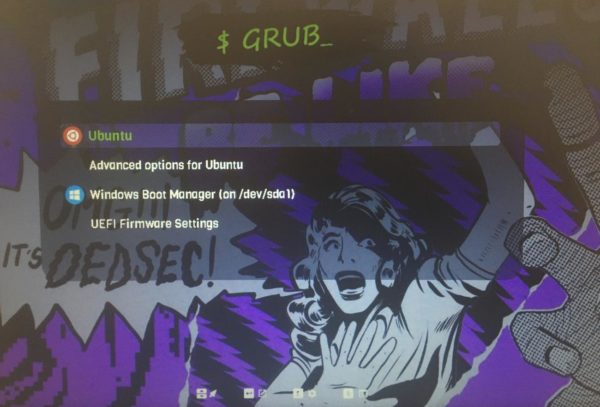
This simple tutorial shows how to reboot your machine into another OS or grub boot menu entry directly from Ubuntu.
Say you have Ubuntu dual- or multi-boot with other operating systems, and want to reboot directly into a specific OS when working done in current Ubuntu. Or you want to reboot with another Kernel or maybe recovery mode without any keyboard press while booting. This tutorial may help.
Method 1: Single command to reboot into another OS
Grub, the default boot-loader for many Linux, has a command line tool grub-reboot, which allows to set the default boot-entry for ONLY next boot.
Along with reboot command, it allows to reboot directly into another entry. For example, reboot into the third menu try with command:
sudo grub-reboot 2 && reboot
NOTE: Grub menu entry counts from 0. Number 2 means the 3rd entry.
Preview Boot Menu without Reboot
You don’t have to reboot and count in the boot-menu for your desired number. There are 2 ways to preview the menu from in Ubuntu.
Option 1. Preview Grub Menu via Grub-Emu
Press Ctrl+Alt+T on keyboard to open terminal, and run command to install grub-emu:
sudo apt install grub-emu
Then, run grub-emu command in terminal will open up a window for previewing your boot-loader. And, close the terminal will also close the preview window.
The tool works good in Ubuntu 22.04, but NOT for Ubuntu 24.04 in my case somehow.

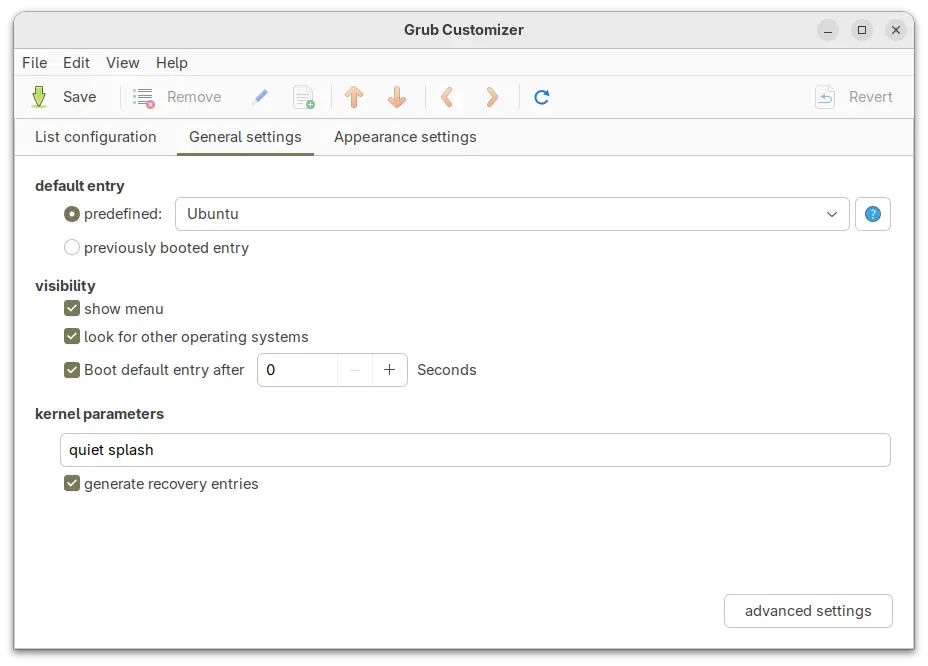
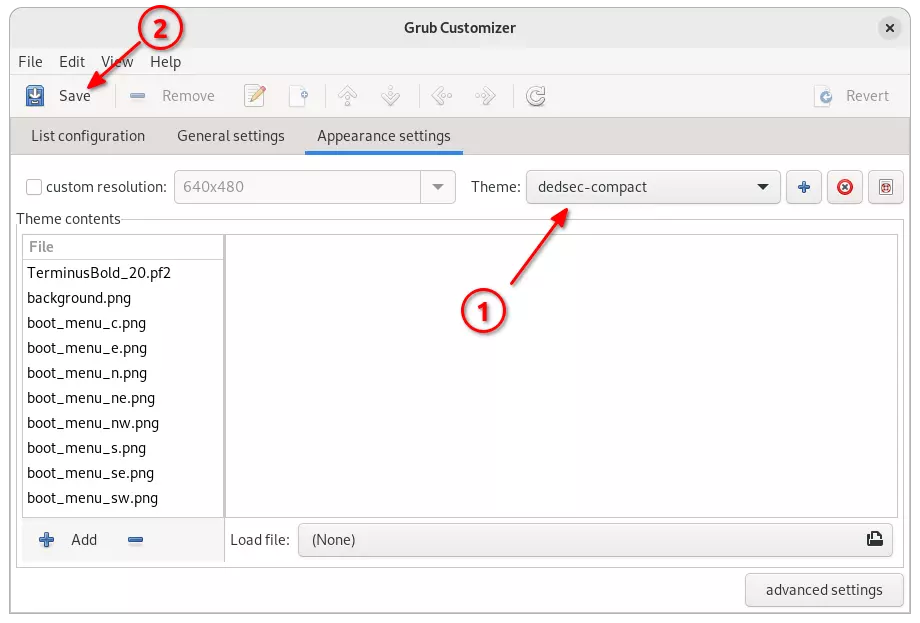
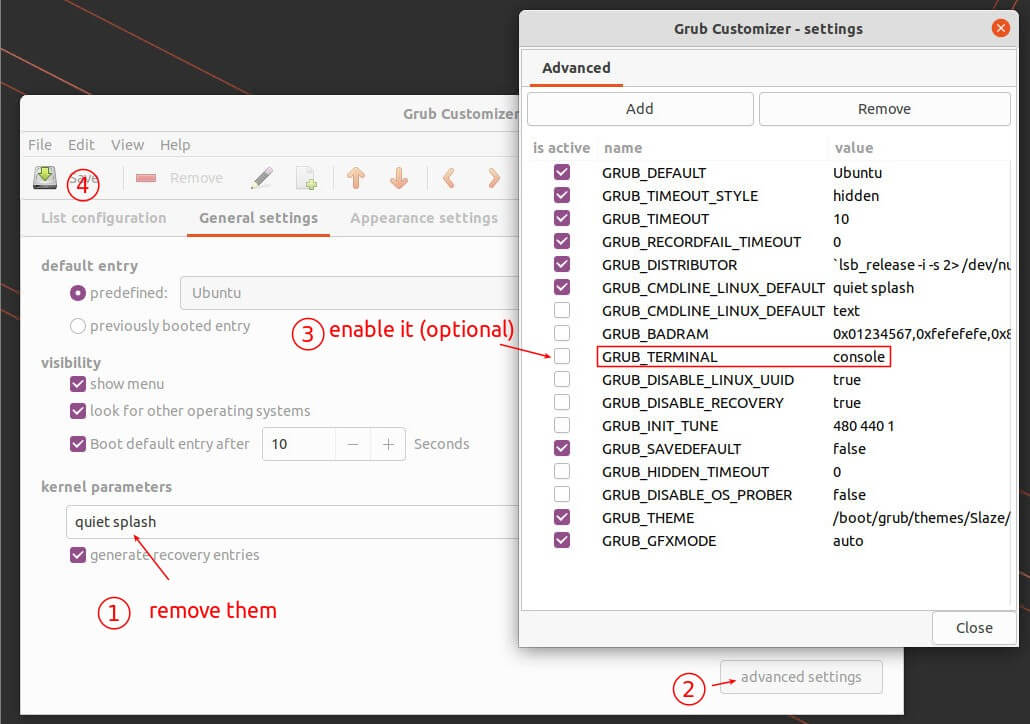
Option 2. Use Grub-Customizer
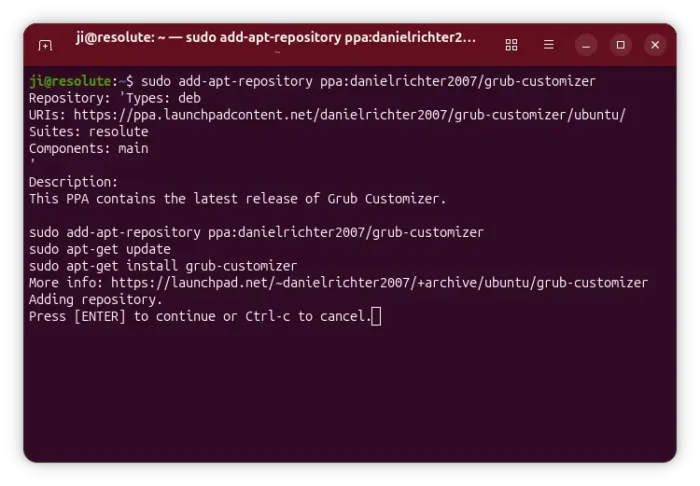
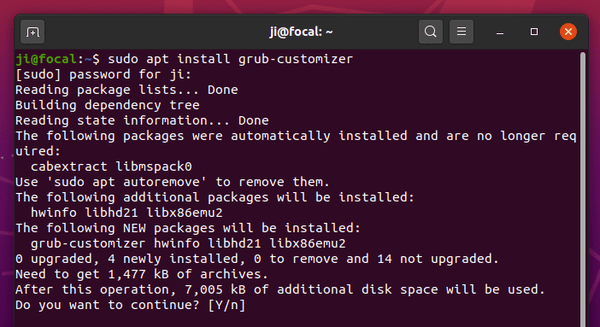
Grub-Customizer is a good alternative, as the preview tool does not work good in my case. To install it, open terminal (Ctrl+Alt+T) and run 3 commands below one by one.
The commands will add the software developer’s PPA repository, update cache and finally install it into your system.
sudo add-apt-repository ppa:danielrichter2007/grub-customizer
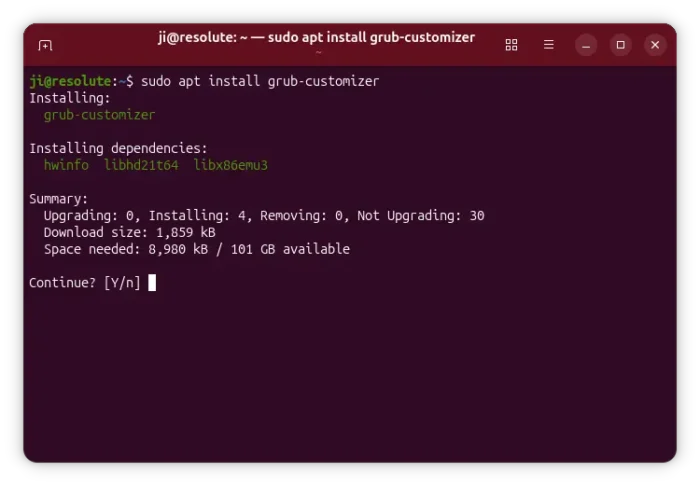
sudo apt update
sudo apt install grub-customizer
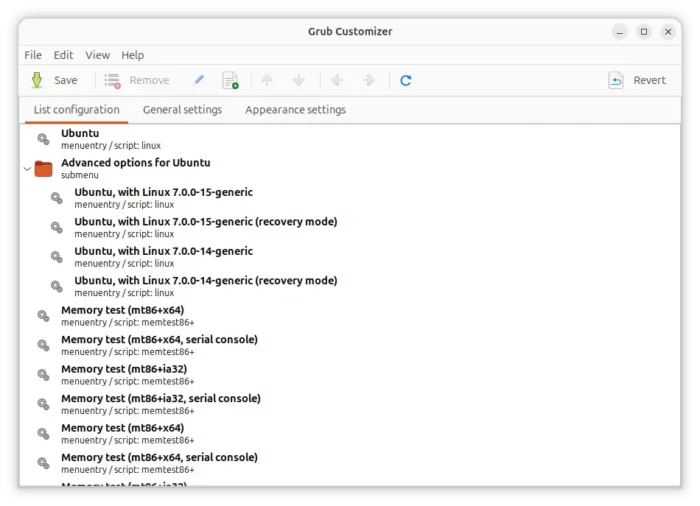
After that, search for and open it from either system start menu or ‘Activities’ overview depends on your DE.
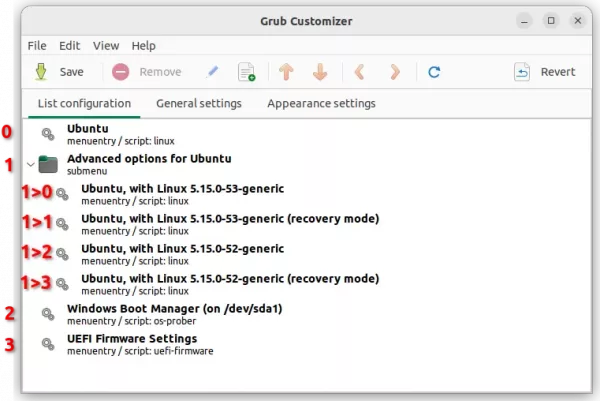
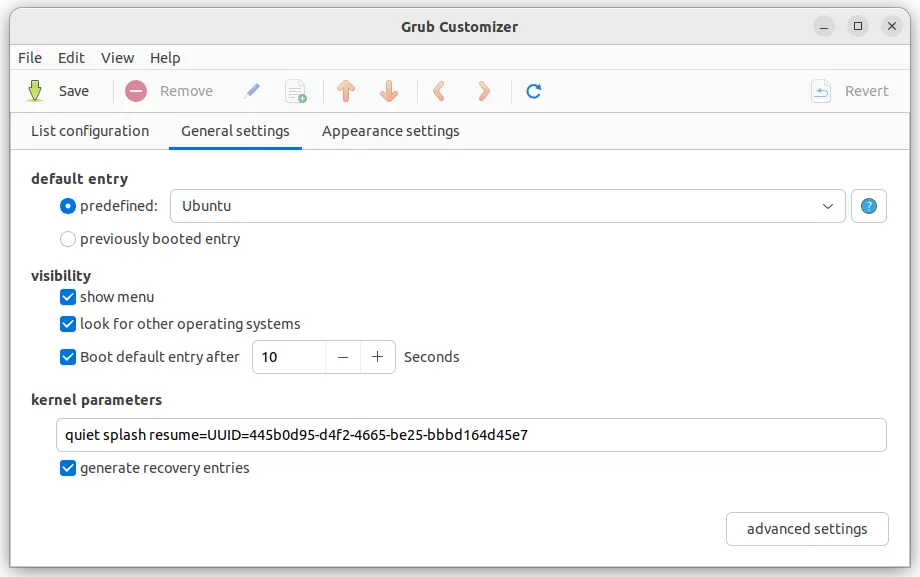
As the screenshot shows you, number 2 is for Windows in my case. 1>1 means recovery mode, and 1>2 means the previous kernel entry.
So, run the command below will reboot directly into Windows in my case:
sudo grub-reboot 2 && reboot
To reboot into recovery mode in sub-menu entry (quotation marks required), use:
sudo grub-reboot "1>1" && reboot
And, if you want to use the command in script or bind with a keyboard shortcut, use command:
pkexec grub-reboot 2 && reboot
So, it will pop-up an authentication dialog asks you to type user password, before performing the action.
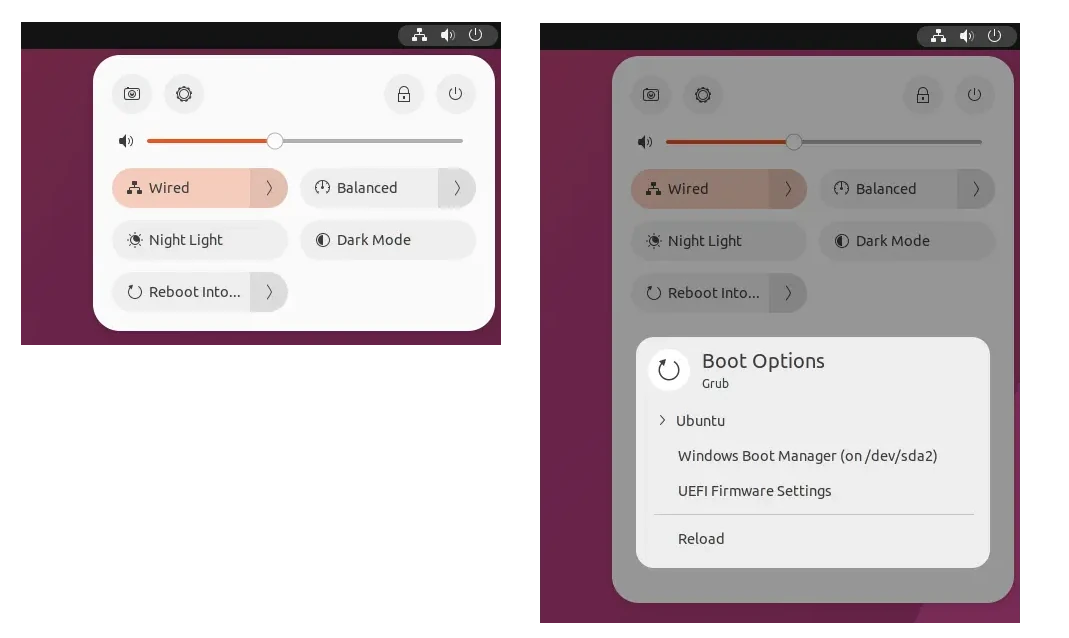
Method 2: Add Reboot option in top-right system menu
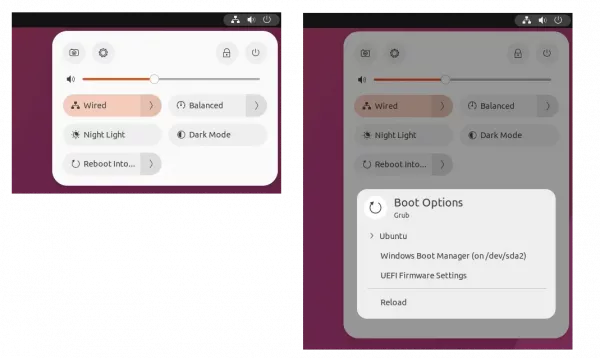
For GNOME 43/44, meaning users of Ubuntu 22.10, 23.04, Fedora 37/38, Arch and Manjaro Linux, there’s an extension to do the job by adding menu entries into system status menu.
By clicking on an entry in the menu, will pop-up password authentication dialog, and then shows you the reboot dialog. When typing correct password and click restart in pop-up dialog, it reboot directly with that entry you just clicked!
How to Install the Extension
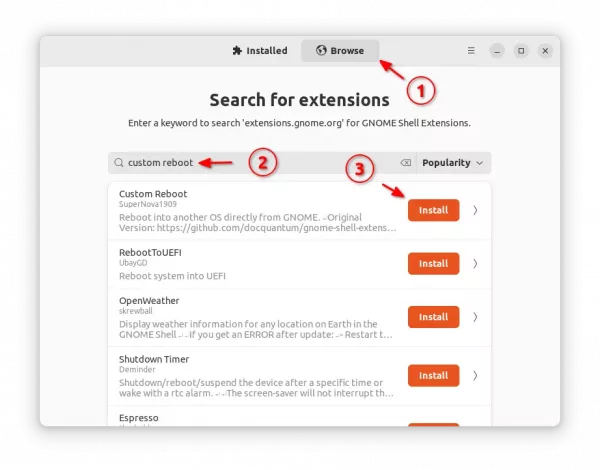
For Ubuntu 22.10, first search for and install “Extension Manager” from Ubuntu Software.

Install Extension Manager in Ubuntu 22.04+
Then press Super (the Windows Logo) key to activate overview, search for and open “Extension Manager”. Finally, use the tool to install the “Custom Reboot” extension:
For Fedora 37/38 and other Linux with GNOME 43/44, you may go directly to the extension website and use ON/OFF switch to install it.