Got Razer peripherals? Polychromatic released version 0.7.0 with redesigned UI and command line interface to control the RGB lighting in Linux.
For those never heard of Polychromatic, it’s a free open-source vendor agnostic front-end for managing lighting, RGB effects and some special functionality for keyboards, mouse, keypads and other gaming peripherals.
It so far only supports OpenRazer as backend for Razer devices. Though it aims to add OpenRGB and phue for Philips Hue and more brands support.
The software now uses PyQt5 instead of WebKitGTK for its graphical user interface. And it redesigned the UI with following features:
- New tab & sidebar interface.
- New preferences dialog.
- New colour picker dialog and saved colour management.
- New “Apply to All” section
- New “Inspect Matrix” for testing LEDs and co-ordinates
- New DPI controls, allowing independent X/Y axis.
- Add ability to set custom DPI stages.
- Ability to use “native” system theme.
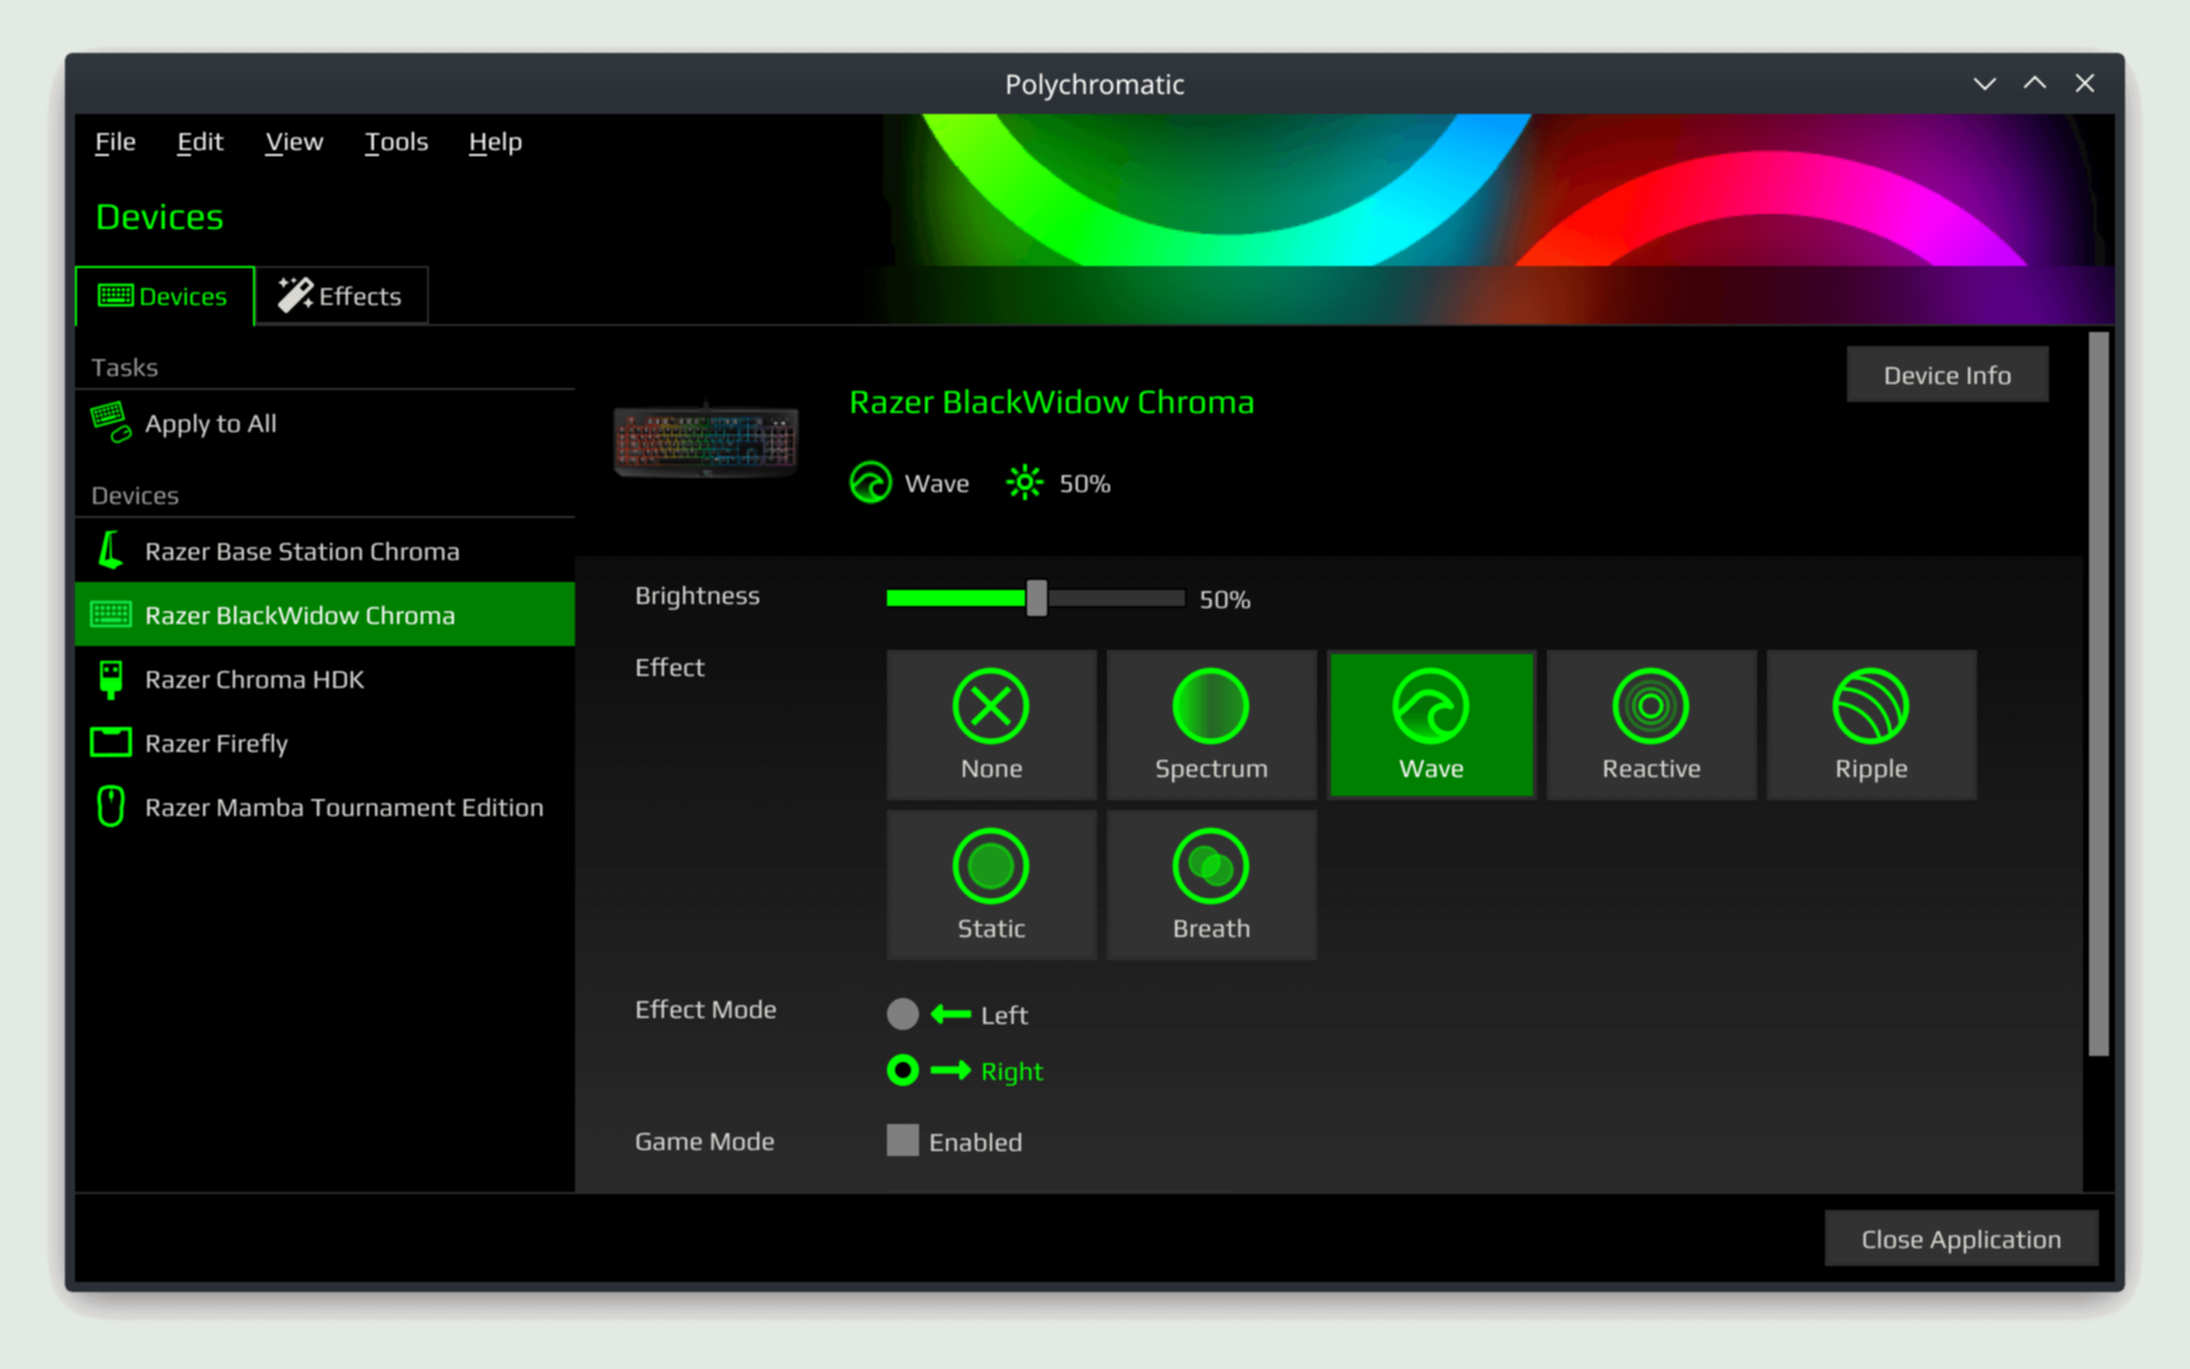
polychromatic new UI
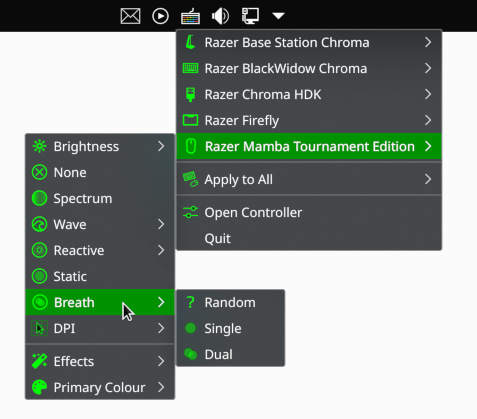
The indicator menu in the release is also overhauled with legacy GTK Status Icon support, and new options.
The release also introduced a new command line interface for terminal warrior. You can get started by running command in terminal:
polychromatic-cli --help
For any device capable of individually addressable LEDs, you can now create your own static and animated effects via the Effect Editor, by clicking & draging with your pointer to draw on a graphic representing your devices, or use a grid.
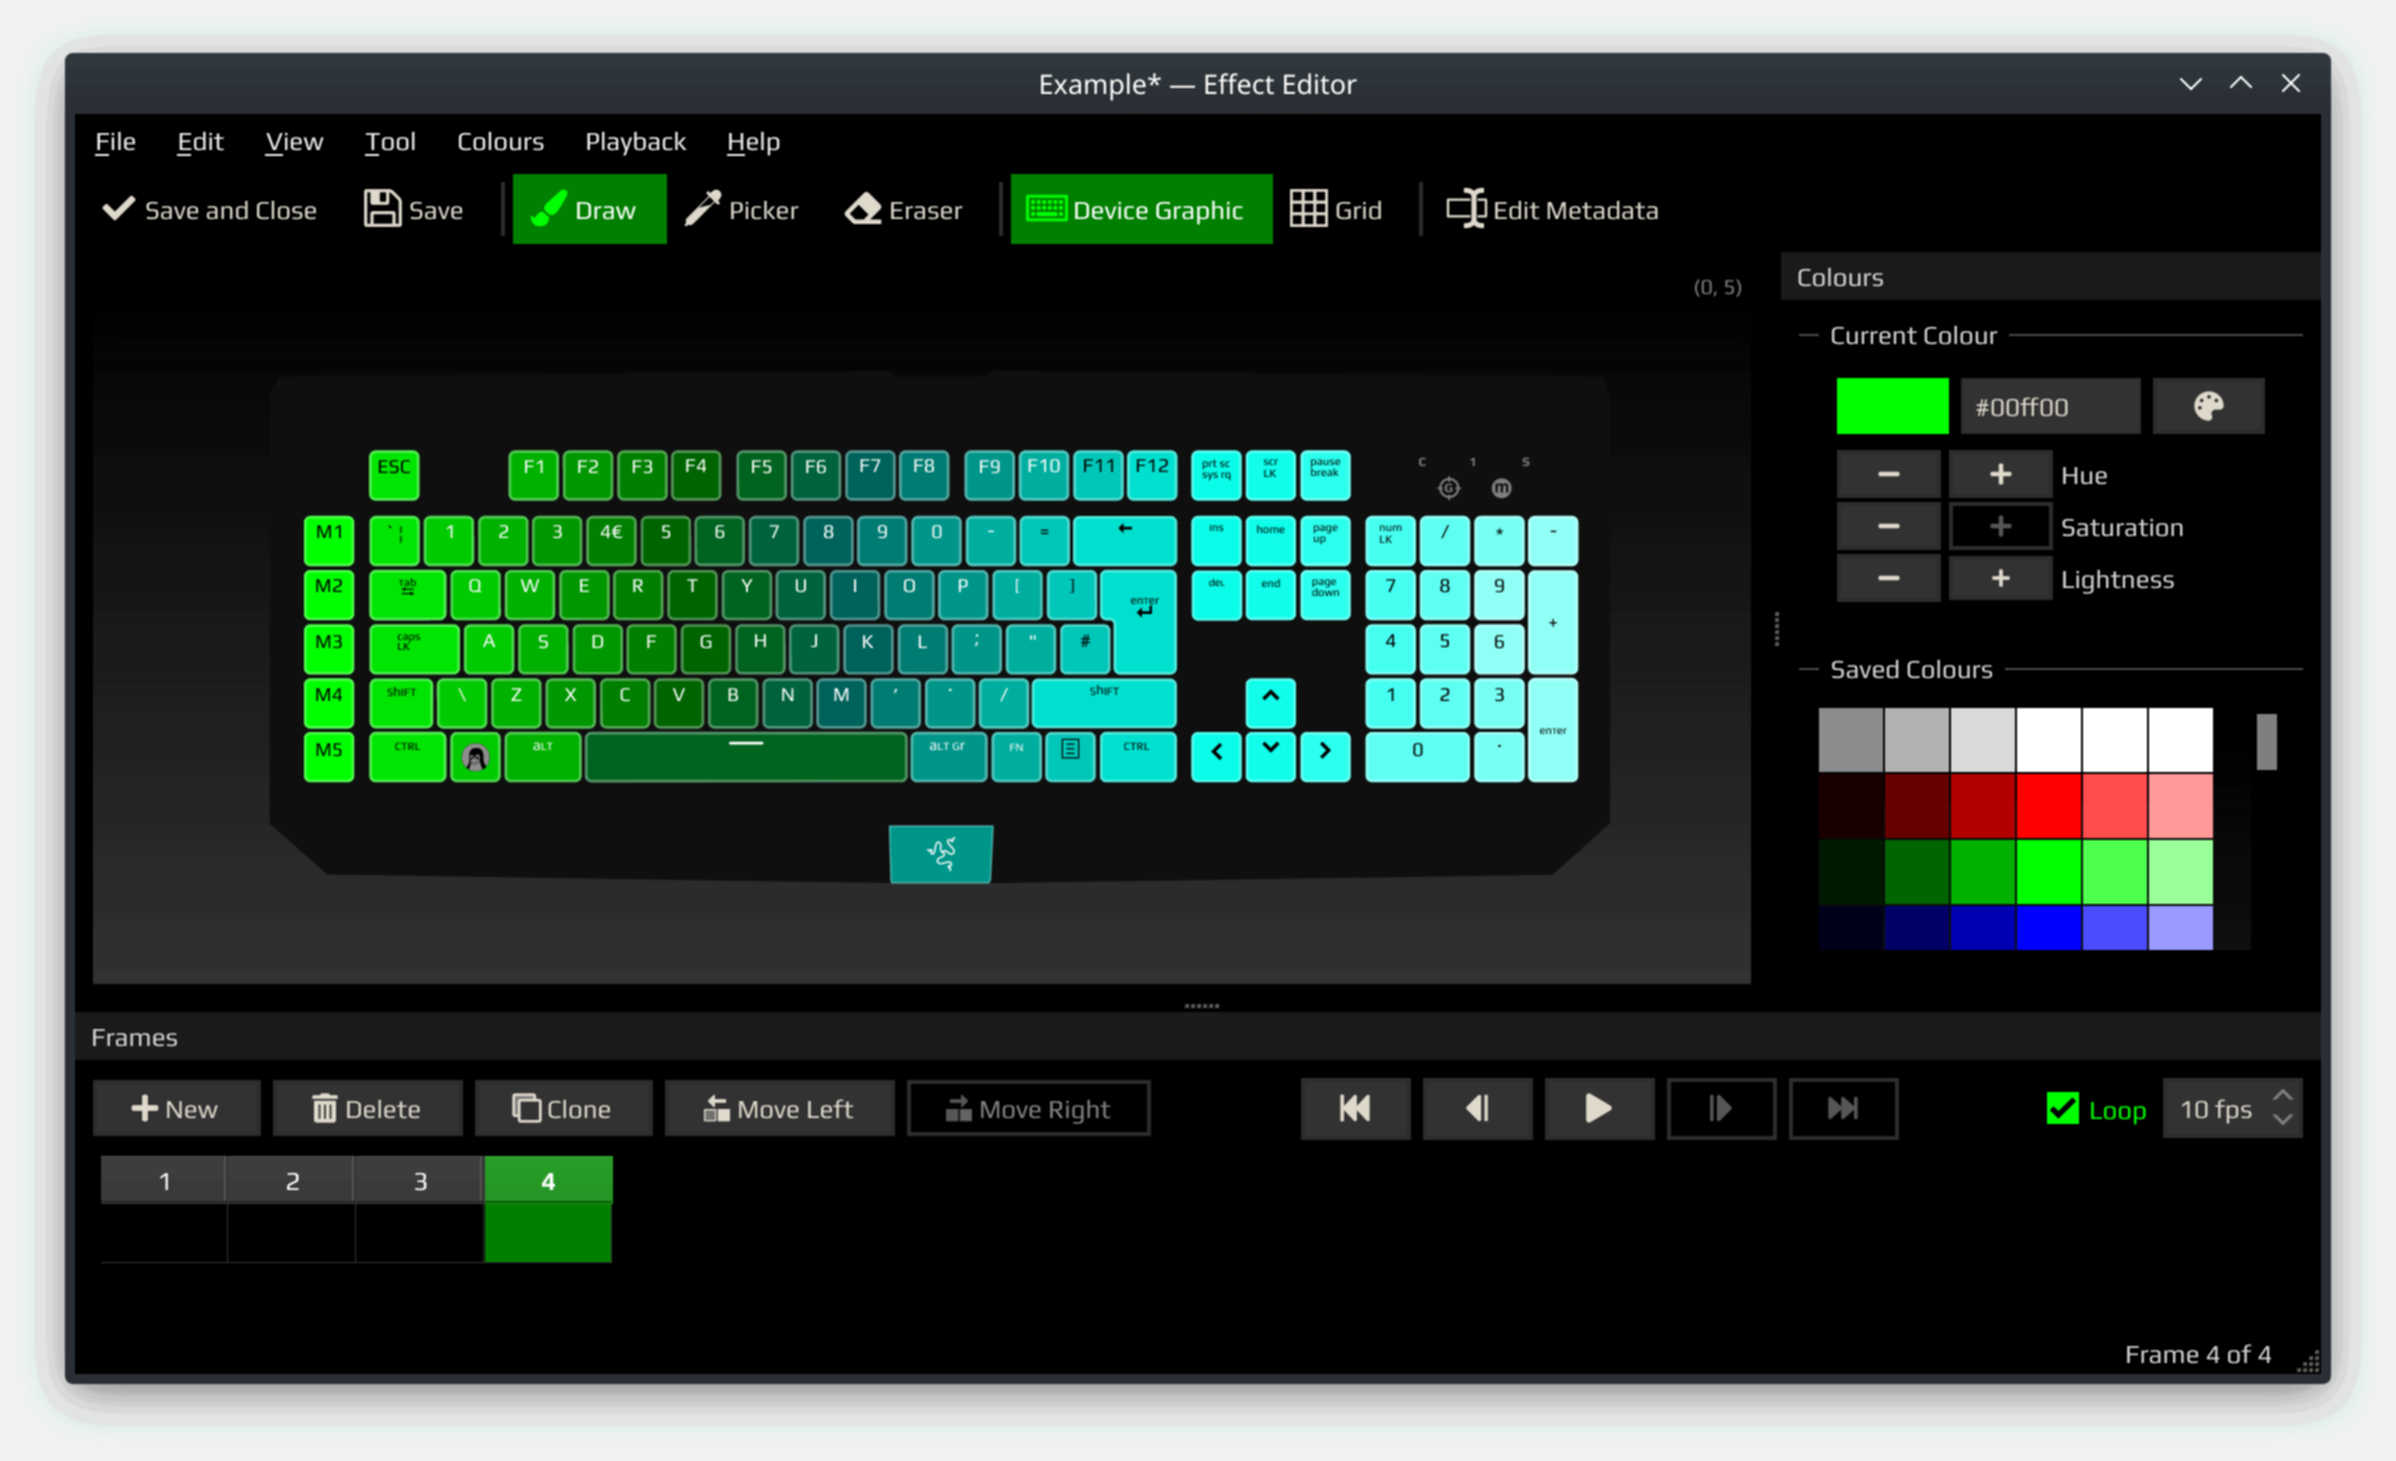
So far the device graphics are available for the following devices: Razer BlackWidow Chroma, Razer BlackWidow Elite, Razer DeathStalker Chroma, Razer Huntsman Elite, Razer Mamba Elite, Razer Mamba Tournament Edition, Razer Blade Stealth (2016), Razer Blade (2018), Razer Blade Pro (2019), Razer Firefly, Razer Base Station Chroma. While the grid is always available.
Other changes include:
- App can run without OpenRazer, but will be limited.
- Add support for multizoned hardware.
- Support custom effects for all compatible hardware.
- New troubleshooter and new configuration editor.
- New and updated icons.
How to Install Polychromatic in Ubuntu:
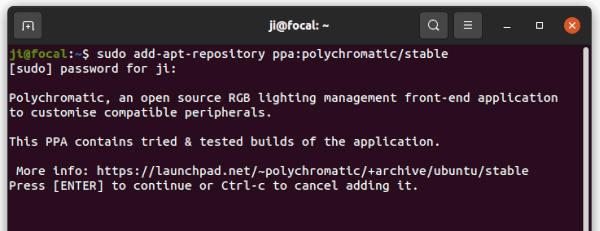
The Polychromatic team maintains official Ubuntu PPA that so far supports for Ubuntu 18.04, Ubuntu 20.04, Ubuntu 21.04, Ubuntu 21.10, and Linux Mint 20.
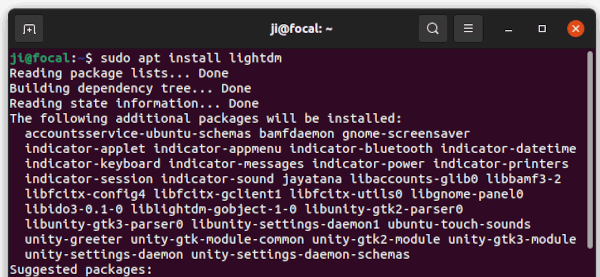
Open terminal from start menu, paste the command below and hit run to add the PPA:
sudo add-apt-repository ppa:polychromatic/stable
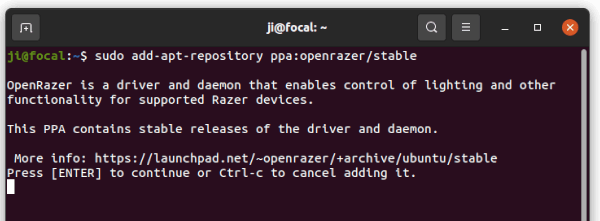
Also add the OpenRazer PPA for the backend package:
sudo add-apt-repository ppa:openrazer/stable
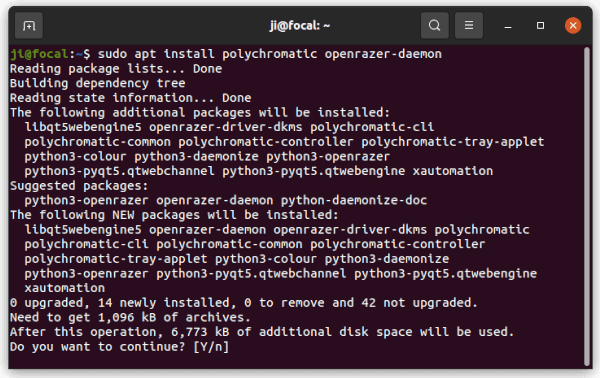
Finally update package cache, install it as well as OpenRazer daemon:
sudo apt update

sudo apt install polychromatic openrazer-daemon
Uninstall Polychromatic & OpenRazer:
To remove them simply run apt command with remove flag:
sudo apt remove --autoremove polychromatic openrazer-daemon
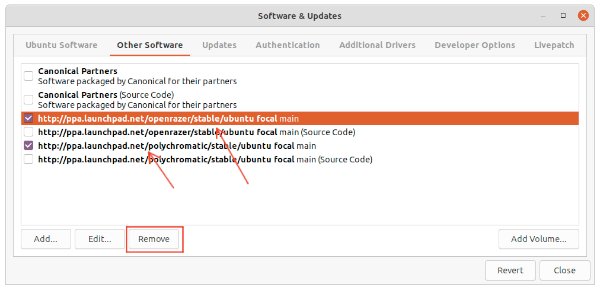
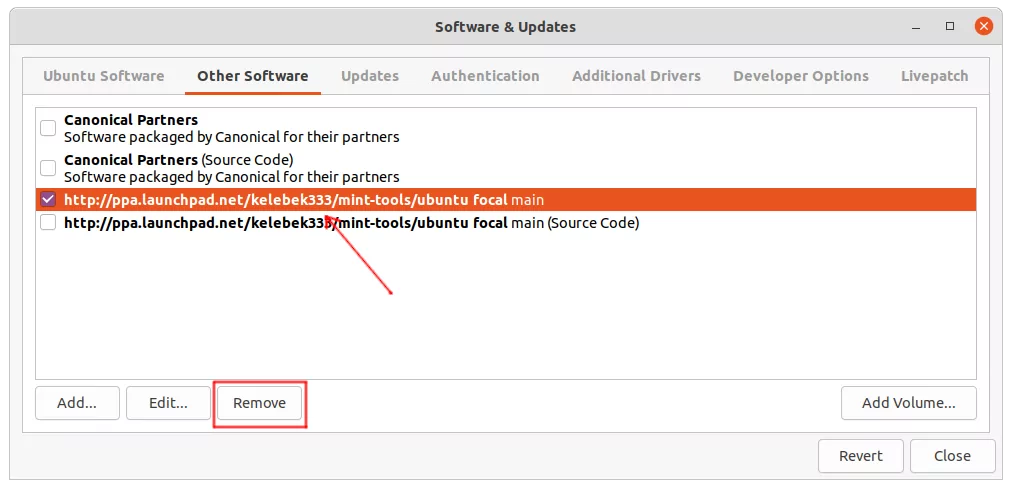
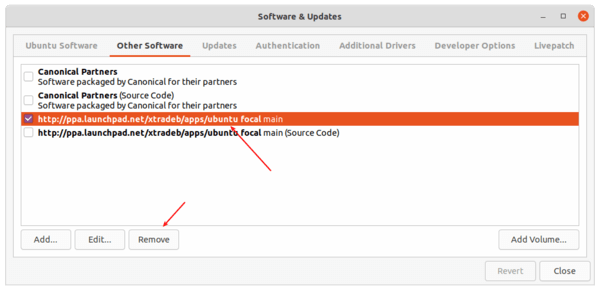
And you can remove the 2 Ubuntu PPAs by launching “Software & Updates” and navigating to “Other Software” tab. Then remove the relevant lines from the list: