![]()
Macchina is another command line tool to fetch basic system information in Linux, similar to Neofetch, but focus on performance and minimalism.
The software is written in Rust, and it displays basic system information, including hostname, manufacturer, kernel version, uptime, desktop environment, processor, memory / battery status, and more. Macchina is pretty fast, it runs 8.53 ± 0.72 times faster than neofetch!
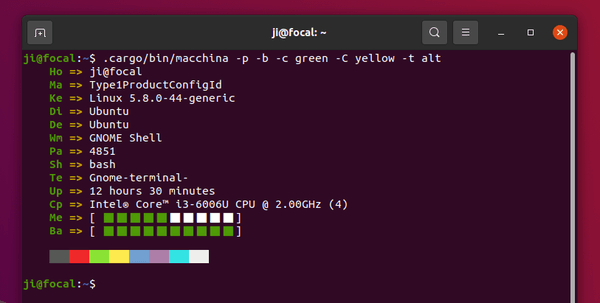
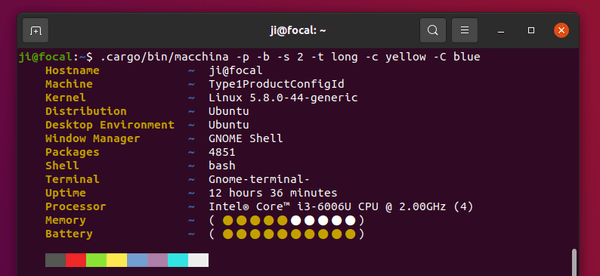
Macchina is a new project in active development. By adding --theme or -t flag, you can specify one of the supported themes. They are so far: default, alt, and long.
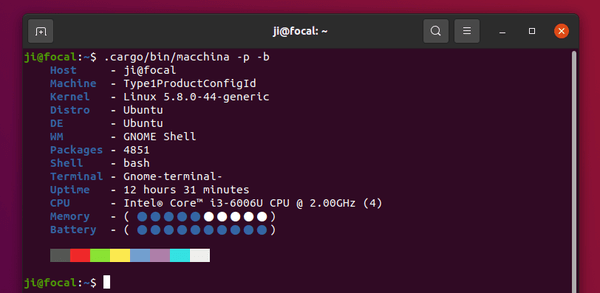
And you can specify the key color (--color / -c), the separator color (--separator-color / -C), let it show palette (-p) and display memory usage and battery percentage as bars (-b).
It also has options to change left padding and spacing.
How to Install Macchina in Ubuntu:
The software so far is available to install via crates.io.
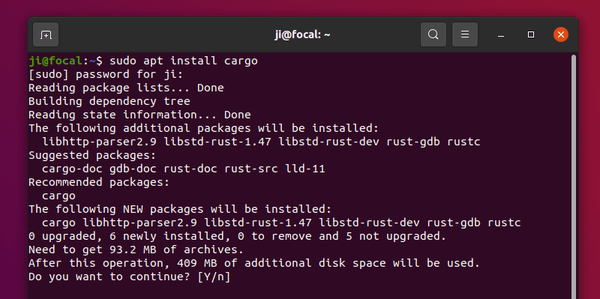
1. Firstly open terminal and run command to install cargo:
sudo apt install cargo
2. Then install the tool via command:
cargo install macchina
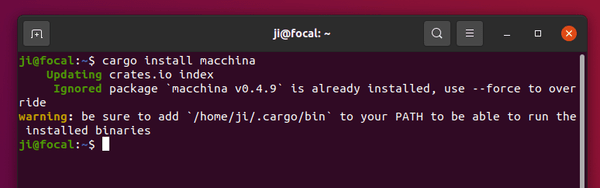
Once installed, you can run ~/.cargo/bin/macchina with your desired flags.
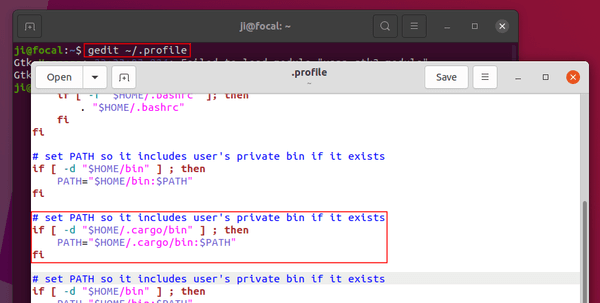
If you prefer to use command macchina instead, run command to edit user’s profile:
gedit ~/.profile
And add following lines to add “.cargo/bin” directory to your PATH:
# set PATH so it includes user's private bin if it exists
if [ -d "$HOME/.cargo/bin" ] ; then
    PATH="$HOME/.cargo/bin:$PATH"
fi
Log out and back in to apply the new PATH.
Uninstall Macchina:
To remove the software via cargo, run command:
cargo uninstall macchina
If you don’t use cargo, simply remove it via command:
sudo apt remove --purge cargo