![]()
Glimpse, a downstream fork of the GNU Image Manipulation Program (GIMP in short), released version 0.1 a few days ago. It can be installed in Ubuntu 18.04 and higher via either Snap or Flatpak.
Due to the problematic word “gimp”, Glimpse forked the well known image editor so there are no potential barriers to using the software in businesses and educational institutions.
“If English is not your first language, then you may not have realised that the word “gimp” is problematic. In some countries it is considered a slur against disabled people and a playground insult directed at unpopular children. It can also be linked to certain “after dark” activities performed by consenting adults.
…”
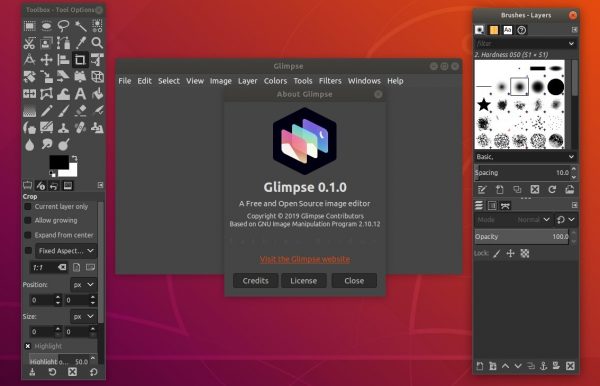
Glimpse 0.1 is based on GIMP 2.10. So far they just look like same application with different names (in my own opinion).
How to Install Glimpse in Ubuntu:
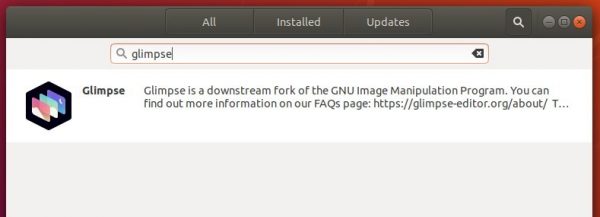
For Ubuntu 18.04 and higher, you can easily install the community build Snap package of Glimpse image editor from Ubuntu Software.
If you’re familiar with command line, run command in terminal to install the Snap package:
sudo snap install glimpse-editor

The software also offers official Flatpak package available in Flathub repository: