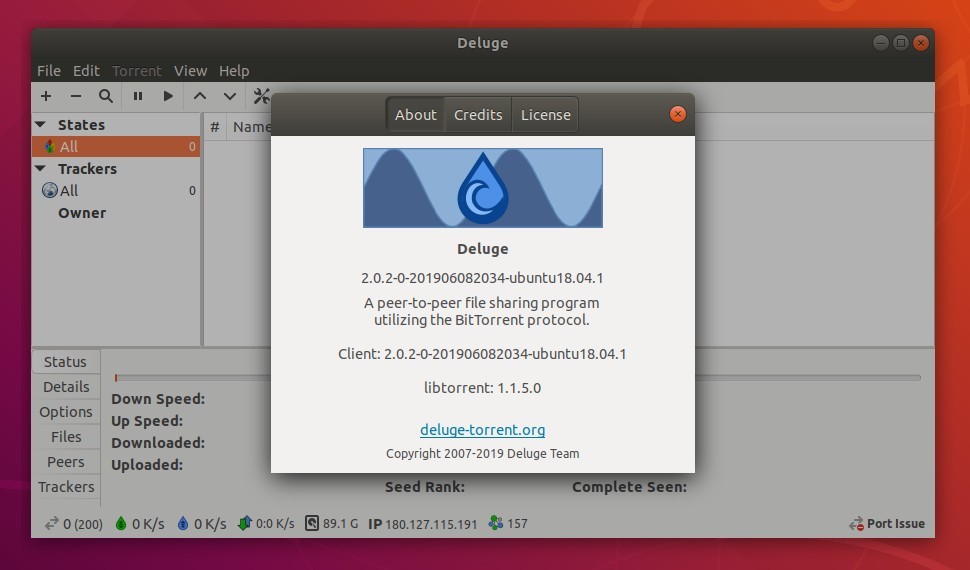
Deluge bittorrent client 2.0 was released a few days ago. Here’s how to install it in Ubuntu 18.04, Ubuntu 18.10, Ubuntu 19.04.
Deluge 2.0 was released with following exciting new features:
- Shiny new logo.
- Multi-user support.
- Performance updates to handle thousands of torrents with faster loading times.
- A New Console UI which emulates GTK/Web UIs.
- GTK UI migrated to GTK3 with UI improvements and additions.
- Magnet pre-fetching to allow file selection when adding torrent.
- Fully support libtorrent 1.2 release.
- Language switching support.
- Improved documentation hosted on ReadTheDocs.
- AutoAdd plugin replaces built-in functionality.
How to Install Deluge 2.0 in Ubuntu:
Deluge stable PPA has built the latest packages for Ubuntu 18.04, Ubuntu 18.10, Ubuntu 19.04 and their derivatives.
Open terminal either via Ctrl+Alt+T keyboard shortcut or by searching for ‘terminal’ from application menu. When it opens, run commands:
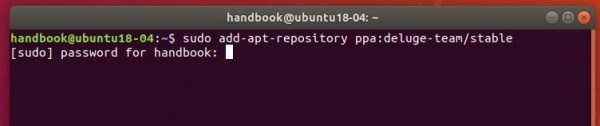
1. Run command to add the PPA:
sudo add-apt-repository ppa:deluge-team/stable
Type user password (no asterisk feedback) when it prompts and hit Enter to continue.
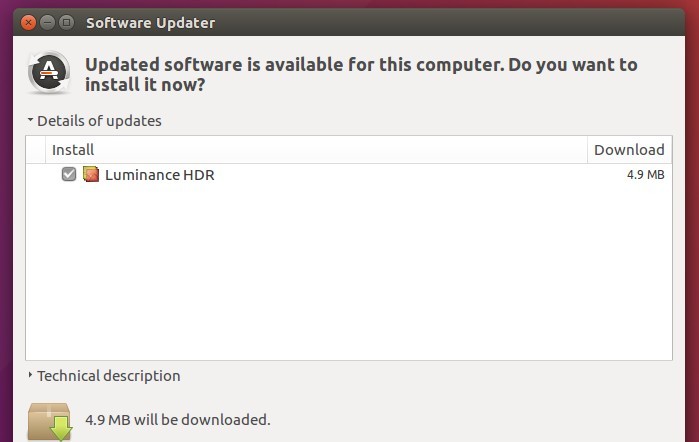
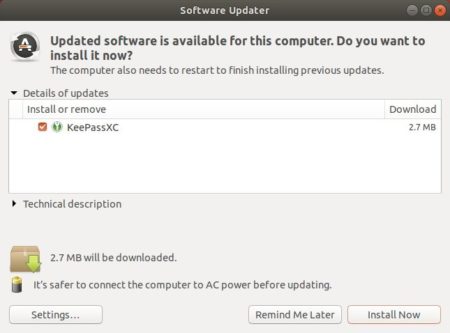
2. If a previous release was installed, upgrade it via Software Updater:
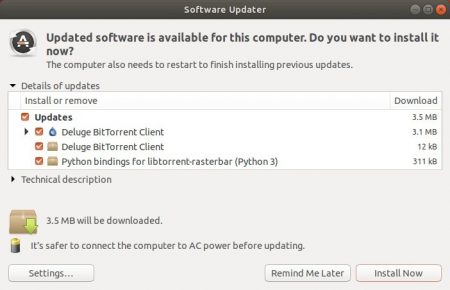
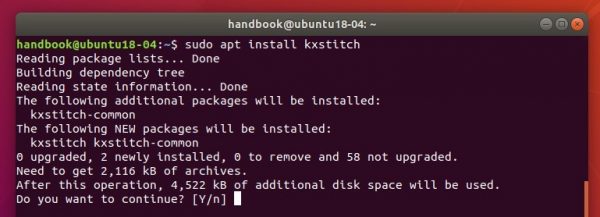
or run command in terminal to install or upgrade Deluge:
sudo apt install deluge
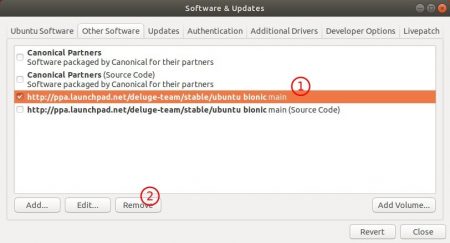
Uninstall:
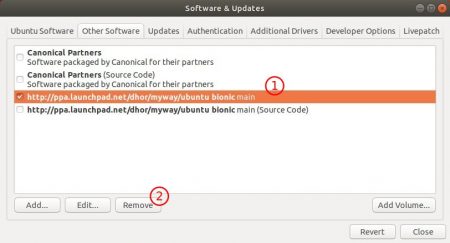
To uninstall Deluge PPA, open Software & Updates -> Other Software tab and remove the repository line.
To remove Deluge torrent client, run command in terminal:
sudo apt remove --autoremove deluge