The Wine team announced the new stable release Wine 3.0 a day ago a large number of improvements and following great changes:
- Direct3D 10 and 11 support.
- The Direct3D command stream.
- The Android graphics driver.
- Improved DirectWrite and Direct2D support.
“because of the annual release schedule, a number of features that are being worked on have been deferred to the next development cycle. This includes in particular Direct3D 12 and Vulkan support, as well as OpenGL ES support to enable Direct3D on Android.”, the Wine team announced.
For detailed changes, read the announcement.

How to Install Wine 3.0 in Ubuntu:
Wine has an official apt repository contains packages for Ubuntu 14.04, Ubuntu 16.04, Ubuntu 17.10.
Wine 3.0 binary packages are in the process of being built. Once it’s published in apt repository, do following steps to install it:
1. Open terminal via Ctrl+Alt+T or by searching it from app launcher. When it opens, run command to add the repository key:
wget -nc https://dl.winehq.org/wine-builds/winehq.key && sudo apt-key add winehq.key
Type your password (no visual feedback while typing due to security reason) when it asks and hit Enter.

2. Add wine repository via command:
sudo apt-add-repository https://dl.winehq.org/wine-builds/ubuntu/

For Linux Mint 18.x, use following command instead (replace xenial with trusty for 17.x):
sudo apt-add-repository 'deb https://dl.winehq.org/wine-builds/ubuntu/ xenial main'
3. Finally check updates and install wine stable packages:
sudo apt-get update

sudo apt-get install --install-recommends winehq-stable
NOTE: If you get the unmet dependencies issue while installing Wine 3.0, try aptitude instead via command:
sudo aptitude install winehq-stable
The command tells you which packages broke the installation. This usually caused by wrong dependency versions. You can then manually fix the dependencies via Synaptic package manager.
For more details, see the official documentation.
Uninstall:
To remove wine-stable package, run command in terminal:
sudo apt-get remove --autoremove wine-stable wine-stable-amd64
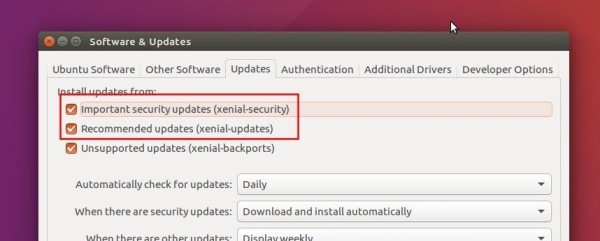
To remove Wine repository, launch Software & Updates utility and navigate to Other Software tab.