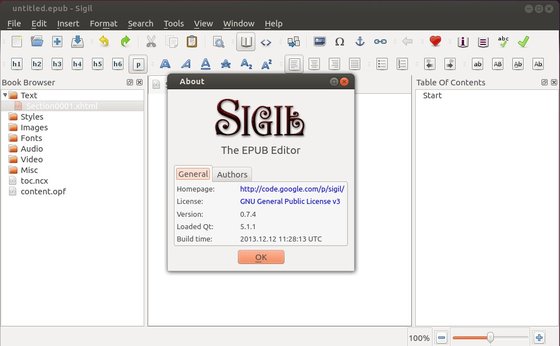
![]() Sigil is a multi-platform EPUB ebook. It supports both WYSIWYG and code-based editing of EPUB files, as well as the import of HTML and plain text files.
Sigil is a multi-platform EPUB ebook. It supports both WYSIWYG and code-based editing of EPUB files, as well as the import of HTML and plain text files.
Since version 0.7.4, Sigil requires higher version of Qt5 libraries which is not available in Ubuntu’s universe repository. This tutorial will show you how to install the latest Qt5 and build sigil from source code. Works on Ubuntu 13.10, Ubuntu 14.04, Ubuntu 13.04, Ubuntu 12.04.
1. Download & Install Qt5
The qt-project website provides the latest installer for Linux. So it’s easy to install it by following the steps below:
1. Go to qt-project.org/downloads, download Qt (so far it’s 5.2.0) for Linux.
To check out OS type 32 bit or 64 bit, go to System Settings -> Details -> Overview
2. Right-click on the downloaded installer (.run file), select Properties and navigate to Permissions tab. Check the box between “Execute” and “Allow executing file as problem”.

3. Press Ctrl+Alt+T on keyboard to open terminal. When it opens, run command to start the installer (assume that you save the downloaded file in the default USER Downloads folder):
cd ~/Downloads/ && sudo ./qt-linux-opensource-*-offline.run
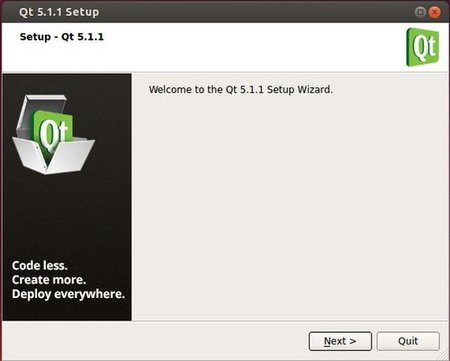
It brings up the install wizard. Just follow it to install Qt5 into the default /opt/ directory.
2. Build Sigil against Qt5
To get started, press Ctrl+Alt+T on keyboard to open terminal and follow the below steps:
1. Run command below and type in your user password when prompt to get the super user privilege:
sudo -i
Now your terminal should starts like this:
root@YOUR_HOST_NAME:~#
2. Navigate to /opt/ directory:
cd /opt/
3. Create folders for Sigil source and build:
mkdir -p /opt/sigil/src /opt/sigil/build
4. Navigate to Sigil source folder and download 0.7.4 source code via wget:
cd /opt/sigil/src && wget https://sigil.googlecode.com/files/Sigil-0.7.4-Code.zip
5. Unzip the package:
unzip Sigil-0.7.4-Code.zip
6. Build the editor:
For 32 bit system:
cd /opt/sigil/build && cmake -G "Unix Makefiles" -DCMAKE_PREFIX_PATH=/opt/Qt5.2.0/5.2.0/gcc/lib/cmake -DCMAKE_BUILD_TYPE=Release -DFORCE_BUNDLED_COPIES=1 /opt/sigil/src && sudo make install
For 64 bit system:
cd /opt/sigil/build && cmake -G "Unix Makefiles" -DCMAKE_PREFIX_PATH=/opt/Qt5.2.0/5.2.0/gcc_64/lib/cmake -DCMAKE_BUILD_TYPE=Release -DFORCE_BUNDLED_COPIES=1 /opt/sigil/src && sudo make install
NOTE: you need to change 5.2.0 to the Qt version you installed. This command will take a few minutes building packages.
7. Now create a script to run Sigil:
echo "LD_LIBRARY_PATH=/opt/Qt5.2.0/5.2.0/gcc_64/lib /usr/local/bin/sigil" > /opt/sigil/sigil.sh
NOTE: you need to change 5.2.0 to the Qt version you installed. And remove _64 for 32 bit system.
8. Finally, you can start Sigil via this command:
/opt/sigil/sigil.sh
3. Create a Launcher for Sigil
Run exit in previous terminal or open another one, then install required package:
sudo apt-get install gnome-panel --no-install-recommends
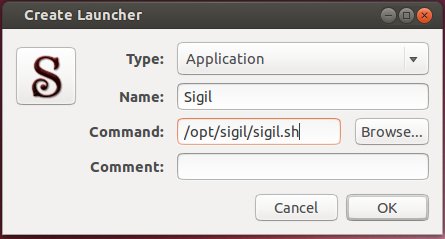
Start the “Create Launcher” window:
sudo gnome-desktop-item-edit /usr/share/applications/ --create-new
Type in name Sigil and command /opt/sigil/sigil.sh and click OK.
Now you’re able to start Sigil from Menu or Unity Dash.