![]()
Python, the popular free open-source programming language, finally announced 3.13.0 stable this Monday!
Python 3.13 introduced new interactive shell. It’s enabled by default and based on code from the PyPy project.
When you start the new shell in an interactive terminal, it uses colors by default for prompts and tracebacks and supports multi-line editing.
As well, it supports REPL-specific commands such as help, exit, and quit without call them as functions. And, I can finally use clear command in the shell to clear screen.
The new interactive shell also supports interactive help browsing using F1, history browsing using F2, and ‘paste mode’ with F3 for pasting larger blocks of code.
Just in case for those who don’t like the new shell, it can be disabled by setting environment variable. PYTHON_BASIC_REPL=1.
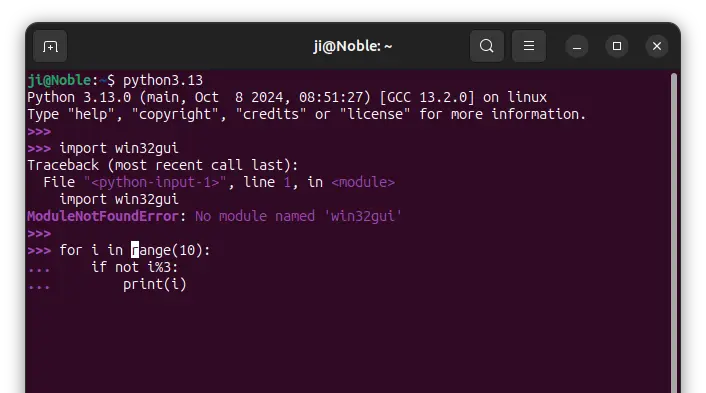
Python 3.13 shell, with colors, multi-line editing, etc support