![]()
Linux Mint announced new 21.3 release, code-name “Virginia”, this Friday.
It’s the 3rd update for the Mint 21 release series, which is based on Ubuntu 22.04 LTS and uses Kernel 5.15 LTS.
The new Linux Mint 21.3 features Cinnamon Desktop 6.0, with experimental Wayland support. Which, has been default in Ubuntu (since 22.04), Fedora Workstation, and other Linux with recent Gnome. However, there are still many applications do NOT work on wayland.
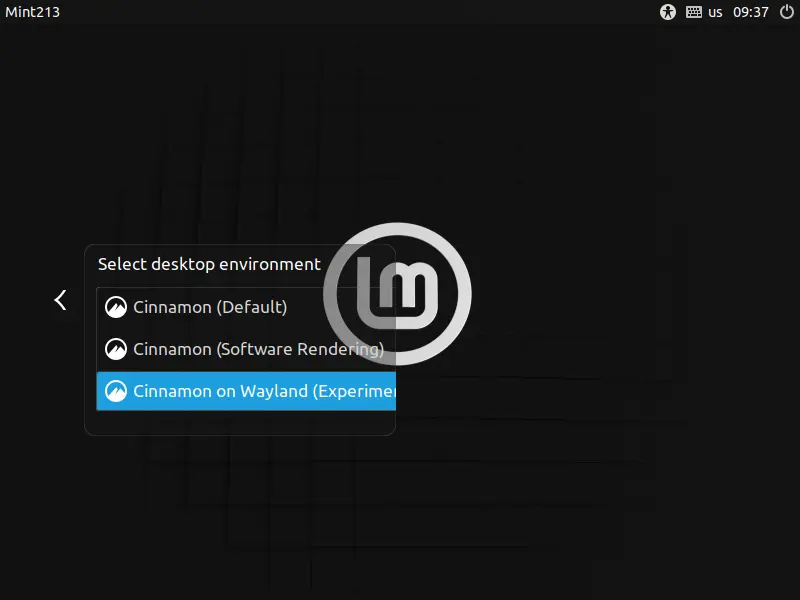
Mint Wayland session
The new desktop also features a new “Actions” page in System Settings. Like Applets, Extensions, and Desklets, it allows to add context menu (right-click menu) options to file browser & desktop, by downloading add-ons from the official cinnamon spices.
Continue Reading…