![]()
This simple tutorial shows how to install x-apps, a bunch of GTK3 DE-agnostic applications, in Ubuntu 20.04 via PPA.
X-Apps are a bunch of GTK3 DE-agnostic applications that are not so tightly tied to a particular distribution or DE as their ancestors might be. The project was started in 2016 by Linux Mint.
The idea behind this project is to replace applications which no longer integrate properly outside of a particular environment (this is the case for a growing number of GNOME applications) and to give our desktop environments the same set of core applications, so that each change, each new feature being developed, each little improvement made in one of them will benefit not just one environment, but all of them.
This is an Ubuntu PPA that contains these app packages so far for Ubuntu 16.04, Ubuntu 18.04, and Ubuntu 20.04.
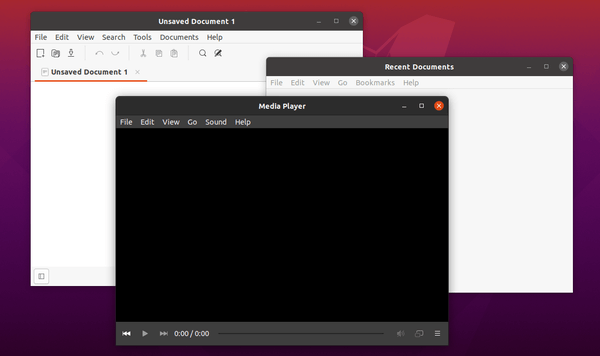
- pix – image management application based on gThumb,
- xed – text editor based on Pluma,
- xplayer – media player based on Totem,
- xviewer – image viewer based on Eye of GNOME,
- xreader – document reader based on Atril.
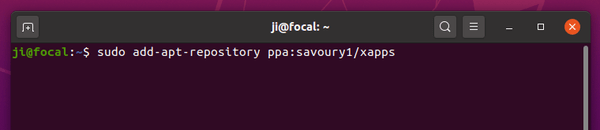
1. Open terminal from your system application launcher. When it opens, run command to add the PPA:
sudo add-apt-repository ppa:savoury1/xapps
Type user password (no visual feedback) when it prompts and hit Enter to continue.
2. Then refresh package cache and install either or all of the packages:
sudo apt update

sudo apt install pix xed xplayer xviewer xreader
Just remove xed, xplayer, or any other package from the apt command if you don’t want to install it.

Uninstall X-Apps:
To remove the PPA, open terminal and run command:
sudo add-apt-repository --remove ppa:savoury1/xapps
To remove x-apps, run command:
sudo apt remove --autoremove pix xed xplayer xviewer xreader