![]()
GScan2PDF, graphical to produce PDFs or DjVus from scanned documents, released version 2.8.1 a day ago.
The previous program launching issue should be fixed in the release, though it didn’t happen in my machine. Gscan2pdf 2.8.1 release highlights:
- Pass resolution to tesseract to avoid messages like “Warning! Invalid resolution 0 dpi. Using 70 instead”
- Cope better if data model becomes corrupted
- Add restart option to ‘device not found’ mini-wizard & if tmp directory changed.
- When saving a session file, note that pages have been saved to avoid ‘Some pages have not been saved. Do you really want to quit?’ message.
- Improvements to the Crashed sessions dialog to make it more intuitive.
- Update position of OCR text when cropping
- Create PS level 3 instead of 1.
- Fix check for unpaper version. (Scan fails if unpaper is not installed but selected in post processing)
- Fix check for tesseract version. Remove support for tesseract < 3.04.00.
- Update translations.
How to Install gscan2pdf 2.8.1 in Ubuntu:
The official Gscan2PDF PPA has made the new release packages for all current Ubuntu releases, and their derivatives, including Ubuntu 16.04, Ubuntu 18.04, Ubuntu 19.10, Ubuntu 20.04, Linux Mint 18.x, 19.x, and 20.
1. Open terminal either by pressing Ctrl+Alt+T on keyboard or by searching for ‘terminal’ from application menu. When it opens, run command to add the PPA:
sudo add-apt-repository ppa:jeffreyratcliffe/ppa
Type user password (no asterisk feedback due to security reason) when it prompts and hit Enter.

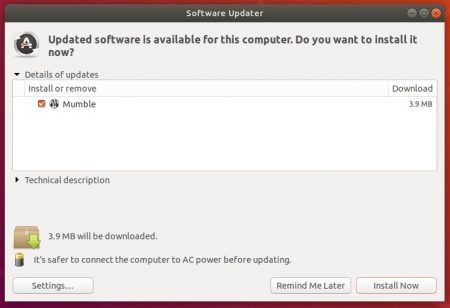
2. For those who have a previous release installed, upgrade it through Software Updater:

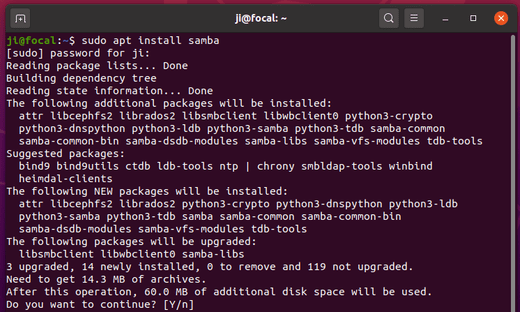
Or run following command in terminal to install or upgrade the software:
sudo apt update && sudo apt install gscan2pdf
How to Remove:
To remove gscan2pdf, either use your system package manager or run command:
sudo apt-get remove --autoremove gscan2pdf
And the PPA can be removed via Software & Updates utility, under Other Software tab.